How to carefully dismantle the plaster?
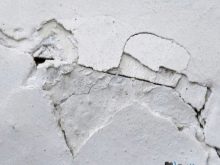
Plaster is one of the most durable lining materials. If the work on plastering is done qualitatively, then the material will serve for more than a decade. However, due to certain conditions and factors, plaster may crack, swell and move away from the surface. In this case, it is dismantled and replaced.
Special features
Before you ask the question of how to remove the old plaster from the walls or ceiling, it is worth clarifying in what cases the dismantling of the lining is a necessity and how it is determined.
The need to clean the walls from the old plaster coating depends on its composition:
- Clay. Indoors, it is most often used in the decoration of fireplaces, stoves and various heating appliances. During use, it can flake off and deteriorate, so dismantling and replacing the old coating with a new one is sometimes necessary.
- Gypsum. Dismantling is carried out as the destruction or, if necessary, to coat the gypsum layer with a harder and heavier than the gypsum, building material.
- Lime. It is restored as layer weakens, as well as when working with cement or polymer plaster.
- Cement. Most often dismantled due to technological errors in the process of applying plaster to the surface.
- Polymer. The structure of the polymer coating is quite plastic, but very durable. They quickly set to any surface, and any solution can be applied to them. The appearance of cracks and flaking occurs in case of shrinkage or violations of the technology of application.
Cleaning walls from plaster is necessary when laying tile. If you do not remove the old material, then peeling the bottom layer, the tile may fall off with it.
Strong sand-cement surface can be covered with materials of any composition. Gypsum plaster does not tolerate cement mortar. Clay and gypsum can be applied to the calcareous surface. The clay layer is renewed only with the help of clay; other materials will not set.Sand-clay solution can be applied to any material and on any type of surface.
Kinds
In our time, the construction market is replete with facing materials, so making the final choice is quite difficult. In some cases, resort to the help of a specialist is necessary. However, there is a category of materials when you can be sure that the product is as resistant to external influences as well as to various kinds of mechanical defects. This type of finishing materials is decorative plaster.
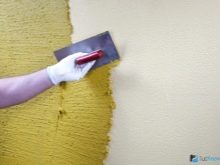
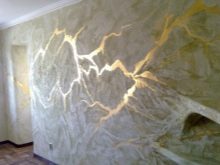
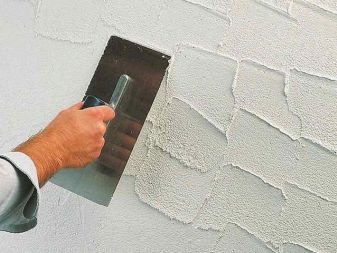
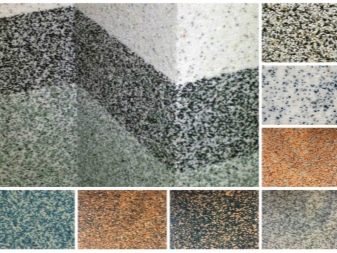
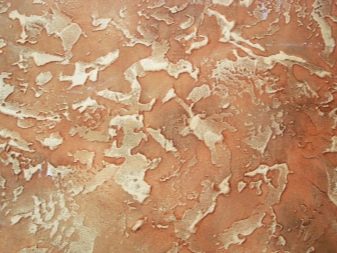
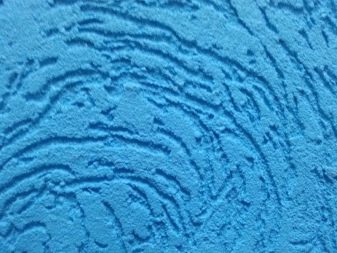
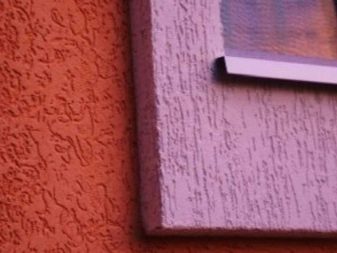
Excellent exterior quality and long service life makes decorative plaster a profitable acquisition. The material has a creamy texture with patches that give it strength and increase volume. Decorative plaster successfully carries out imitation of various materials, such as a stone, a fabric covering, wall-paper and so on. With its help, it is possible to create various designs of walls and ceilings. It can be a surface with intricate drawings printed on it, as well as various visual effects.
These facing materials can be classified on pasting and structural. In the first case, the use of plaster is meant to level the surface (draft layer) for further lining. In the case of structural plaster, she herself is the main facing material and gives the surface a finished look.
Decorative plaster - the concept is very extensive, combining many options for finishing materials.
Especially popular are:
- brick chips;
- flock coating;
- textured plaster;
- Venetian plaster;
- structural plaster.
One of the main, as well as the most important elements of this type of plaster is a binder, which belongs to the mineral, polymeric, silicone or silicate in its composition.
- Mineral plaster - a material whose predominant component is lime. In combination with stone powder, clay and various mineral substances, the mixture has strength that can grow over time.
- Polymer plaster.Due to the presence in the composition of acrylic resins is one of the most resistant to temperature changes and high humidity. Such material is easily applied to any type of surface and is able to imitate marble or leather.
- Silicate plaster is characterized by high plasticity. The material is almost not subject to pollution and has a high vapor-tightness.
- Silicone plaster. The main component of the material is a silicone resin. Among the numerous advantages, one of the main ones is resistance to temperature fluctuations, a wide range of colors, and a high vapor barrier value.
How to quickly complete?
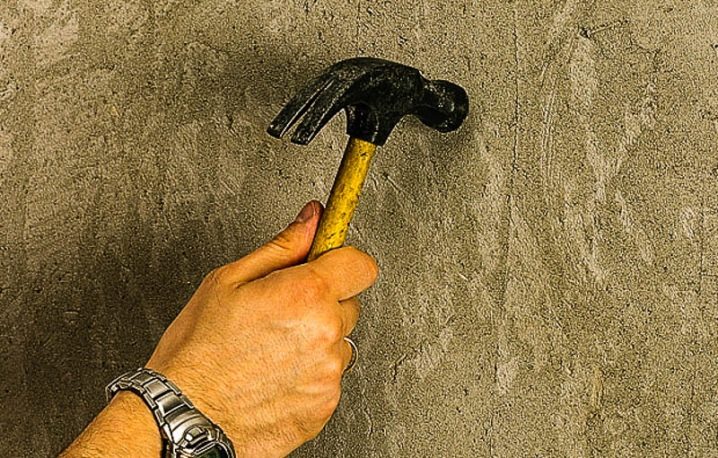
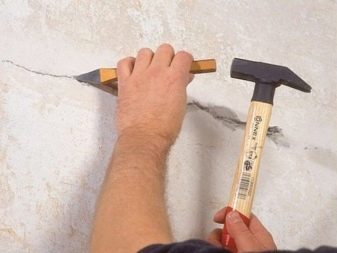
In order to find out the level of damage to the plaster, you need to knock on the surface layer with a small hammer, and this should be done very carefully, without applying a lot of force to the blows. If the knock is clear and clear - this is an indication that everything is in order with the plastering layer. If the knock is deaf, to the touch the material is too dry and old, and when tapped, the plaster is about to disappear - then the elimination of such plaster must be completed as soon as possible.
To beat off the old layer of plaster as conveniently and quickly as possible with your own hands.
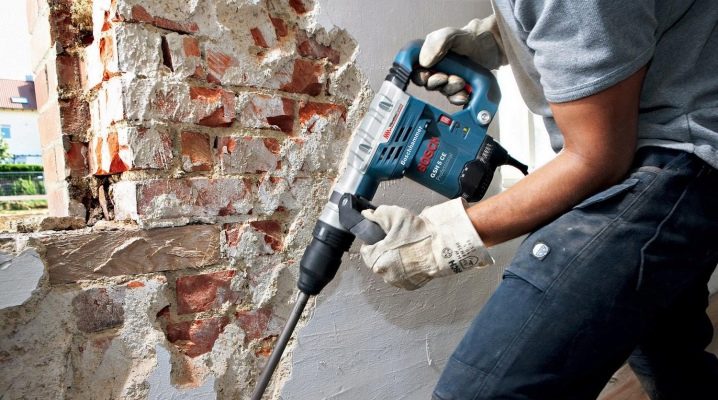
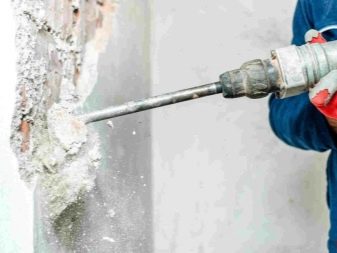
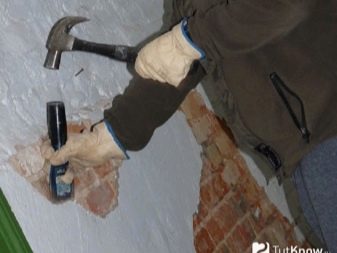
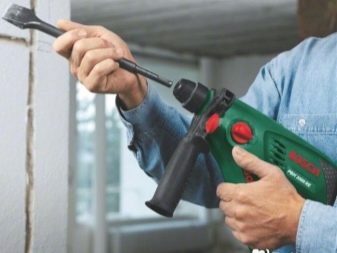
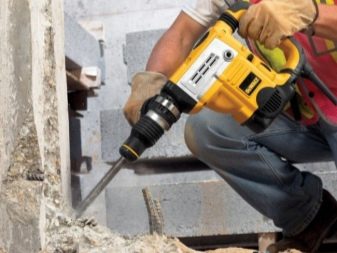
The easiest punching method is to use a small electric hammer drill.which, thanks to its special nozzle in the form of a wide blade, is able to pry the old layer of material and clean the surface from it. An important piece of advice when removing plaster in this way is to dampen the surface of the wall so that during the cleaning process there is not much dust and dirt in the room. Dismantling is also performed using a special hammer with a pickaxe as one of its sides.
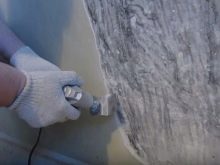
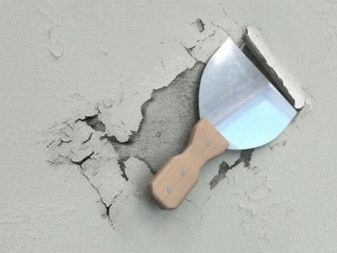
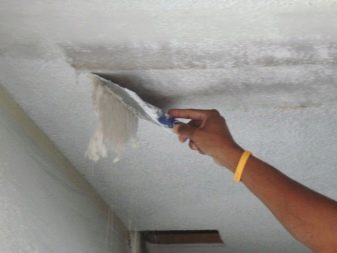
Clean the plaster with a spatula only if it is in a catastrophic state. In this case, the plaster often peels off and disappears on its own, it remains only to help it a little, prying with a spatula.
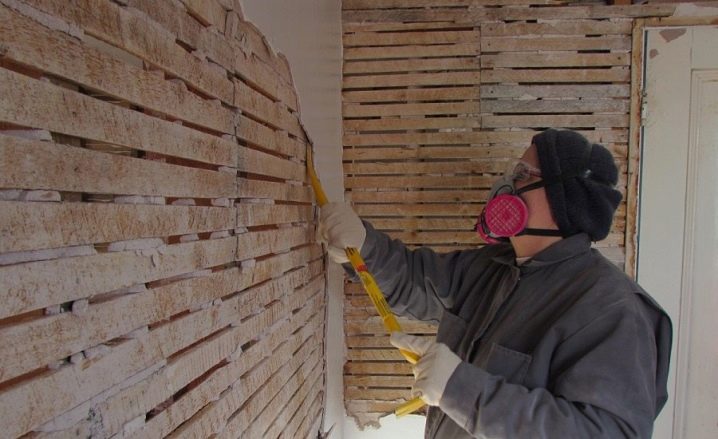
Sometimes, in addition to bricks, shingles serve as a strong support for a thick plaster layer. The process of dismantling such a wall is time consuming and requires considerable effort. Shingles are small wooden planks packed on the surface of the wall. The dismantling of such a wall begins with a careful breaking off and cleaning the plaster in the area of the supports and a thorough examination and assessment of the state of the surface at the ceilings.The easiest and budget way to repair a wooden wall is to cover it with plasterboard.
It is important to understand that the work being done is a dusty business, therefore, as a precautionary measure, you must wear a respirator and safety glasses.
Required tools
The tools used have a huge impact on the quality of work and, of course, on the result. As mentioned above, using a hammer is an easy and affordable way to remove flaking plaster. The sharp side of the tool is to tap the surface. Then, if the plaster is kept extremely unreliable, then it is likely that it will disappear by itself. The remains can be cleaned with a scraper or trowel.
If the putty material has a coarse-grained consistency, then the easiest way is to remove it with a sharp spatula. This method requires considerable physical effort, as well as constant replacement or sharpening of the tool.
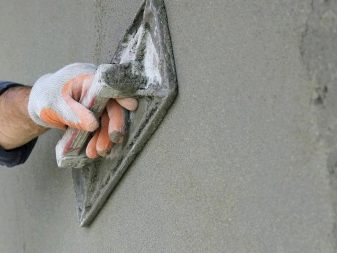
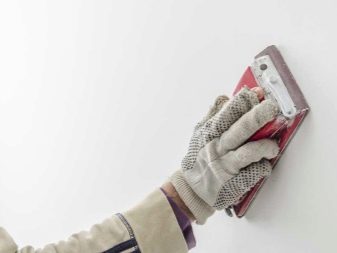
Qualitatively prepare the wall for decoration with its decorative materials can be using a special grater.
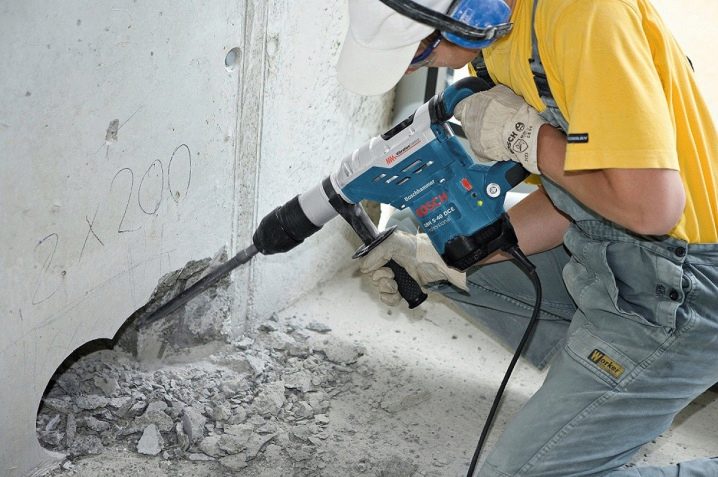
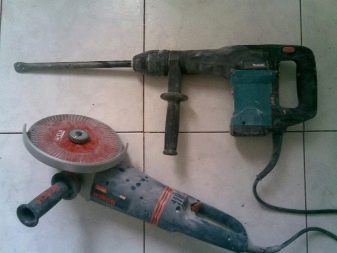
If the putty keeps on the wall quite tightly and does not lend itself to manual removal methods, then in this case it is worth resorting to the use of “heavy artillery”.Best serve as a perforator with a shock function. To do this, a special nozzle is fixed in the socket, and the tool is transferred to the impact mode.
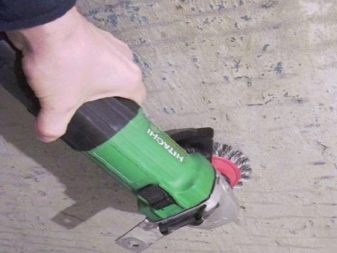
To dismantle the old plaster layer is also possible with the help of the grinder. With a diamond cutting disc, horizontal and vertical stripes are cut on the surface, the depth of which will correspond to the depth of the plaster layer. After that, the remnants can be removed with the same scraper or trowel.
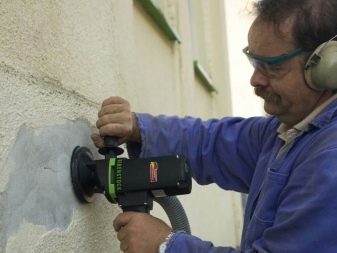
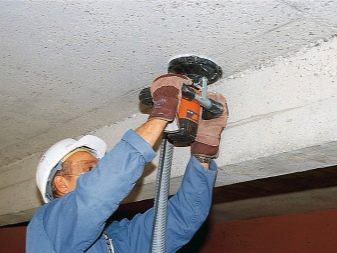
Of course, armed with special electrical equipment for removing plaster, the work will go easier and faster. These can be specialized AGP type machines, various grinders, and so on.
Remove from the ceiling surface
The technology for removing plaster from the ceiling surface is almost the same as from the wall. In this case, the forces will need much more, as it is very difficult to keep your hands in the raised position constantly. To facilitate the dismantling process, you can attach a long stick to the grater, trowel, scraper or to any other tool.
In the process of cleaning the ceiling of plaster is often necessary prior washing of the decorative layer. For example, lime is easily washed off with plain water.To remove water-based paint, you need to add a little iodine in the water, in the case of water-dispersed enamel it is better to use special flushing solutions.
Before the process of applying to the ceiling of a new plaster, it is necessary to remove all irregularities, bumps protruding above the surface. Be sure to clean the plumbing joints of the plates. This can be done with a hammer or spatula.
Tips and tricks
Use the advice of professionals, and then the work will go much faster and more efficiently.
- When working with a perforator, you need to be extremely careful not to damage the base. Haste in removing the plaster layer is useless. It is better to clean the surface in several passes than to damage the foundation and continue to repair it.
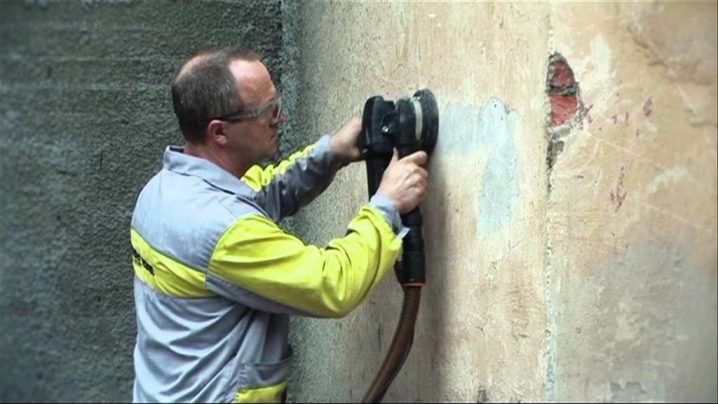
- If the layer of plaster is thicker than 3 mm, then it is necessary to use a vibration grinding machine. The main difference of this machine is that the work item makes movements from side to side in the same plane.
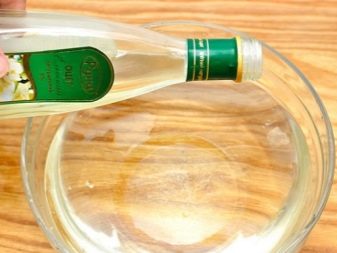
- Most of all difficulties are caused by the removal of cement and gypsum plaster. To facilitate removal, 30 minutes before work should be done to treat the surface with a solution of water and vinegar. The acid contained in vinegar will make the gypsum more friable.
- Deciding to leave a layer of old plaster, it is important to understand that the material of the new layer should be weaker than the previous one, so as not to disrupt the old layer during shrinkage.
- If there is a drywall under the plaster layer, then it is necessary to make strikes carefully, without using too much force. Dismantling is best done with a hammer with a pick or trowel.
- When applying a new layer of plaster on the old, it is better to use a more expensive solution, but apply it with a thinner layer.
To learn how to disassemble the plaster, see the following video.
