Corner wardrobe do it yourself
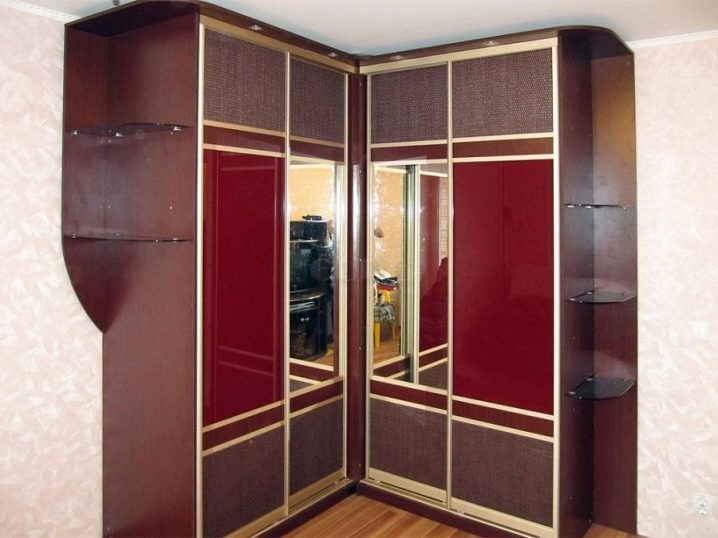
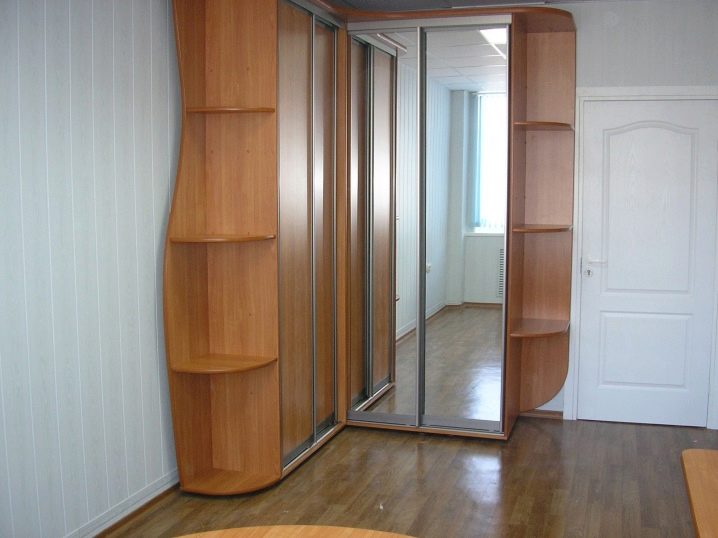
The wardrobe saves space by itself, and if it is made in the corner, then this is the most successful option. It does not attract too much attention to itself, it leaves a lot of free space in the apartment, and how much you can put into it! It is quite possible to make a comfortable corner wardrobe with your own hands.
Design features
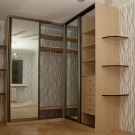
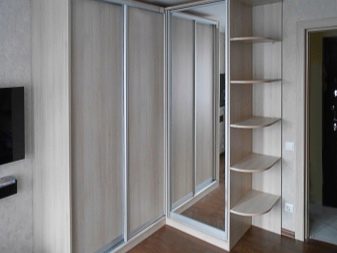
Unlike its usual counterparts, the corner wardrobe is always designed stationary. It is created under the dimensions of a specific angle and does not imply its movement.
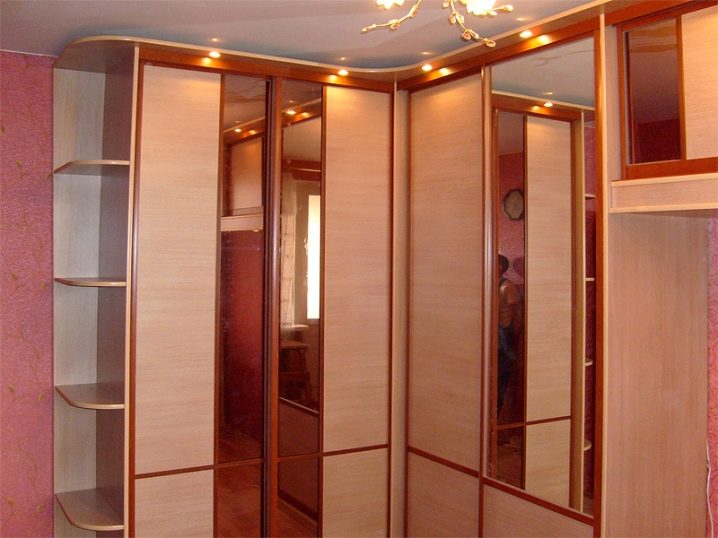
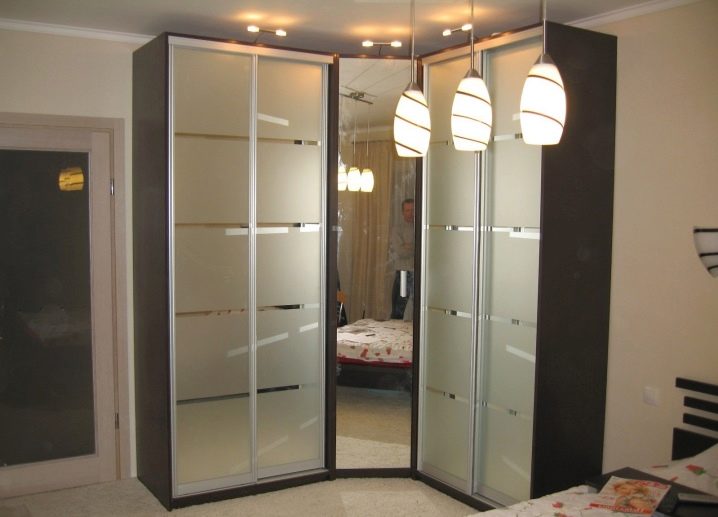
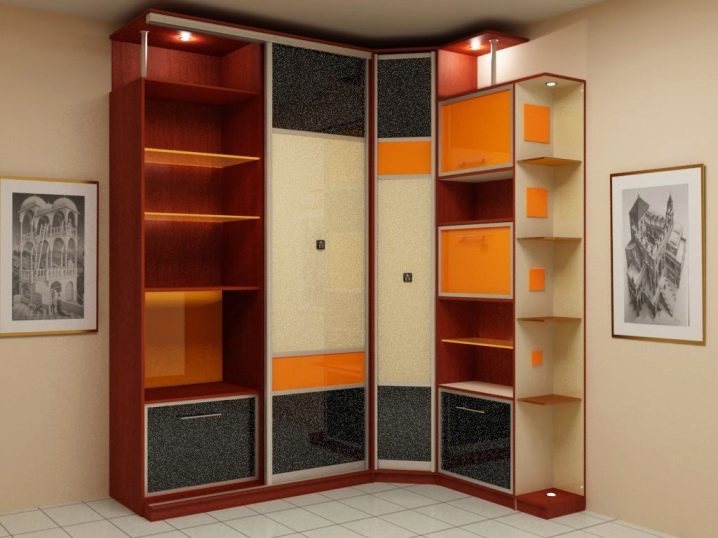
To get started is to decide what kind of corner cabinet you need. The main types of construction:
- triangular;
- trapezoidal;
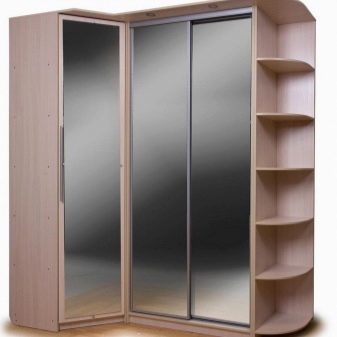
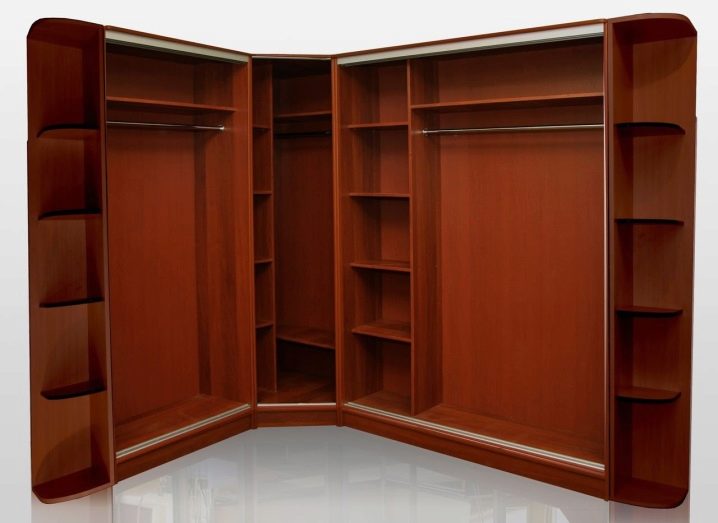
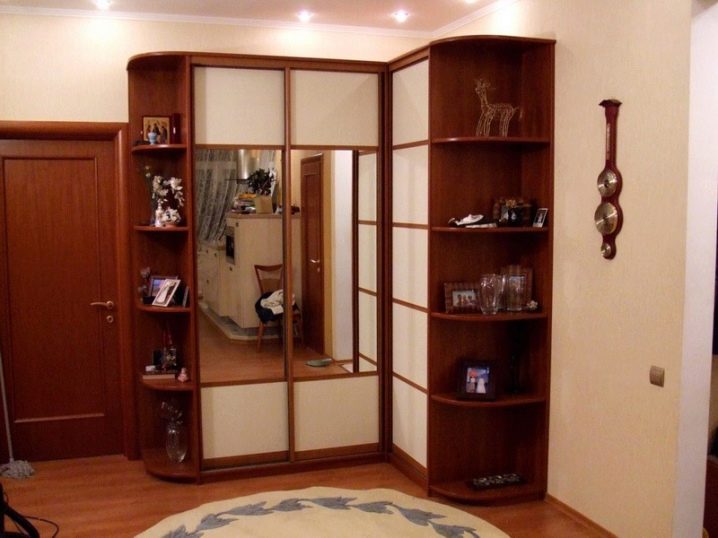
- g-shaped;
- "Five-wall".
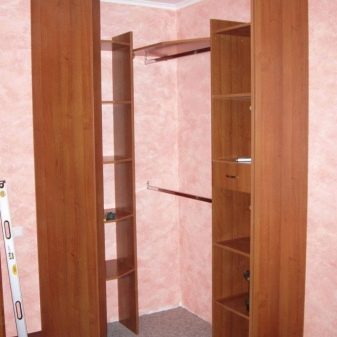
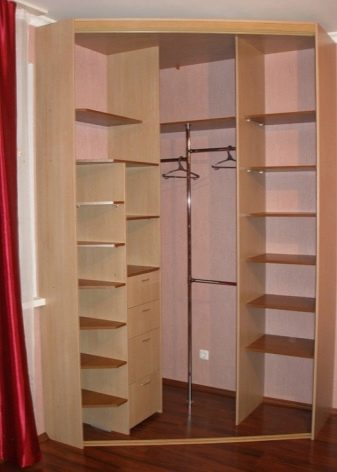
In addition, cabinets can be built-in and cabinet. The built-in wardrobe is essentially a small storage room. Shelves in it are mounted directly on the walls, and the space is enclosed by a door. The cabinet has a base, top cover and back wall, at least from thin sheets of hardboard.
The most economical for space is a triangular wardrobe: it has no side walls. Its depth will be determined only by the width of the walls, which you are ready to “give away”.The remaining cabinets are slightly more difficult to manufacture and will have additional depth.
If you decide to make a corner closet with your own hands, it makes sense to use all the space from floor to ceiling to ensure maximum capacity.
It is very important to take into account the peculiarities of the angle itself. If there are irregularities on the floor or walls, they must be leveled, because they may affect the operation of the sliding door mechanism. In addition, experts recommend that all preliminary measurements be done only after leveling the walls and floor! Pay attention to the plinth near the floor or under the ceiling - will it allow to mount the cabinet?
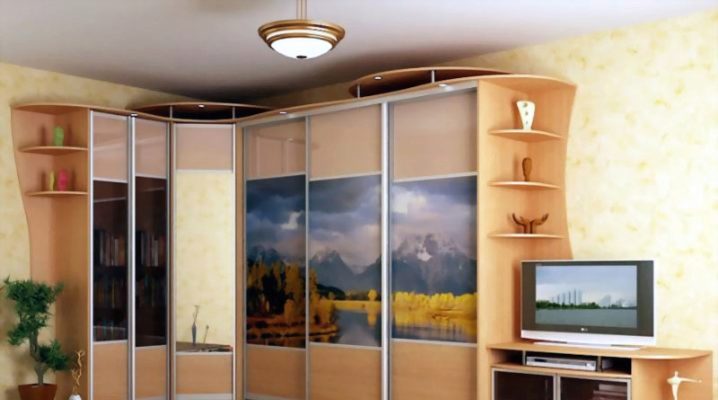
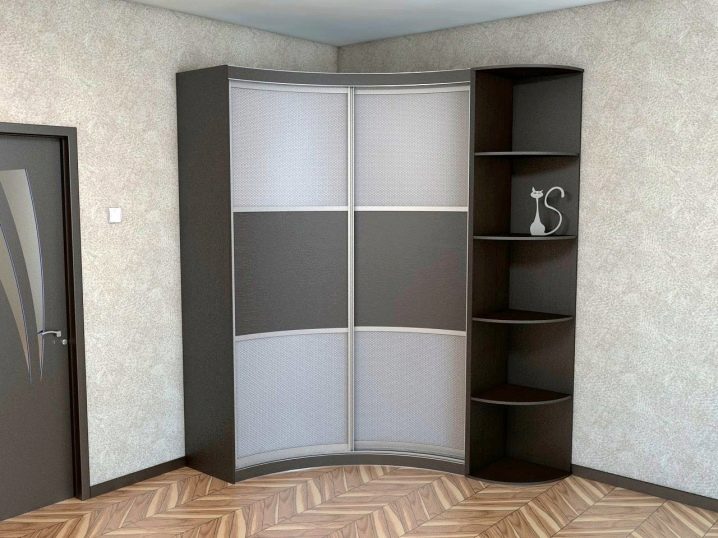
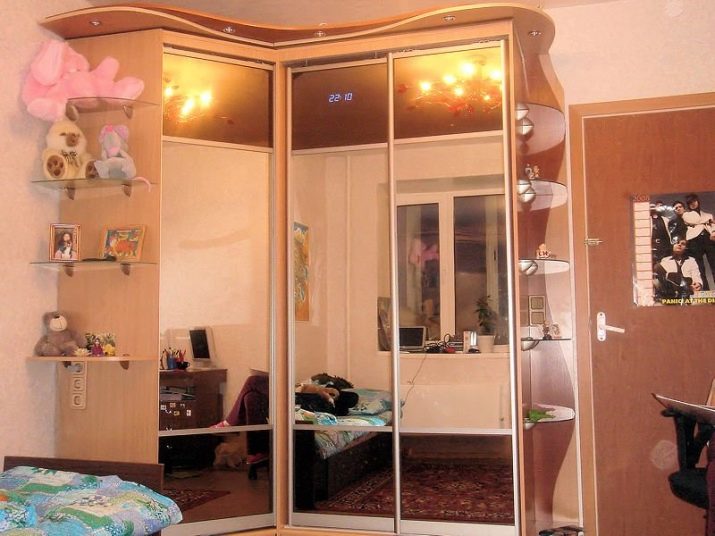
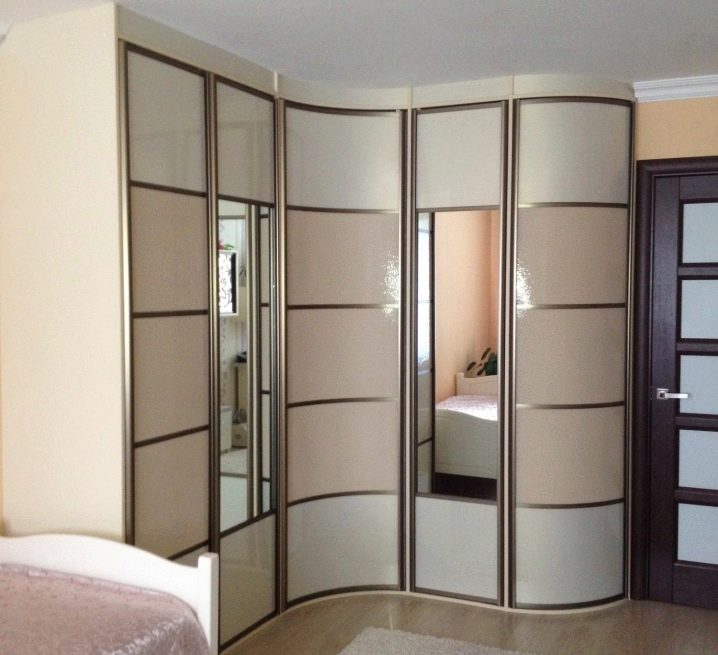
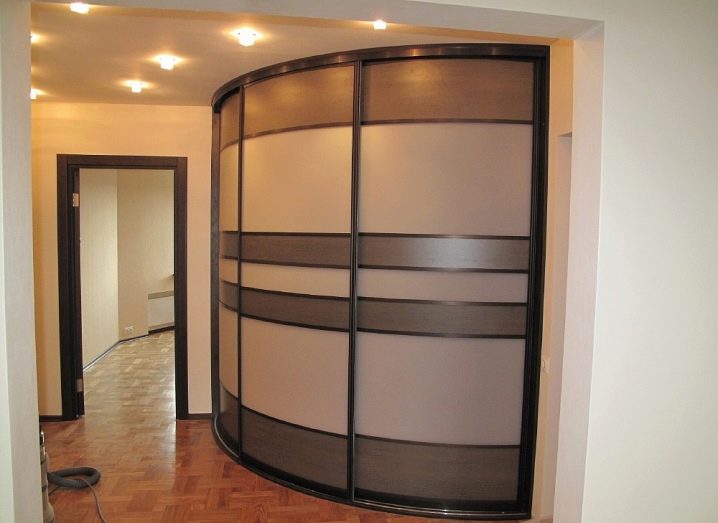
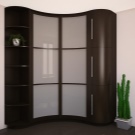
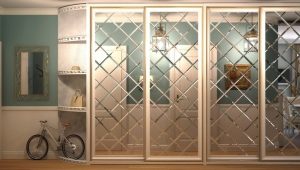
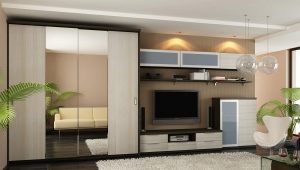
Today, the manufacture of a radial cabinet, whose facade is made in the form of a semicircle or wave, is popular. Such furniture harmoniously fits into a variety of interiors. Such a wardrobe is especially good for a large hallway and a bedroom. For the kitchen is very popular corner option made of plasterboard - it is simple in execution and takes up very little space.
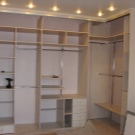
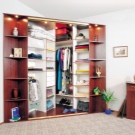
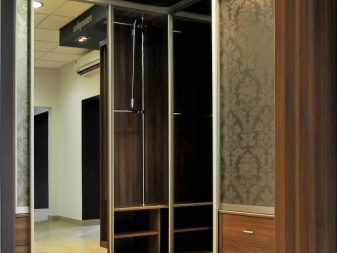
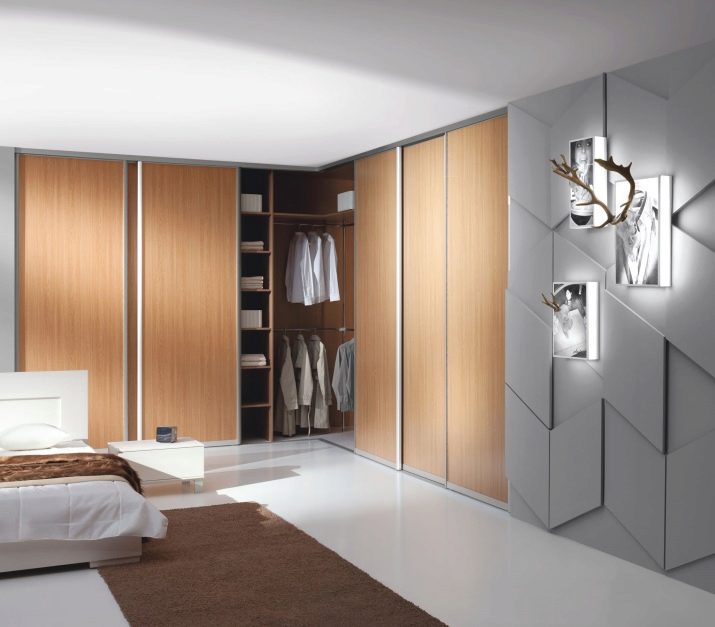
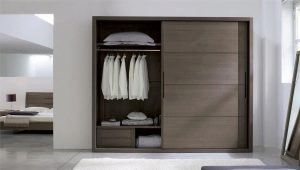
When you make drawings of the internal content of such a cabinet, you need to take into account its purpose. If it is a closet for a hallway, it should have a bar for outerwear, shelves for shoes (possibly high ones for boots), shelves for hats and accessories, a place for umbrellas, gloves, etc.In the living room wardrobe can serve as a repository for books, documents, blankets and bedspreads, beautiful dishes. Accordingly, the main thing in it - the shelves. You can provide a small safe. The sliding wardrobe for a bedroom usually contains in itself clothes, linen, bed linen. It is appropriate and the bar, and drawers, and shelves, and cells.
Step-by-step instruction
After the diagrams and sketches of the cabinet are created and approved by your household, you can start making the cabinet. You will need the following materials and tools (sample list):
- furniture shield;
- metal profile and roller mechanism for doors;
- sheets of hardboard for the rear wall (if expected);
- boxes, doors, rods, hooks;
- accessories;
- false panels (if necessary);
- perforator;
- screwdriver;
- "Hexagon";
- "Level" (to assess the evenness of the shelves);
- glue, ruler, tape measure, pencil;
- triangle;
- screwdrivers, hammer;
- fasteners (bolts, confirmats, shelf supports, etc.)
According to the experience of many men who have already created cabinets with their own hands, it is best to entrust the cutting of boards and their external edging to professionals: take the material to the workshop where there is a special tool for precise cutting.In the same place can make original milling on facades. On your own, you can “cut” shelves and parts for drawers –e. internal filling of the cabinet.
If your cabinet is built-in, first of all you need to mark the borders on the floor where the doors will be. The same lines should be applied to the ceiling. Then, shelves and rods are screwed to the walls using a perforator and other tools. The final touch is set guides for the doors and the doors themselves.
For a cabinet with back walls and a bottom, first the base or podium of the cabinet is assembled and installed. Then begins a long and responsible process - drilling holes. You must first carefully mark all attachment points. Then you can drill. If the hole is made on a plane, an 8 mm drill is required. For the end openings - 5 mm, and its depth should not exceed 60 mm.
Each cabinet, created by yourself, is unique, so it’s impossible to make a universal description that would fit all. But there are some general principles for assembling furniture of this type.
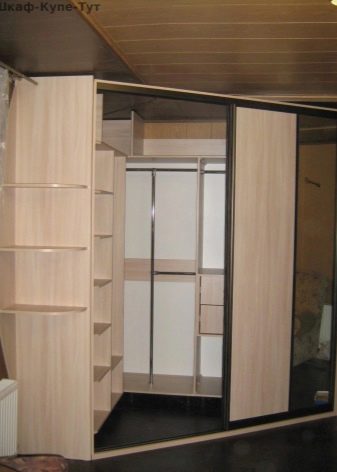
First, the cabinet frame is assembled - that is, its vertical walls and partitions,which are fastened to each other by contours - base, top cover, etc. Then shelves and rods are screwed to the side walls. Attached carriages for boxes. A metal sliding door mechanism is attached above and below. After that, the back wall is attached (usually it consists of several sheets of fiberboard cut into sections of the cabinet). Then - drawers and doors are installed.
Ideally, the closet should be assembled “lying down” - i.e. laying out the details on the floor. So more likely to build accurately. But this is not always possible due to limited space. In addition, a tall cabinet, which almost reaches the ceiling, can be very difficult to lift. The main rule of assembly “standing” is to assemble all parts from the bottom up - the base, side walls and partitions, then the shelves, etc.
A carefully thought out sketch, a good scheme, a little patience and accuracy - and your own corner cabinet will delight you for many years!
