How to glue drywall to the wall?
Modern technologies allow you to make self-repairing homes affordable and fun. If earlier the concept of “leveling the walls” meant first of all a search for a specialist who could do it, and many owners were simply baffled, then today it is enough to glue the walls with drywall, and you have a perfectly flat surface. It is fast, it is inexpensive, and, most importantly, can be done with your own hands.
Special features
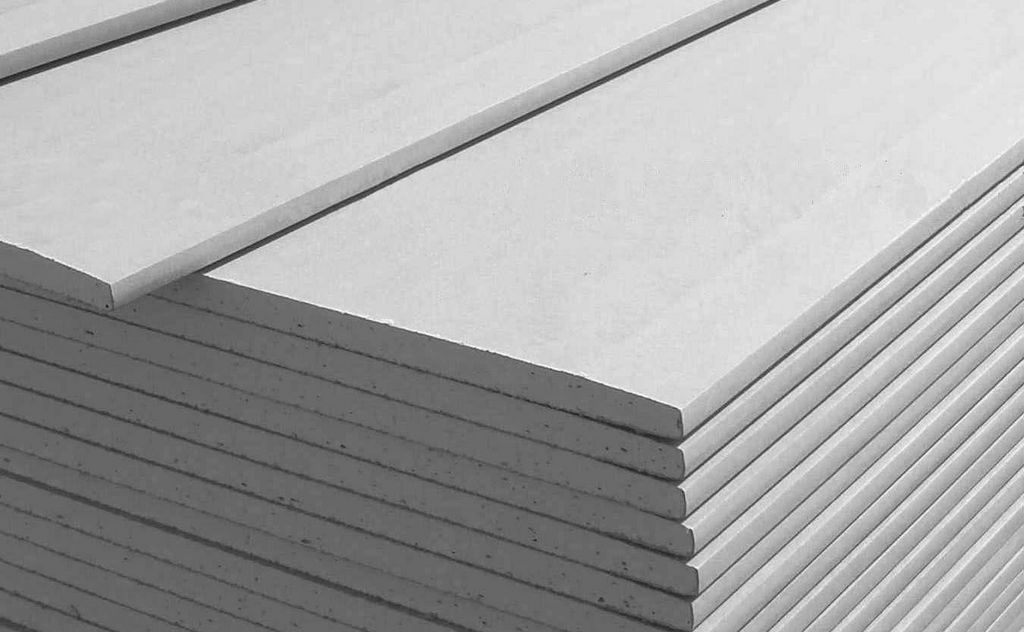
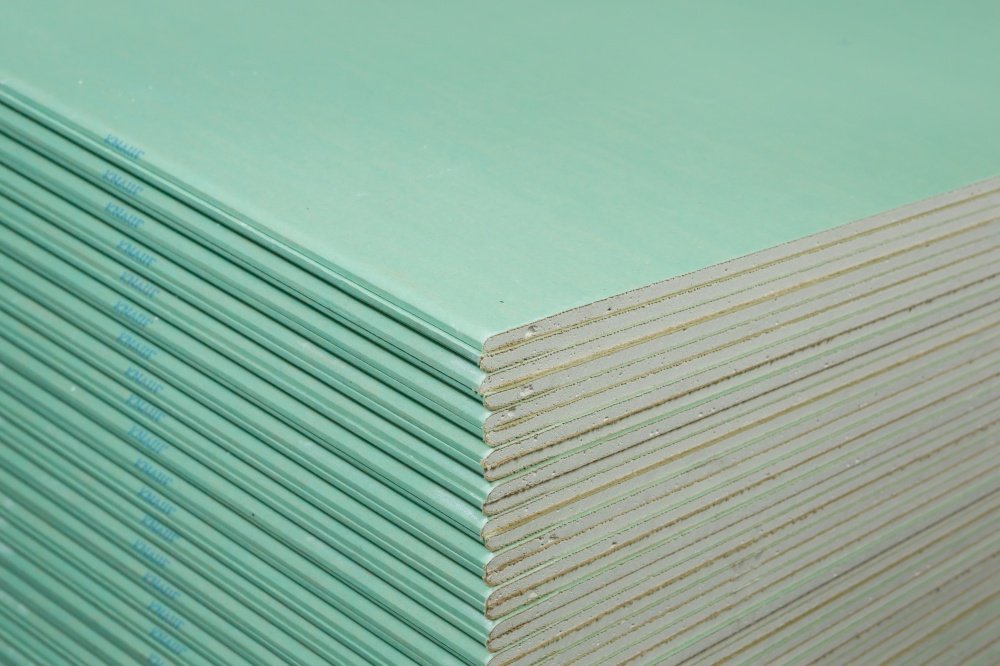
Universal building material - drywall - allows for a small amount of money and in a short time to self-level the walls, to mount an interior partition and much more. Drywall sheet consists of two layers of cardboard, glued with a layer of gypsum. The standard size of a sheet is 2500х1200х12,5 mm. This sheet has an area of 3 square meters and weighs about 30 kg. On sale you can find drywall and other sizes.
In practice, there are two options for fixing drywall sheets:
- using steel profile;
- using special glue.
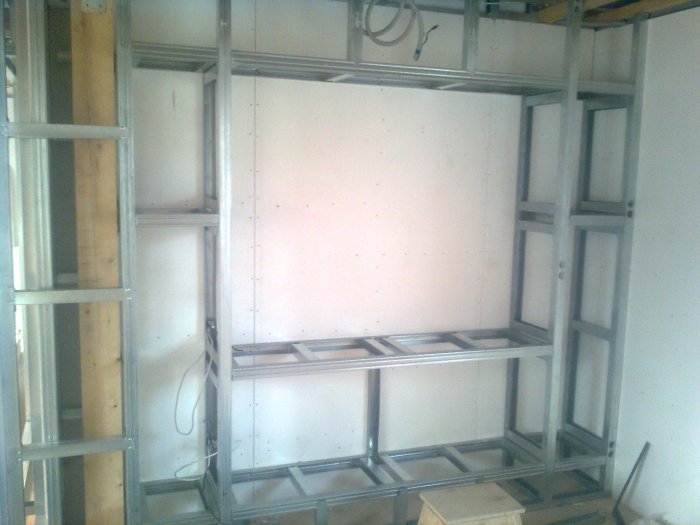
The first method involves the installation of a special metal structure for the further mounting of gypsum boards. This requires additional financial costs, as well as at least minimal installation skills.
For the second method, it is important to know how to glue the slab to the wall. Sticking drywall sheets can be done on any surface of the walls, you just need to remember that drywall is basically paper (albeit fairly hard), and like any paper, it is afraid of moisture. Therefore, designed drywall only for interior decoration.
Types of glue
The choice of adhesive solution depends on the appearance of the surface on which the plasterboard will be glued.
In the building stores you can find special adhesive compositions that can be used when working with drywall.
- Ceresit - this is tile adhesive, but plasterboard canvases are well glued to them.
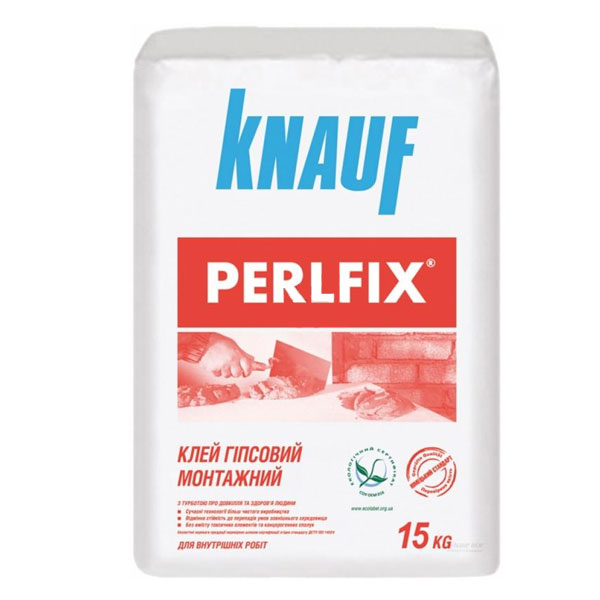
- Perlfix - allows you to glue drywall to porous surfaces, such as brick walls.Inexpensive and easy to prepare composition that is easily used in self-repair.
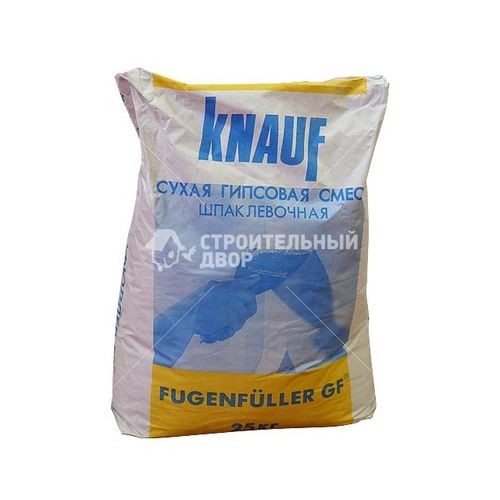
- Fugenfuller It is a dry putty, diluted with water, stirred by hand, thinly applied with a roller.
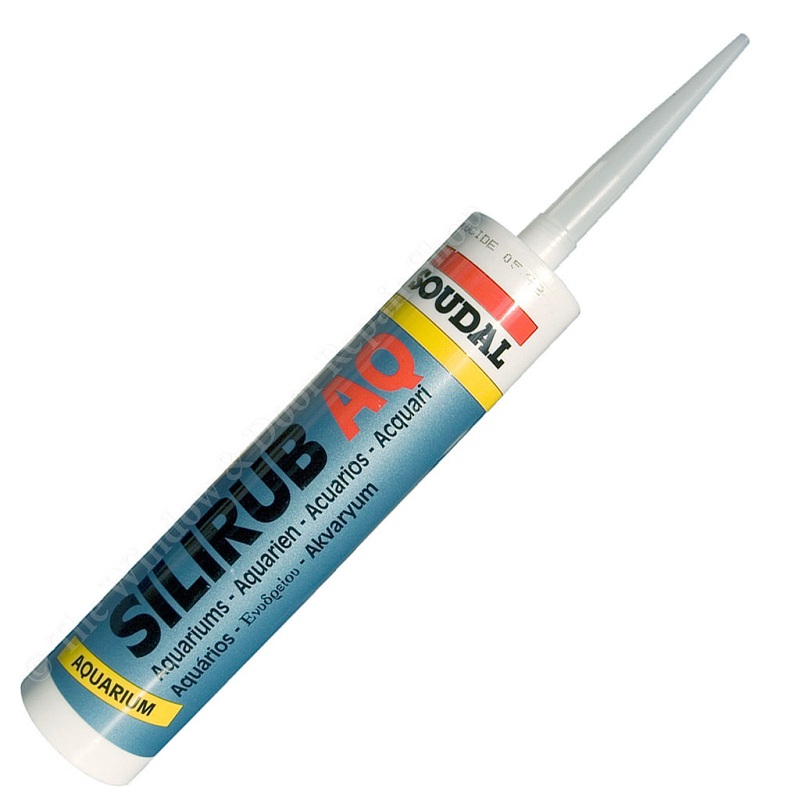
- Silicone glue. It is used in the event that it is necessary to glue a ceramic tile or a mirror onto the drywall.
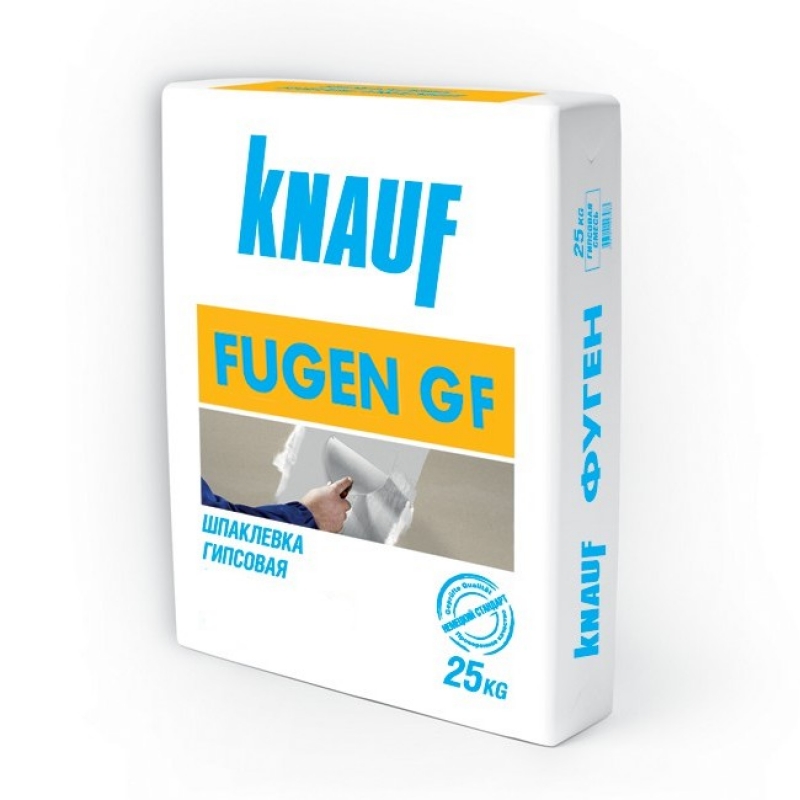
- Knauf Fugen. This composition is used for gluing plasterboard to the surfaces of walls that do not have defects. It has a plastic consistency. It is applied very thinly.
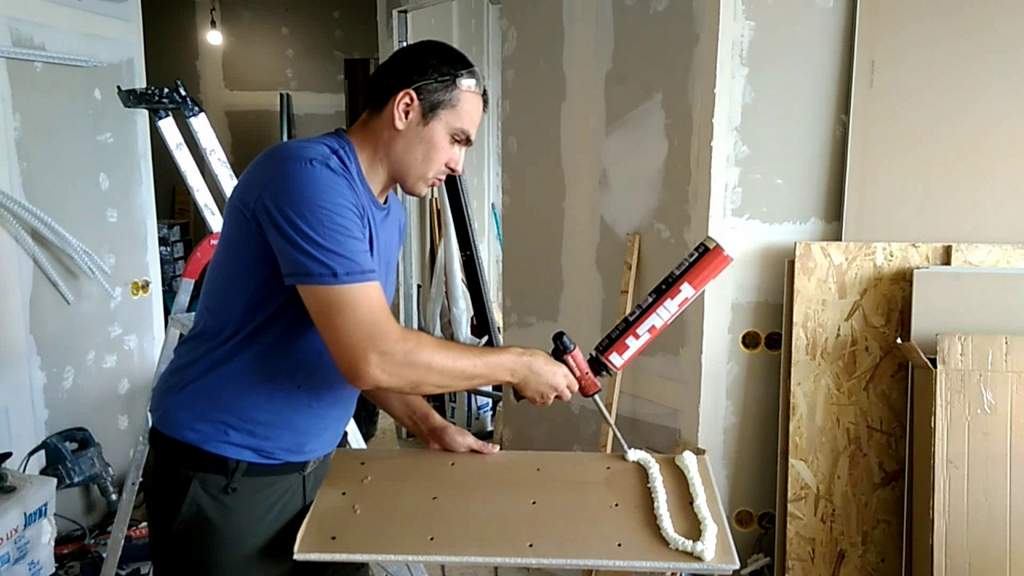
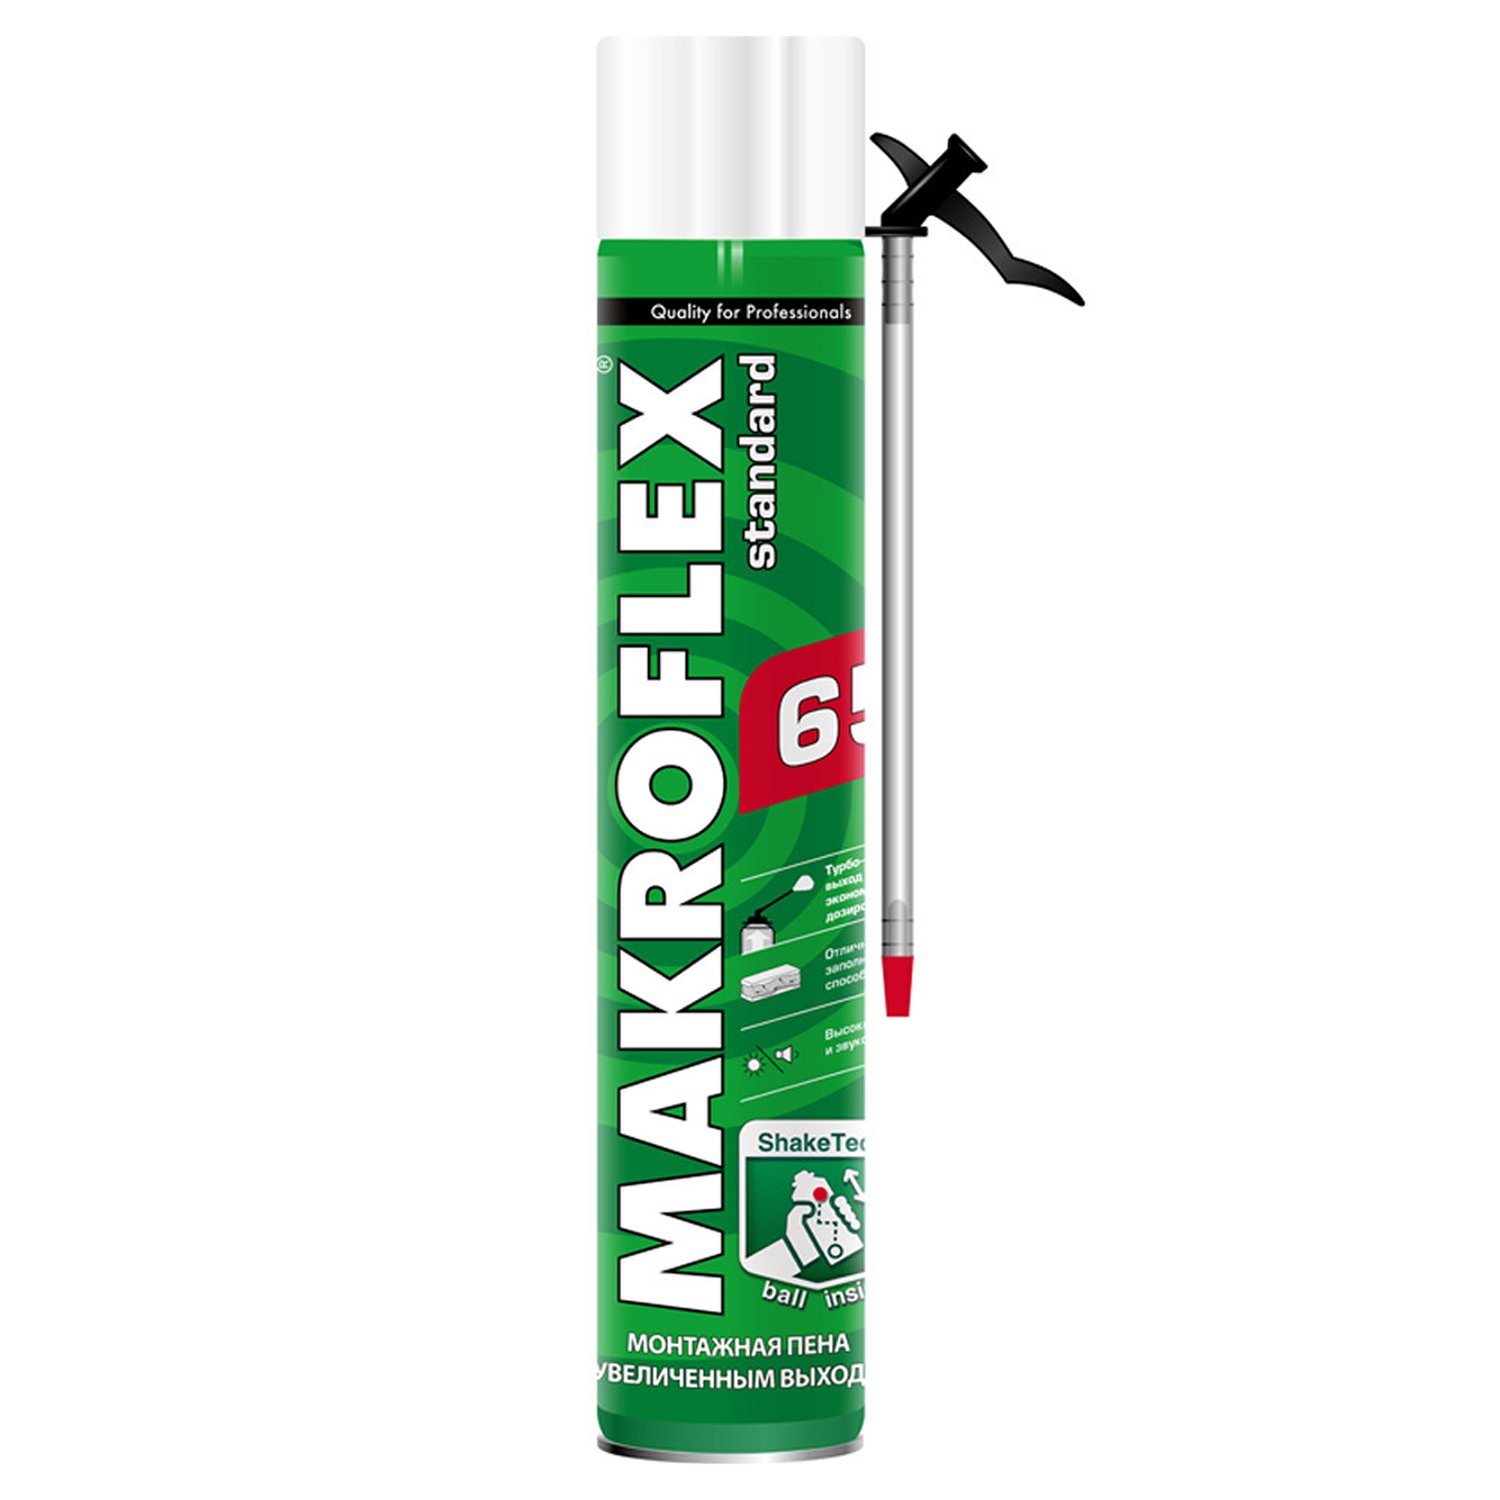
- Polyurethane foam. Convenient and easy to use material, inexpensive. For this reason, it is most often used in work with plasterboard.
Scope of application
The surfaces intended for pasting GCR are conventionally divided into three groups according to the material from which the wall is made.
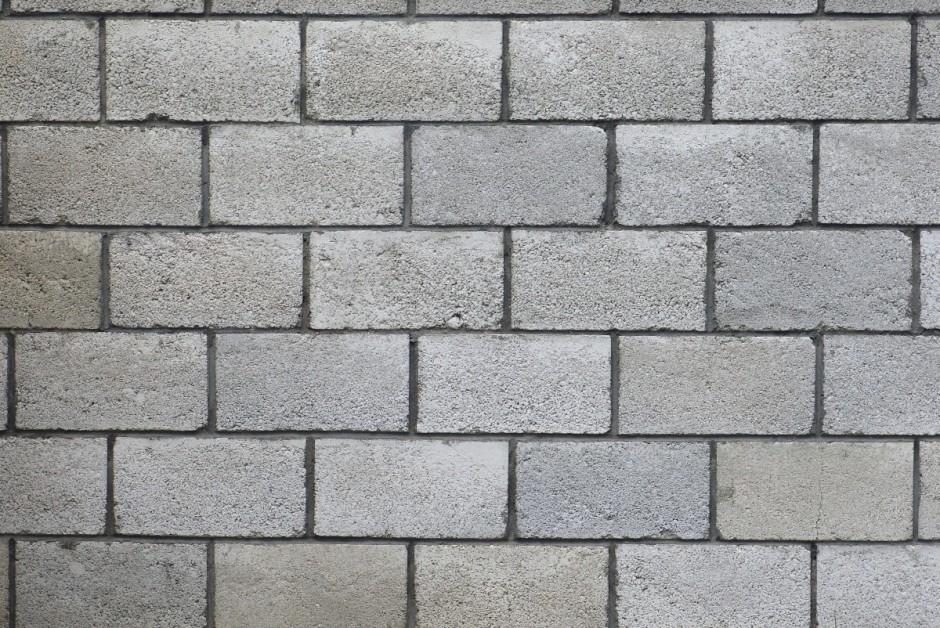
- Aerated plates. They have a relatively smooth surface. Irregularities are small, not more than half a centimeter. Drywall can be glued to aerated concrete with any glue. The most common is polyurethane foam.
- Wall of foam blocks. The surface of the foam block must first be well treated with a deep penetration primer.Let the foam block dry well for 12 hours. In the drywall every 40 cm to make holes with a diameter of 2-2.5 cm, apply PerlFlix glue to the wall, then glue the drywall, and remove the excess glue left through the holes with a spatula. This will ensure good reinforcement, which is important when using foam blocks.
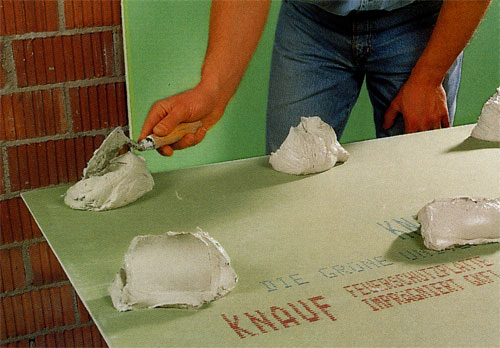
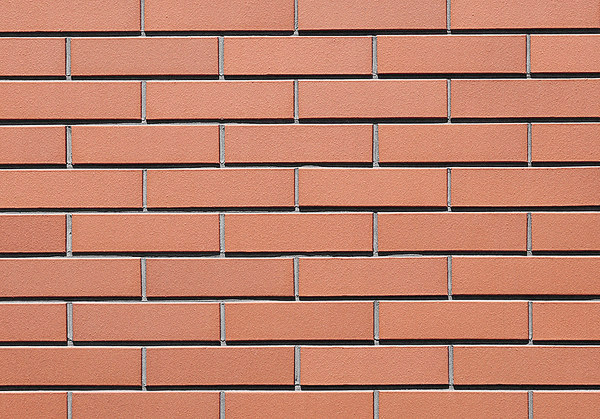
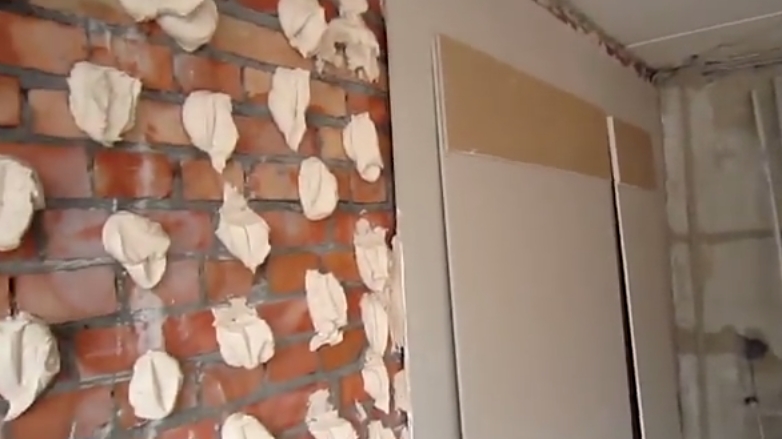
- Brickwork. When pasting walls of brick come in depending on the appearance of the surface. For smooth masonry, any glue can be used. For uneven brick surfaces, PerlFlix is ideal. Glue is applied to the sheets dotted around the perimeter. The thickness of the glue layer varies from 5 to 30 mm, the distance between the “points” should be about 30-50 centimeters.
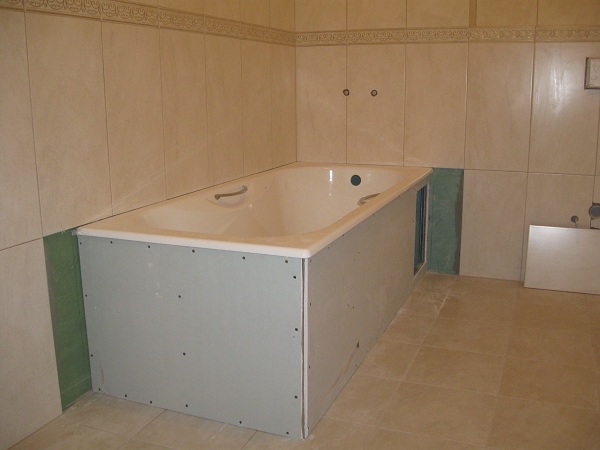
For the kitchen and bathroom use a special moisture-resistant drywall.
If necessary, drywall can be glued to the layer of insulation, for example, to penoplex. In this case, the insulation is glued directly to the wall with the use of any adhesive for the tile, and already on it, after drying, drywall is glued.
Preparation for installation
Before you begin to glue drywall, you need to prepare the walls, tools, buy glue and a sufficient number of drywall sheets.
The amount of drywall is calculated based on the area of the wall surface to be glued on the basis that one standard sheet has an area of three square meters. The area of the walls is divided into three, and this will be the required number of sheets of drywall.
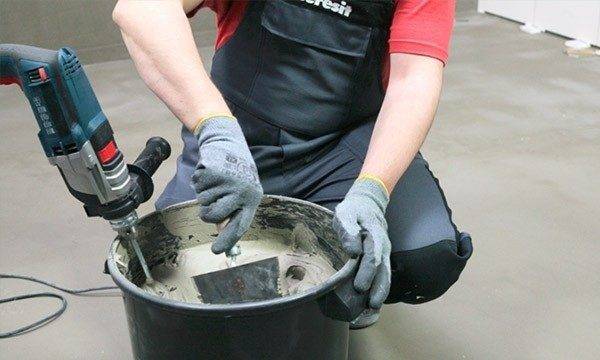
The amount of glue is also determined depending on the area of the glued surface. The manufacturer indicates on the packaging consumption per square meter.
You will need the following tools:
- putty knife;
- capacity for cultivation of glue;
- several wooden bars;
- knife;
- pencil;
- plummet;
- reinforcing tape;
- sealant.

To prepare the wall for plasterboard pasting it is necessary:
- using a plumb line to determine the degree of curvature of the wall;
- remove all protruding elements from the wall: nails, dowels;
- remove from the surface the remnants of old wallpaper, other finishes, ideally - to clean up to a brick or concrete base;
- clean the surface from dust, dirt, old primer;
- draw on the floor and ceiling lines, it is for them that the sheets will be leveled;
- To process a surface of a wall a primer, selecting it depending on material of which the wall is made.
DIY sticker
After all preparation activities are completed, you can begin to glue. The sequence of actions depends on which - even or uneven - surface is glued to the drywall.
Perfectly plastered with drywall surface, the irregularities of which are not more than 5 mm.
To such bases drywall is attached, performing a series of sequential actions.
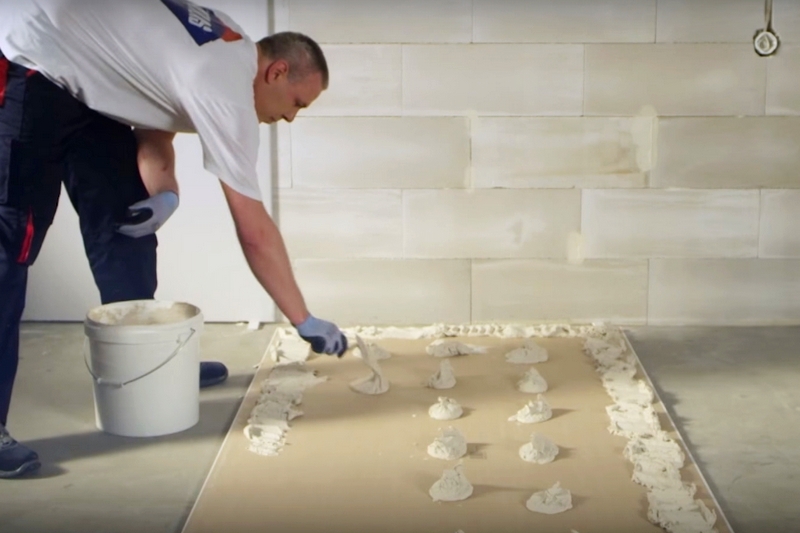
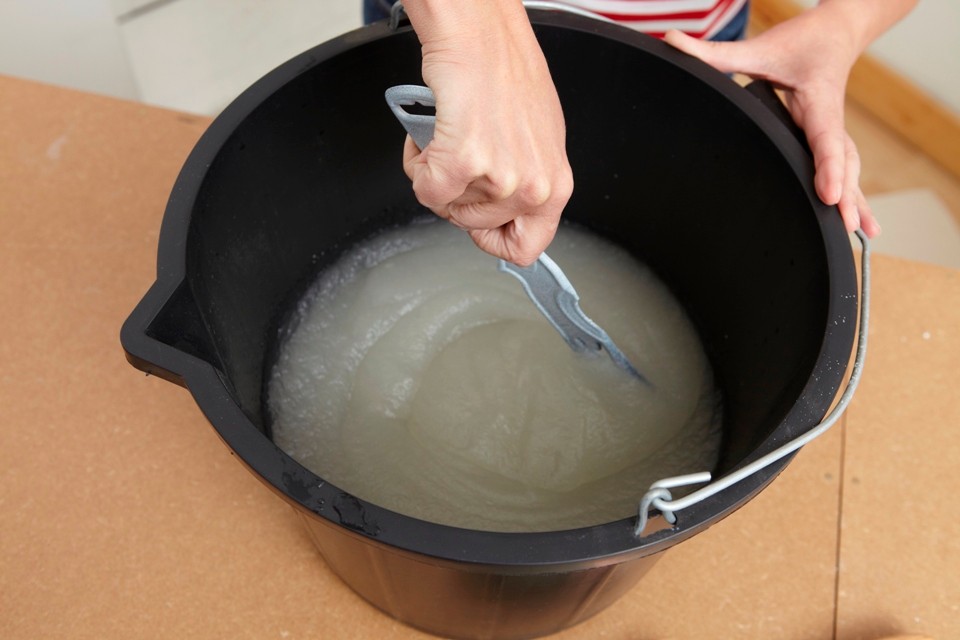
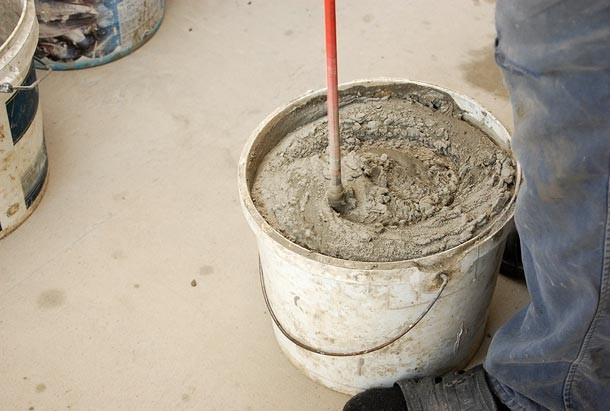
- Prepare glue according to package instructions. Diluted glue is not stored for a long time, so you do not need to dilute a large portion.
- Put on the floor along the glued wall several bars of centimeter thickness. This will ensure that the air required for the glue to dry is accessible.
- Place a sheet of drywall horizontally on the floor, placing a wooden block under it. So it will be convenient to lift it from the floor.
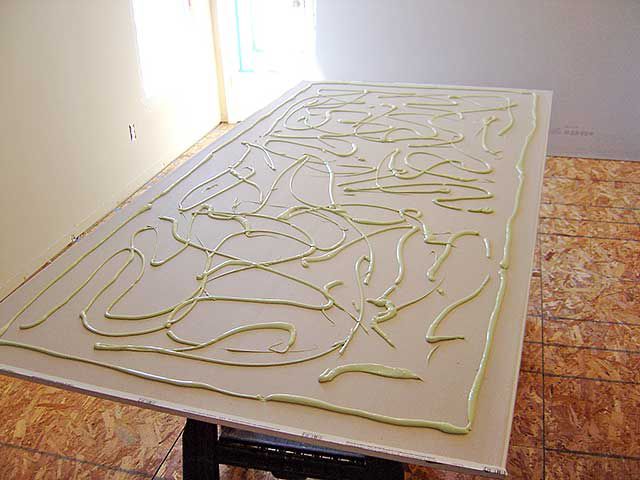
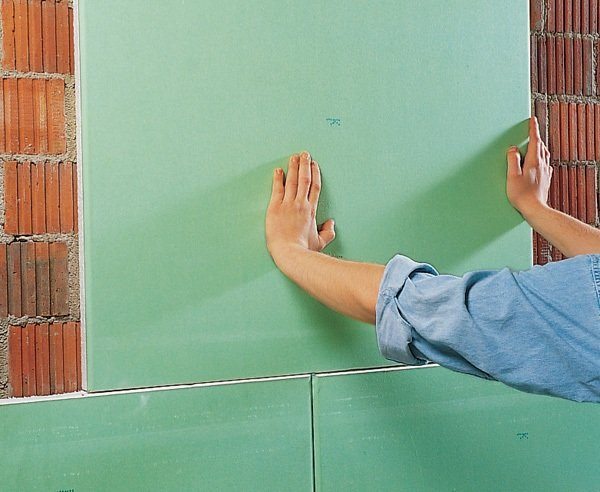
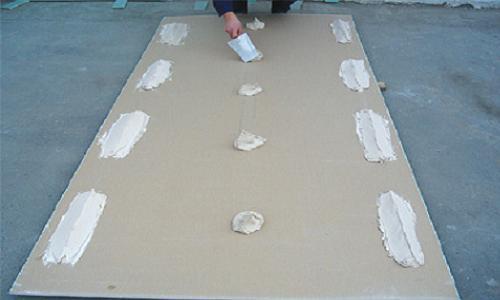
- Apply around the perimeter and in the middle of the sheet solid strips of glue with a notched trowel. At the same time, it is necessary to prevent the glue from going to the joint of the sheet.
- Raise the sheet and, putting it on the bars, press it against the wall.
- Align the sheet relative to the lines drawn on the floor.
- Attach the following canvas in a similar way.
Laying drywall start from the corner, gradually filling the entire wall. Sheets between themselves are located end to end. It is necessary to periodically check the straightness of laying the construction level.

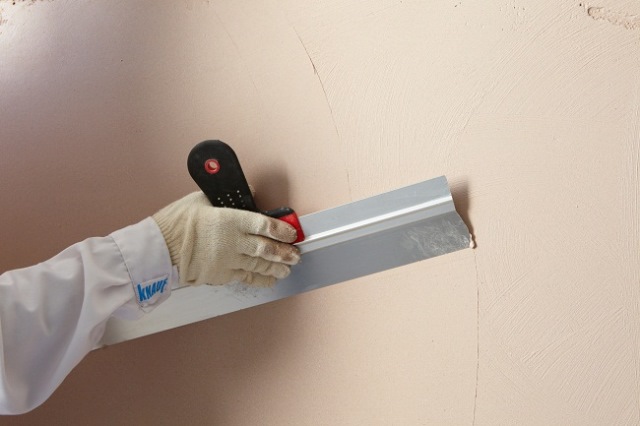
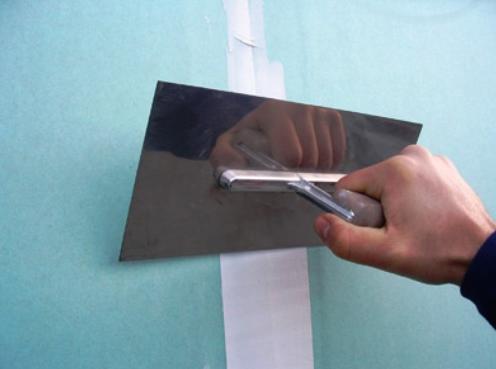
The seams between the gypsum plasterboard should remain flat and have a dense filling. Remove excess glue from joints with a spatula. The glue will dry for about 3-4 days. After this, the support bars are removed and the gaps are sealed with sealant.
To glue drywall with a wall of concrete or brick with irregularities of 0.5 - 2 centimeters, they do almost the same thing, only use another glue and put it differently.
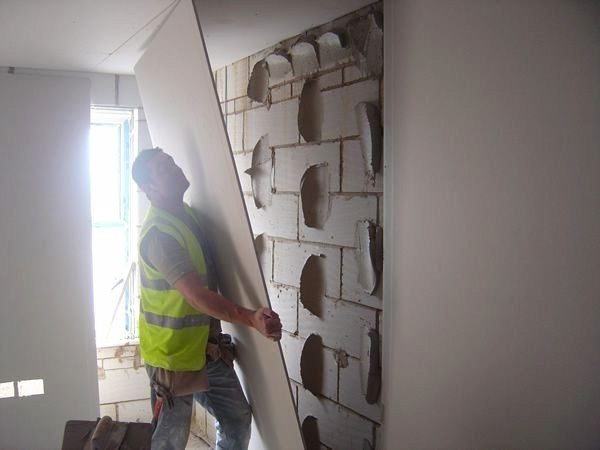
- Glue is applied point. The diameter of the "point" - 1.5 centimeters. The distance between such "points" is about 30 centimeters. For major flaws, PerlFlix glue is used. Just as in the first case, the glue is applied around the perimeter and center, it is possible diagonally.
- After applying the glue, the canvas is placed on the bars, leveled by markings and pressed against the wall.
If the defects on the surface are large, in order to obtain a better result, they make a frame from plasterboard strips.
- The canvas is cut into strips, the width of each 10 centimeters.
- The strips are pasted vertically at a distance of 50 centimeters from each other using PerlFlix glue.
- Check the location of the bands strictly in the same plane. From the well-formed frame depends on the appearance of the future surface.
- Give the frame for 2-3 days to dry.
- Gypsum plasterboards are glued to the dried frame using a Fugenfuller compound or liquid nails.
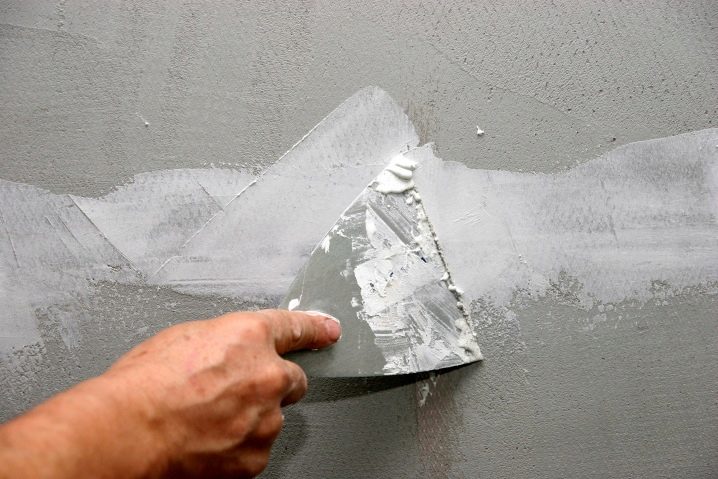
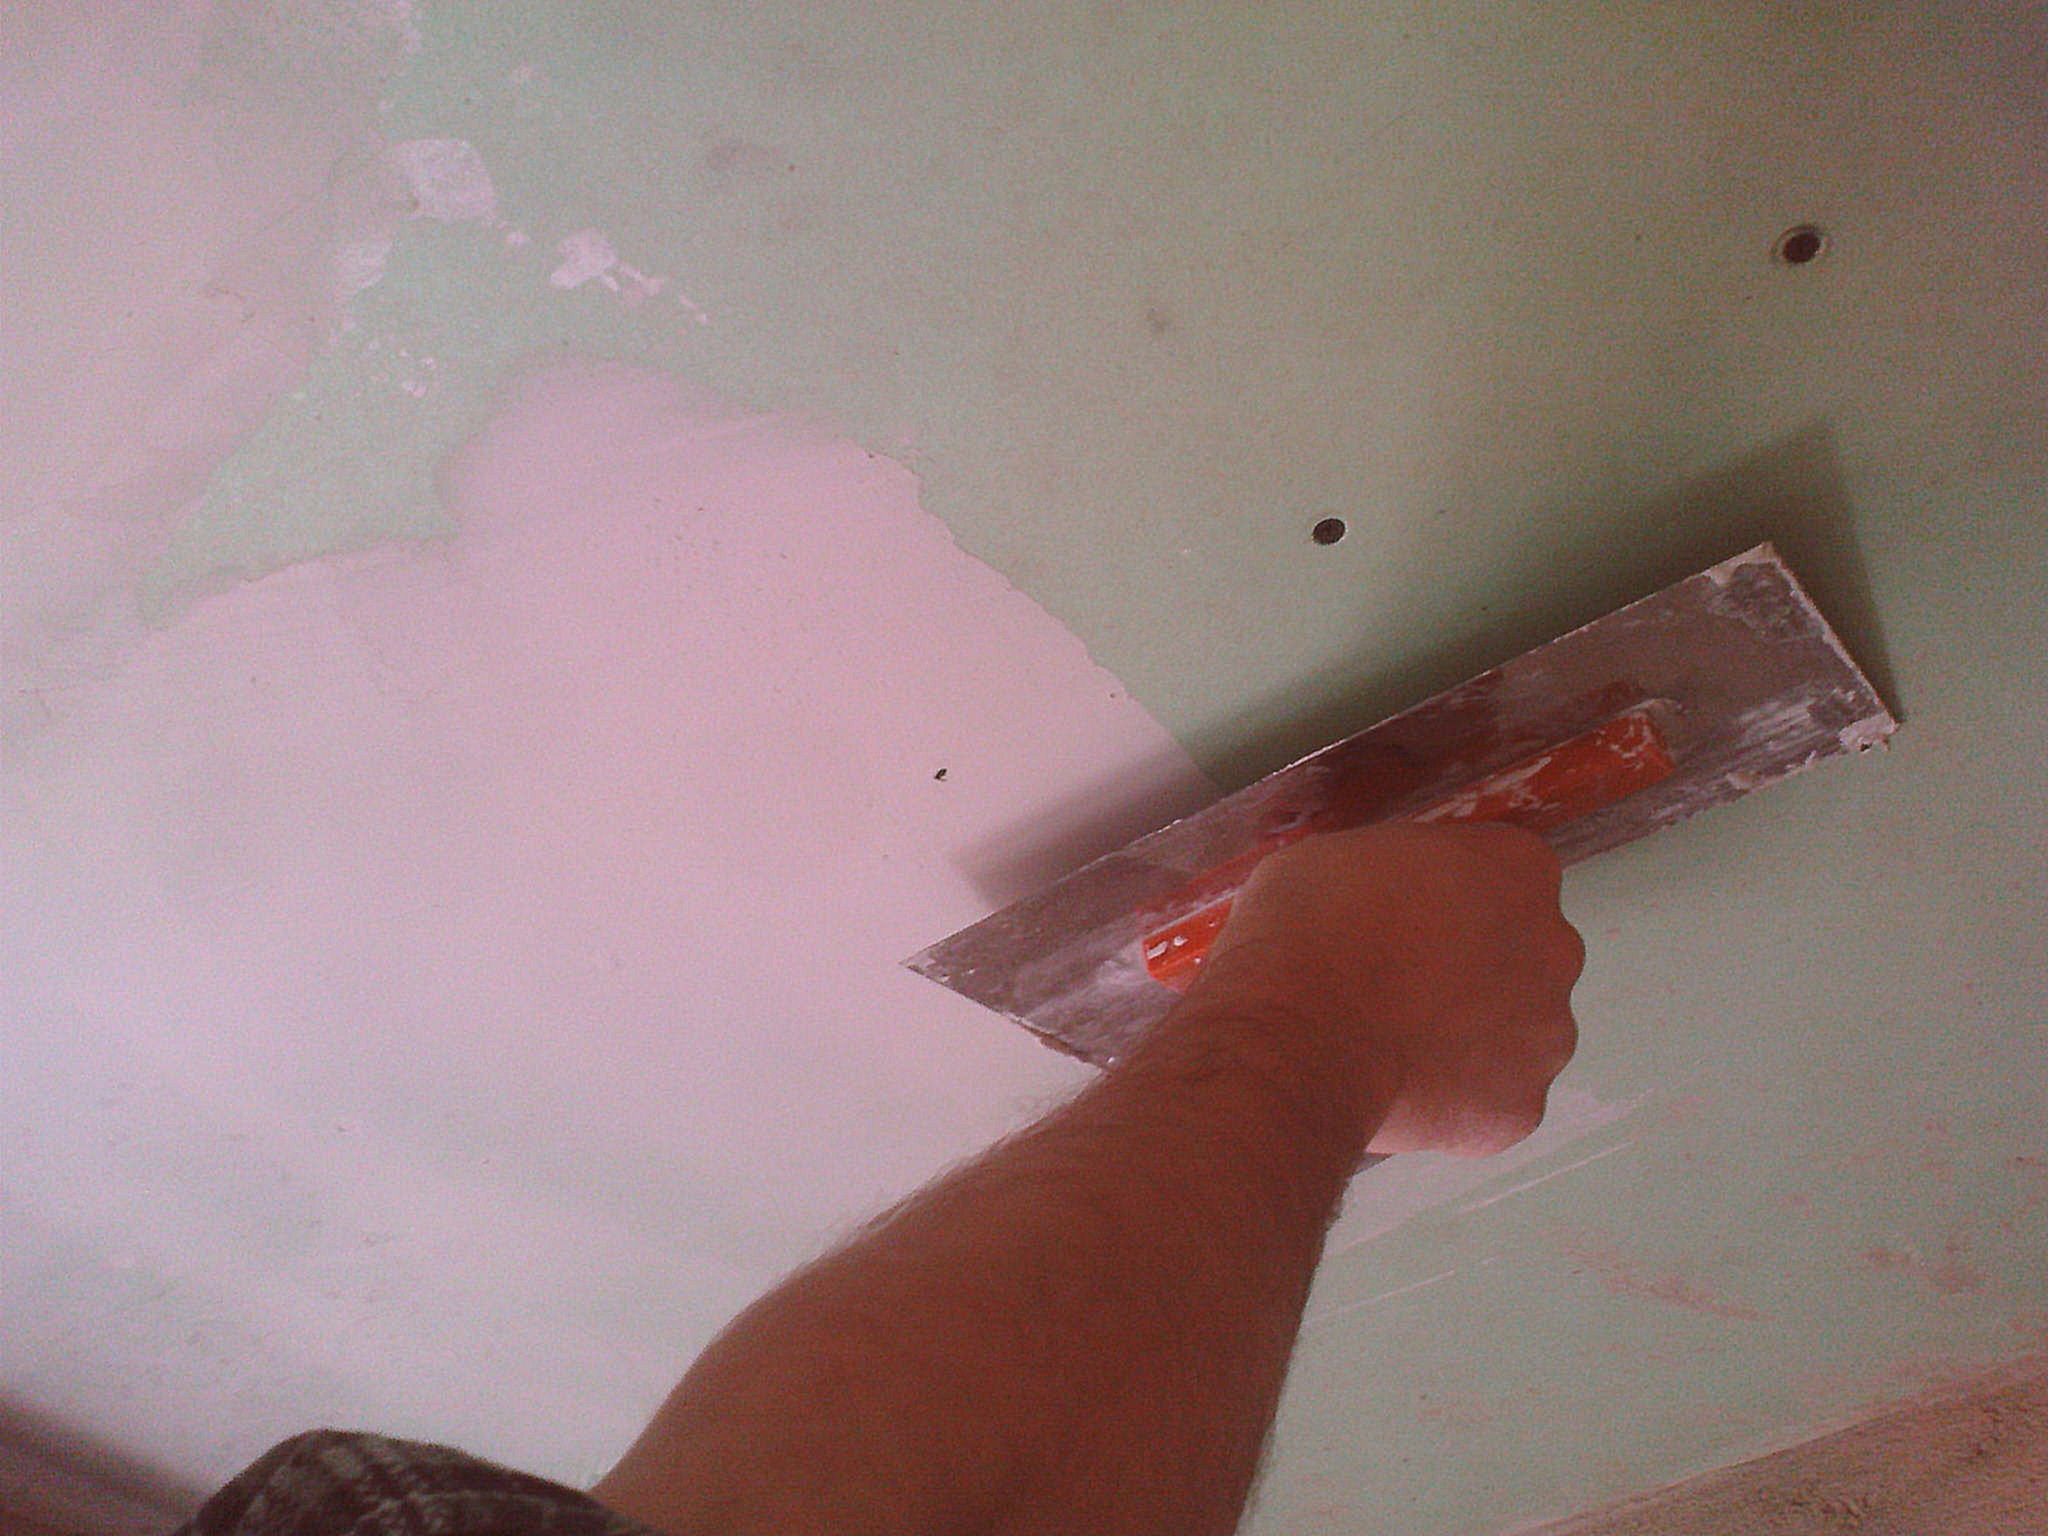
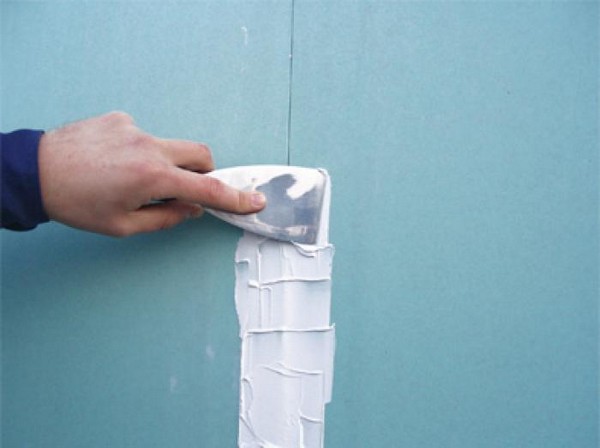
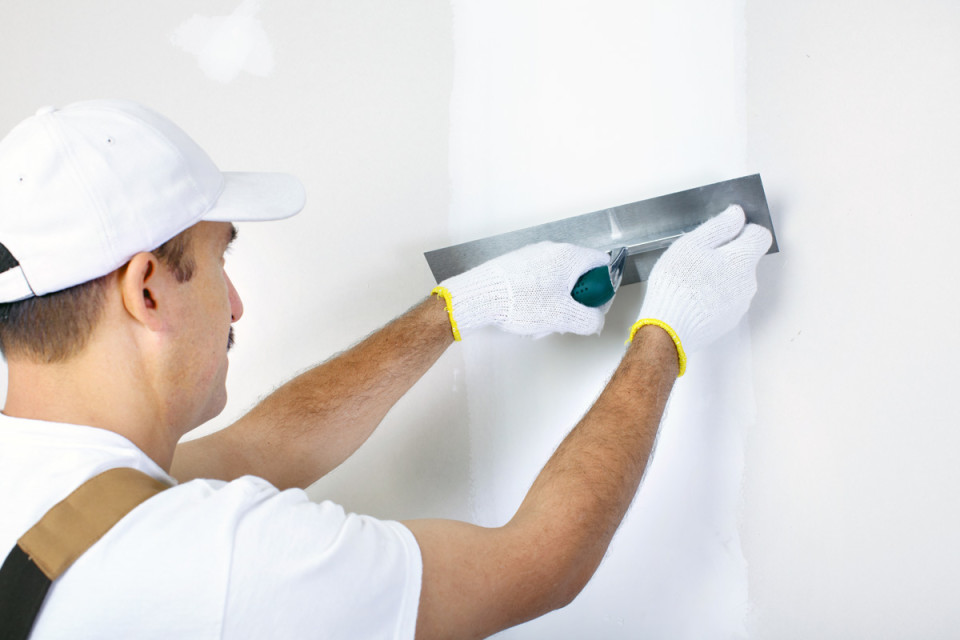
After the glue has completely dried it is necessary to putty the joints:
- apply putty for leveling;
- press in the reinforcement tape;
- after drying, apply a layer of leveling putty to the joints;
- seal the gap at the junction with the floor sealant.
If in the process of work it is correct to observe all the subtleties of installation, then even the most uneven wall initially after gluing with drywall will look ideally plastered. After all, no wonder drywall is often called dry plaster.
Cosmetic finishing is done only after complete drying of all materials.
Tips and tricks
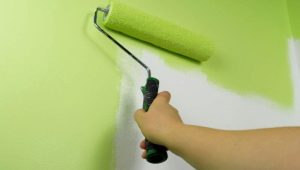
Properly glued drywall - only half the battle. This is followed by finishing work: pasting HL wallpaper, tiling or painting.
Drywall is of different types.
- GCR - standard drywall sheet. Used for interior decoration with normal humidity.
- GKLV - gypsum plasterboard with hydrophobic impregnation. Used for decoration of kitchens, bathrooms and toilets.
- GKLVO - gypsum plasterboard, having, in addition to moisture-proof impregnation, fire-resistant processing. It has high heat resistance. Used for finishing baths and saunas.
Drywall for sticking wallpaper or tiles must be prepared, otherwise there may be various troubles.
- the fall of wallpaper sheets or the lagging of the tile due to the rapid elimination of the GCR of all moisture from the adhesive composition;
- tread grooves in the places of longitudinal docking of drywall;
- very noticeable wallpaper junction with matching docking seams on wallpaper and drywall.
Processing drywall before finishing is the following steps, performed in a strict sequence:
- padding;
- reinforcement seams serpyankoy;
- puttying;
- grinding
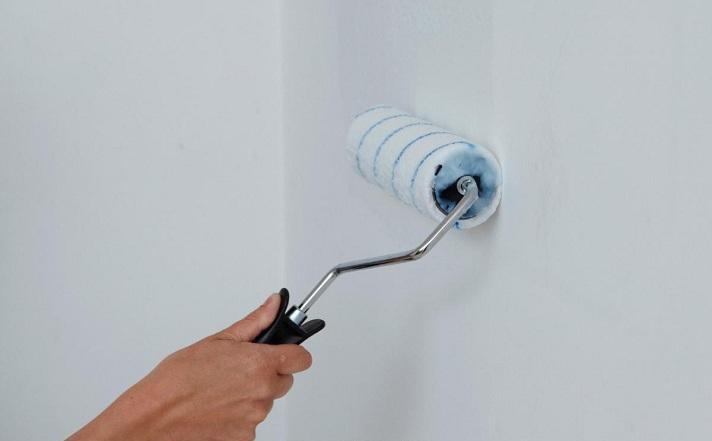
Primer taken intended for deep impregnation of finishing surfaces or on the basis of acrylic suspensions. Much depends on the quality of the selected primer: this is the degree of adhesion of the solution to the surface of the gypsum plasterboard, and the quality of gluing of the wallpaper.The priming process itself consists in a thorough, without gaps, coating the surface of the gypsum plaster with a strengthening solution. Work is performed by a roller, and in inaccessible places, for example, in the corners, use a paint brush.
There is no need to prime moisture resistant plasterboard. It has already been infused by manufacturers. In this case, ground only the place where the putty was made - joints, flaws.
Ground the wall in a single layer. The primed surface is allowed to dry for 4-5 hours.
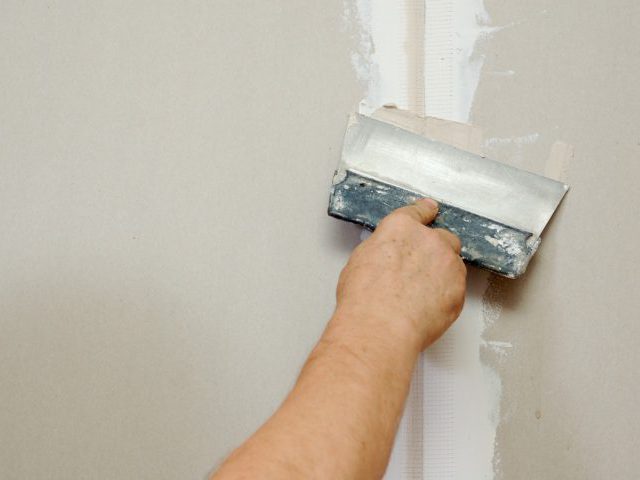
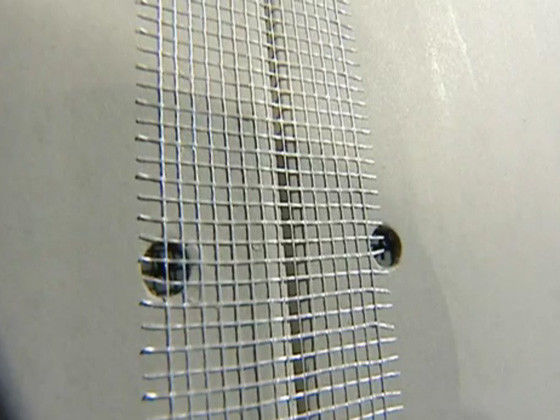
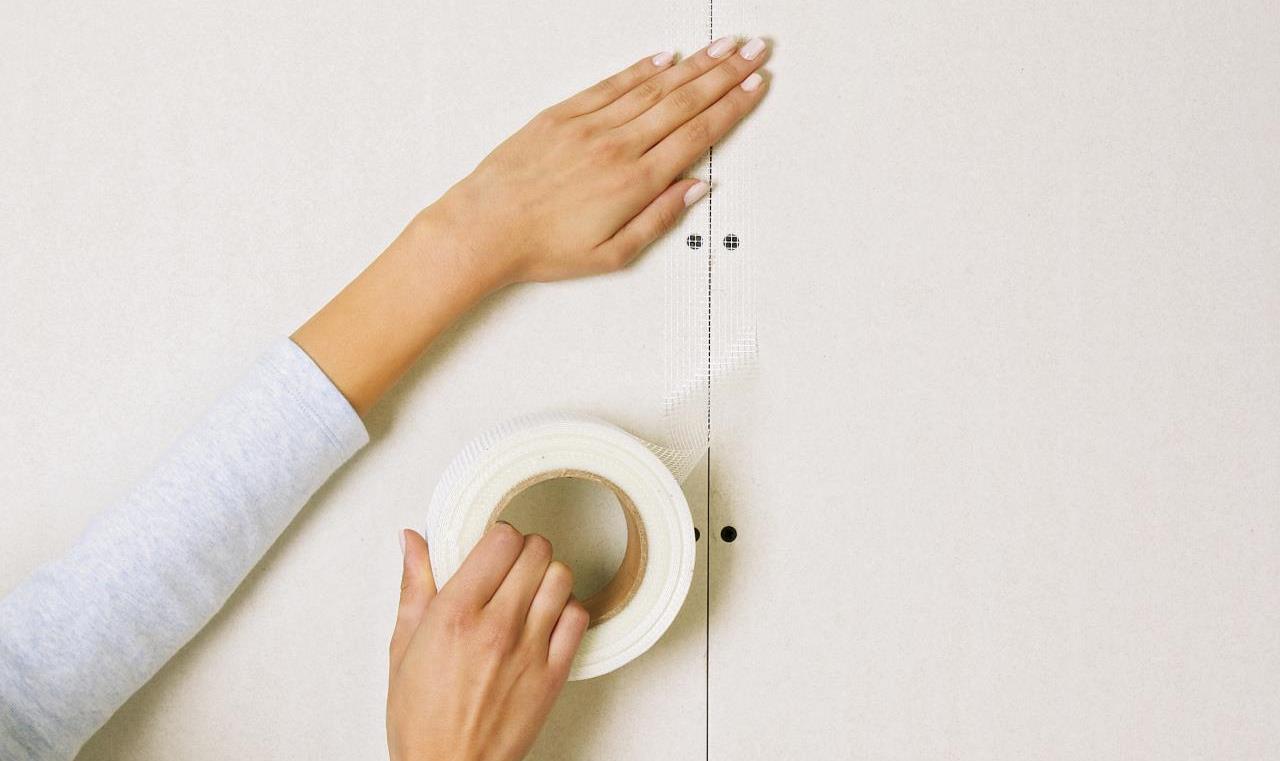
After drying, it is necessary to glue everything - both longitudinal and transverse seams of serpyanky. Serpyanka is a self-adhesive fiberglass mesh. It has a different width. In this case, strips 10 centimeters wide are used. Although the mesh is self-adhesive, it should be pressed down well to the surface. And Serpyanka afraid of drafts, and under the air flow quickly disappears.
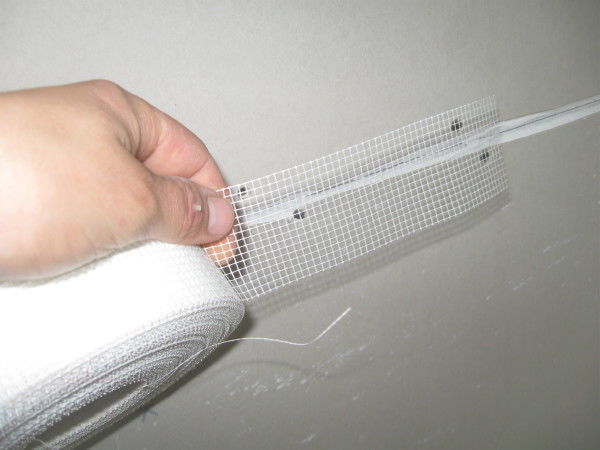
Gluing seams serpyankoy allows you to strengthen and mask the seams, to make them subsequently almost invisible. Then, glue-putty is prepared, which is literally pushed into the seams by transverse movements of the spatula. It is necessary to fill the seam as completely as possible, but so that the putty does not protrude to the surface.Do it twice.
After drying, the walls are covered with a thin layer of the finishing solution. Allow to dry.
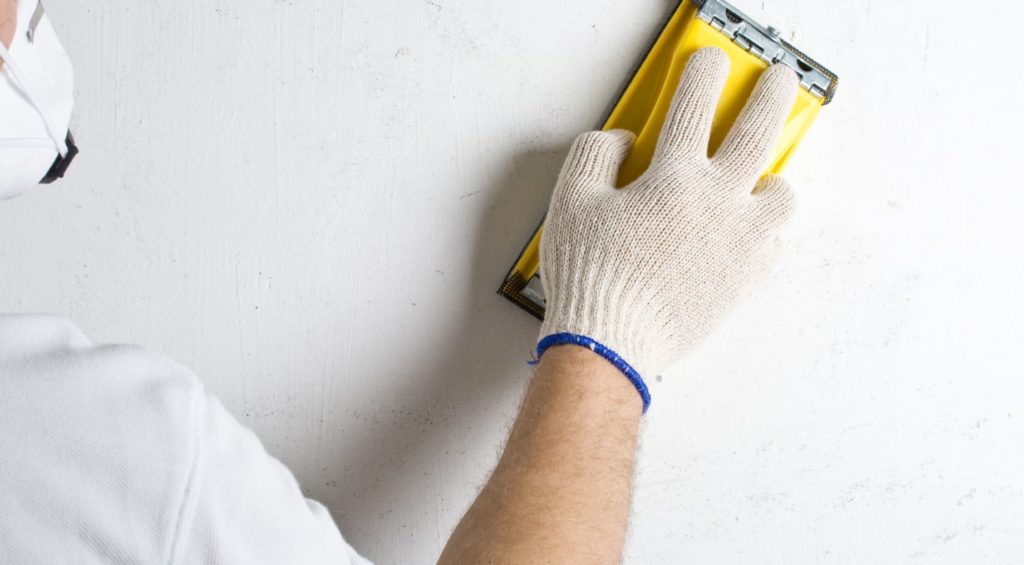
Grinding the surface allows you to fix the blemishes of all previous stages. It is carried out without unnecessary fuss, lightly rubbing abrasive along the wall plane.
Tips and tricks from experienced gypsum plasterboard masters to do the job with high quality. As a result, the walls in the room will become perfectly smooth, and the sheets will hold firmly.
- All electrical work is carried out during the preparation of the walls. If necessary, in the wall make channels for wiring. In the gymnasium in advance make neat holes for sockets and switches.
- Drywall can be glued to the plastered surface only if the plaster is in excellent condition or there is no lime layer.
- In this case, both conditions must be fulfilled simultaneously. If you find the slightest error layer of plaster must be removed.
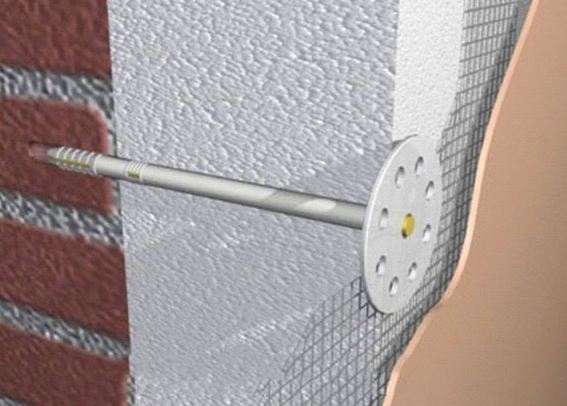
- To provide additional strength, use dowels, 4 for each plate.
- Works are carried out at a temperature not lower than +10 degrees.
- Having bought drywall, it is left for a few days in that room,in which it will be pasted.
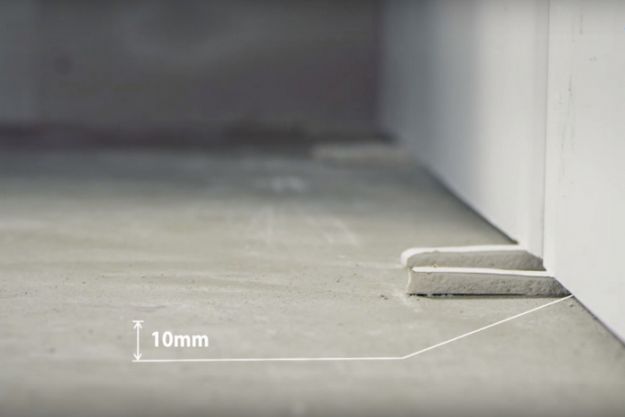
- Drywall is cut so that there is a gap of 1 centimeter between the sheet and the floor. This is done in order to protect the gypsum board from moisture from the floor.

- The selected material must meet the requirements of the room.
- The material must be of good quality. Then the walls of the GCR will last more than 10 years.
- It is necessary to observe all stages of work. Ignoring, for example, priming can turn into unpleasant surprises in the form of cracks, rotting, chips in a year.
- You must use professional tools that can be purchased at any hardware store.
- For cutting drywall fit ordinary paint knife.
- To remove scratches from the surface of the drywall, a reinforcing tape is used: the damage is expanded, filled with a putty, the tape is placed on top and pressed into the plaster.
Do not forget about the little things, because they are very important for a quality result
How to glue drywall on the wall, see the following video.