Mosaic worktop: ideas for repair
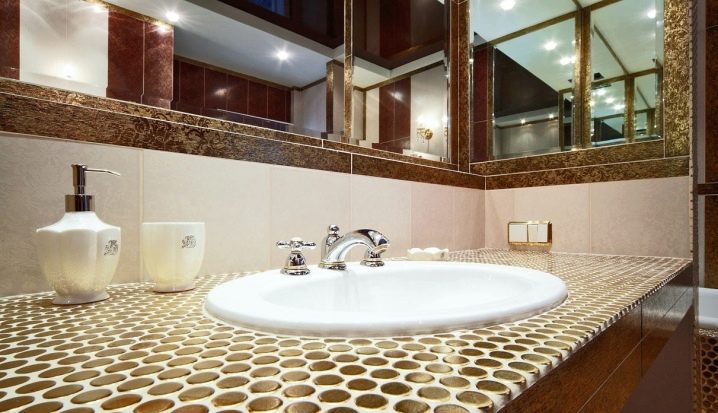
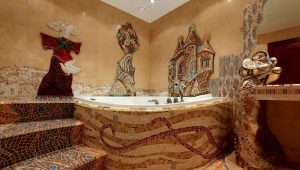
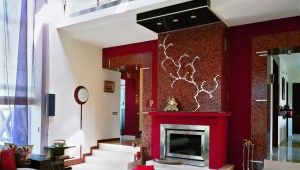
A mosaic top will make your interior luxurious and exclusive. A wide selection of mosaic tiles in hardware stores will help to finish the kitchen or bathroom in Italian or Oriental styles, to give the tabletop strength and durability. The power of this decor do it yourself, if you follow the advice of professionals.
Special features
Ceramic mosaic tile has excellent performance. In the first place - resistance to mechanical stress and abrasion. Mosaic made on modern equipment and advanced technologies, practically can not be chipped and not damaged by scratches. In addition, it is not afraid of moisture at all, which allows it to be used in rooms with high humidity: kitchens, bathrooms, saunas.
The mosaic has a high coefficient of stability when exposed to high temperatures,therefore, it is finished with surfaces adjacent to a kitchen stove or a heating device of a sauna or fireplace with an open fire.
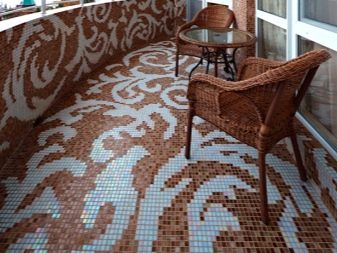
Hot items (pots, pans) can be put on the tabletop without fear of burning the surface. The tile has good frost resistance, so with success it can be used to finish the balcony, cottage or barbecue area.
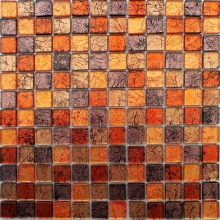
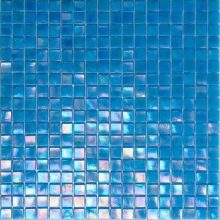
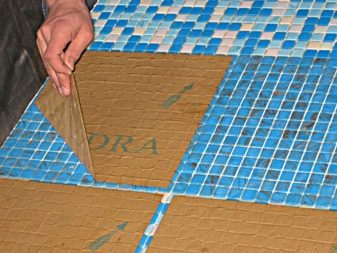
Trading networks offer a wide range of mosaics with high decorative qualities, a variety of colors allows you to choose the ones you need to create a stylish interior. The choice of consumers are numerous compositions and mosaic panels. For ease of installation, mosaic tiles are mounted on paper sheets or grids, they are glued to tile adhesive with blocks or cut out the desired shape with a construction knife.
The technology of making mosaics makes the color and pattern of the tiles unchanged throughout the operation, the color does not fade and does not tarnish from external factors: ultraviolet radiation, high temperatures, aggressive chemical household care products. This material is easy to keep clean.
Finishing technology
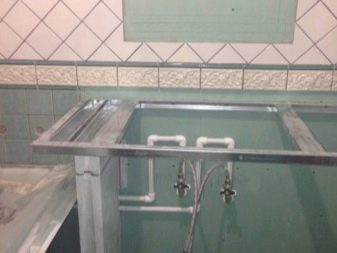
The strength and durability of the mosaic tabletop depend on a properly prepared surface for finishing. The first step is making the frame. The design can be made of wooden bars with a cross section of at least 50x50 mm or a metal profile. The metal profile in rooms with high humidity is preferable, since the wood can rot. Before starting work, the framework is drawn on a sheet of paper to scale, the right amount of material is calculated. After that, the lines and the polyline are drawn on the walls and on the floor.
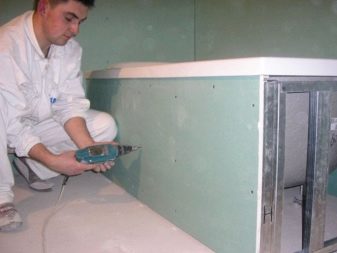
Then cut the desired length of the pieces of timber or profile. On the self-tapping screws, the outlines of the frame are fixed on the floor and walls, vertical screws are fastened to them with screws and a rigid bond is made with the upper contour. Give the desired thickness to the tabletop. If a tabletop is needed thin, then the edge of the profile will serve as an edge. The profile is produced in various widths: 28x27, 50x40, 65x40, 75x40, 100x40 mm. Pick up the right size.
The frame structure can provide shelves or storage space. For the manufacture of curved elements on the sides of the profile, the cuts are made in 2-5 cm increments and bend with your hands to the desired radius. Curved elements may require additional stiffeners.
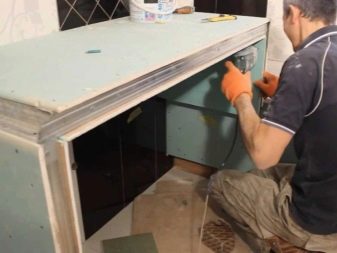
After installation of electrical wiring, sewage, water pipes proceed to the second step - covering the frame. Professionals are advised to choose drywall with high moisture resistance or DSP. According to the scheme, cladding parts are cut out and fastened to the frame with screws with a pitch of 10-15 cm, for complex shapes the mounting step is made smaller. In the plane of the countertop is cut a hole for the sink, cooker or communications for the supply of gas, water, electricity.
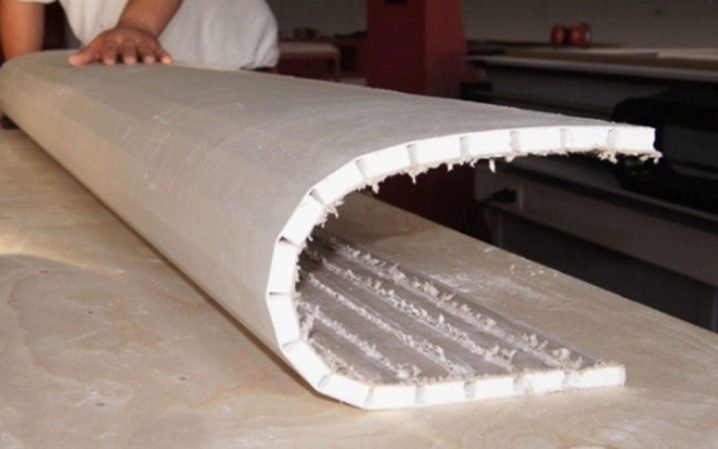
Radial parts can meet in the frame - they are best done with arched drywall.
Flexible HL is moisture resistant and has a thickness of 6.5 mm. It bends well and in a dry way due to the presence of a layer of fiberglass in it. For steep relief lines, a wet method is used: one side of the gypsum board is rolled with a needle roller and moistened to saturation with moisture, preventing wetting of the back side. On a pre-prepared template from the most convex part, gradually bend the strip of gypsum boards to the edges, fix, leave to dry and then fix to the right place.
Arched GCR - thin material. To give strength to the structure it is laid in two layers. It is necessary to cut parts from a sheet along the long side: the arrangement of fiberglass fibers does not allow to bend in the transverse direction. The edges of all the joints are cut at a 45-degree angle to a depth of 0.5 cm, glued with a serpyanka using plasterboard putty, ground and putty to hide the defects of the joints, since the mosaic requires a smooth base. Now the frame is prepared for finishing mosaic.
The third step is gluing the mosaic. The choice of mosaic is huge.
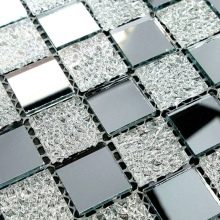
- Mirror tiles. Visually increase the space and hide irregularities.
- Smalt mosaic - opaque glass, smelted under special conditions in a mixture with a resistant pigment. Gives a wealth of color refraction. One of the most durable materials.
- Venetian glass - the most expensive and spectacular type of tile. It features a beautiful color transition and transparency.
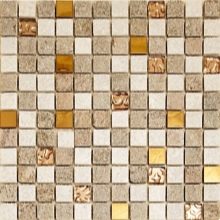
- Mosaic from a natural stone. It will give a noble finish, but not all types of stone can withstand high humidity in the bathroom or sauna - this information must be obtained from sellers before purchasing.
- Porcelain stoneware mosaic tile. Win-win option for durability, wear resistance and resistance to the effects of different temperatures and moisture. It has the widest palette of colors and textures.
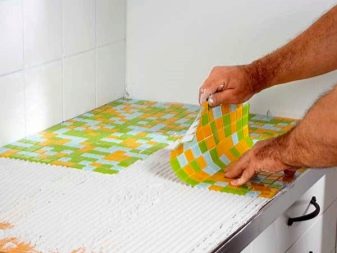
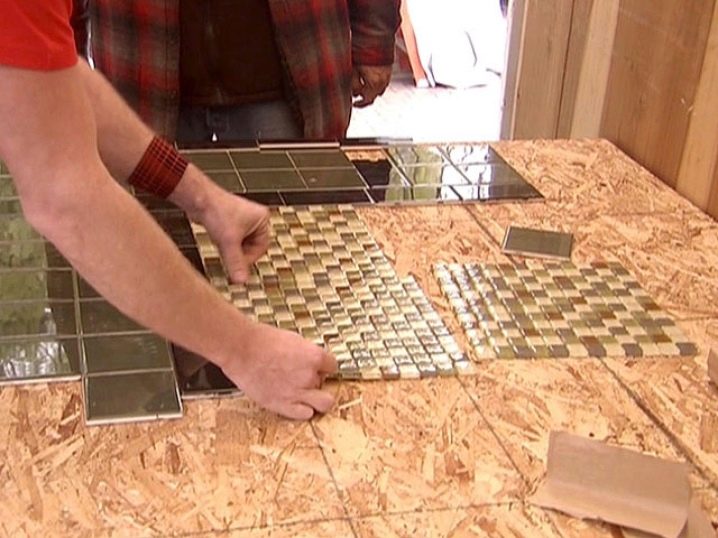
The simplest option is pasting with a tiled mosaic attached to a grid, paper or silicone. The tiles are matched in color, texture and composition already at the stage of industrial production - the master needs only to glue the finished fragments. The surface is primed, tiled glue is applied with a special comb spatula. Glue is used moisture resistant, in the presence of a vibration factor, for example, near the subway, select deformative glue.
It should be borne in mind that the transparent tiles will make visible a layer of glue, therefore, white tiled glue is selected for the glass.
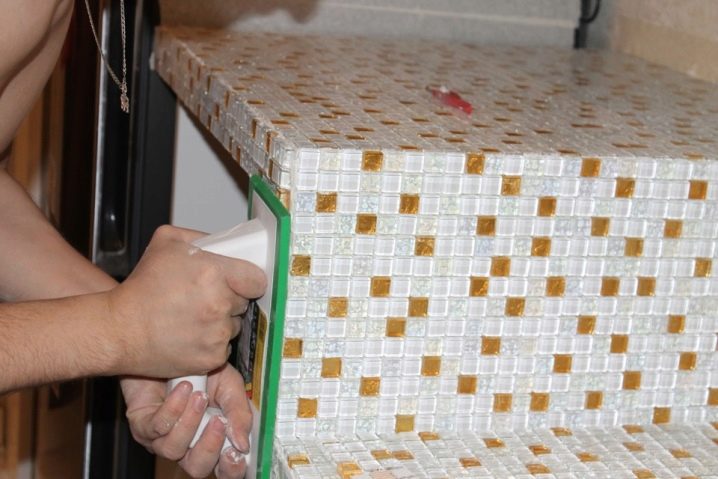
They begin to glue from the front edge of the tabletop, tint the parts against the wall. The end part is trimmed last: pick up the appropriate arrangement of the tiles at the junction, observing accuracy and meticulous sizing - this will be the most visible part that will be most affected. All the work is carried out with the use of a building level and is constantly checked to ensure that there are no voids under the mosaic tiles.
The fourth step is to apply the skirting board and grout the joints. Ceramic plinth for tiled mosaic is matched to the tile. It is also attached to the glue.You can do without plinth, if it is good to seal the joint with the wall with cement mortar. Overwrite the seams with a special grouting agent that comes in a variety of colors. After that, you can install the sink, faucets and connect communications.
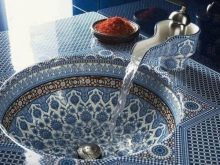
Italian sink
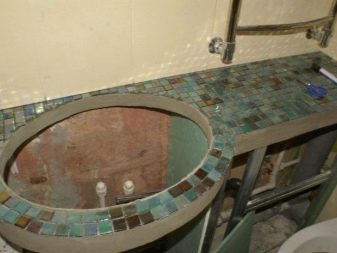
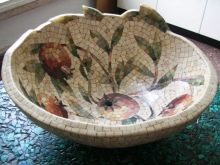
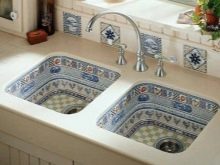
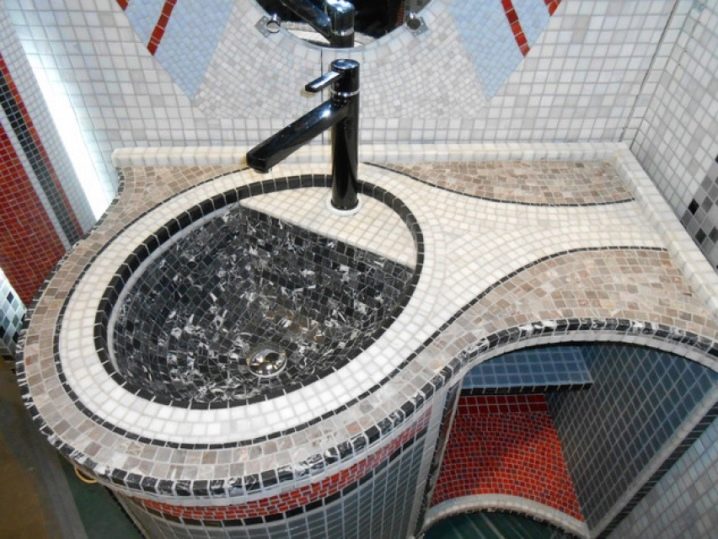
Anyone familiar with the architecture of Italy, certainly paid attention to the beautiful mosaic ensembles in the interiors, where everything is made of mosaic: tables, sofas, flower vases, bathroom bowls and sinks. Today, anyone can lay out an Italian shell at home. The technology is the same: mosaic old faience sink or set the bowl, cast from concrete. It can be cast by yourself, using two dishes of different diameters instead of silicone mold.
Laying the mosaic on the inside of the sink will have to be done manually by one tile, making sure that the edges of the tiles are in the same plane and not protruding - they do not create roughness. This is hard work, but you will be rewarded with a luxurious interior.
Improvised mosaic
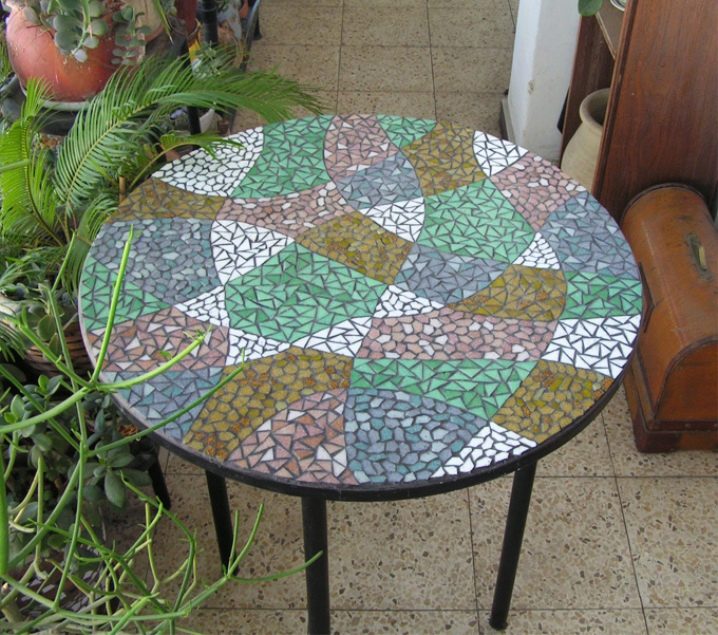
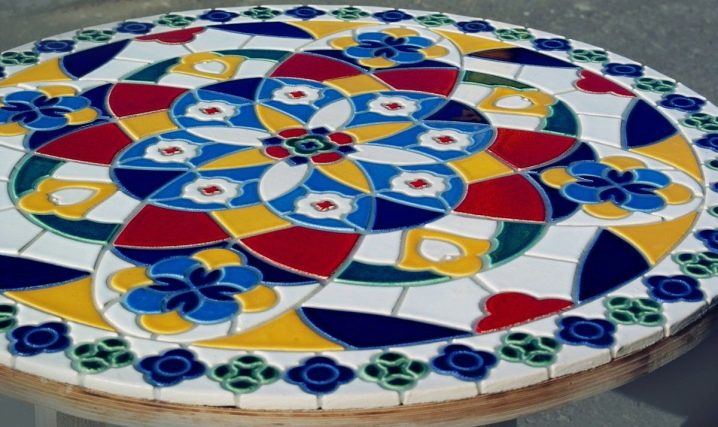
Mosaic is not necessary to purchase - you can use broken ceramic tiles, shards from dishes.You can try your hand at the old wooden dacha table. The main condition is a solid tabletop. Sand a surface, process a primer for a tree, putty deep cracks or chips. For ceramic mosaics, cut and paste fiberglass.
After that, apply tile adhesive and cover the surface with pieces, adjusting them in size and color. To perform a complex pattern, it is first applied on paper in full size or painted directly on the prepared surface. You can make an ornament of the pattern on the edge and in the center or arrange the pieces of the mosaic according to the color scheme - here you need to use your creative inspiration.
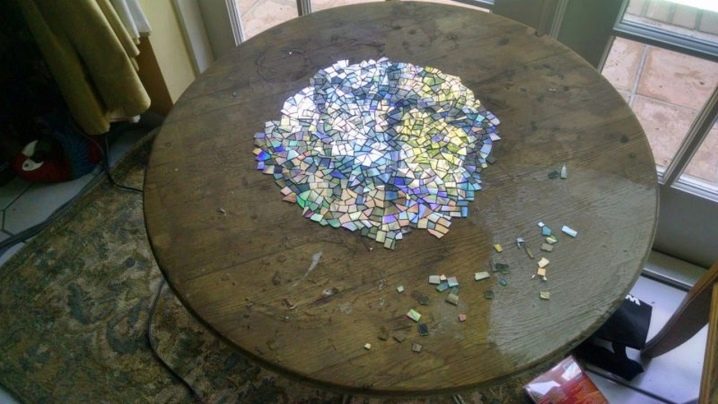
It is even easier to make the repair of the dining table with the help of decorating from computer disks. The disks are cut into pieces of the desired size, laid out in color, the pattern is determined. By the way, the shiny disk fragments do not need any particular figure: they look beautiful in a chaotic arrangement.
In the process of mosaic stickers, try to wipe the finished areas with a cloth so that the glue does not have time to harden and spoil the gloss.
Beautiful examples
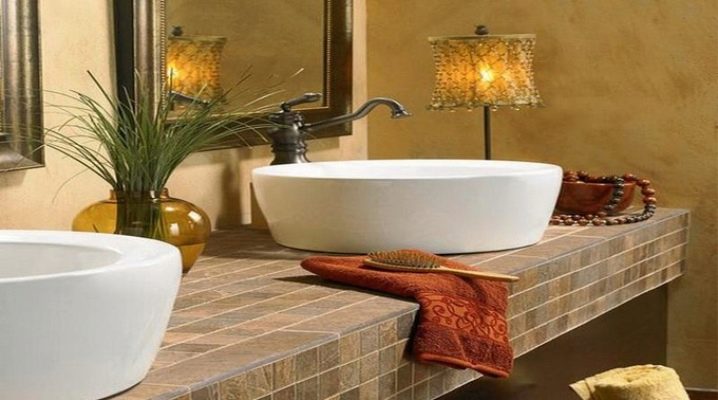
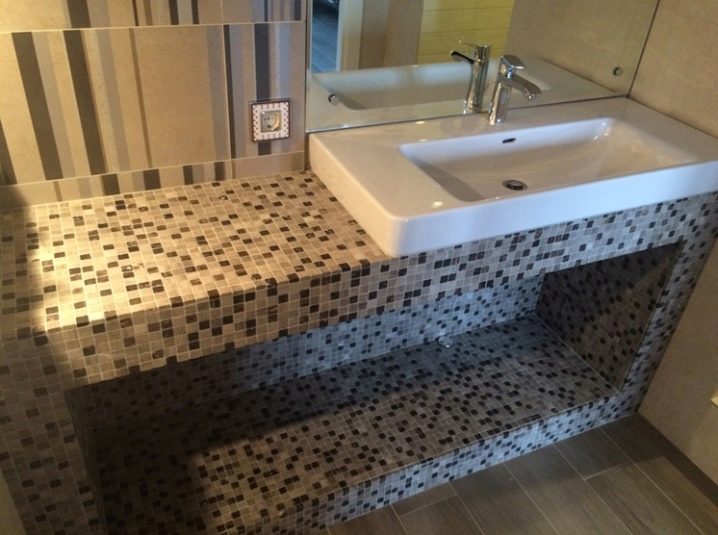
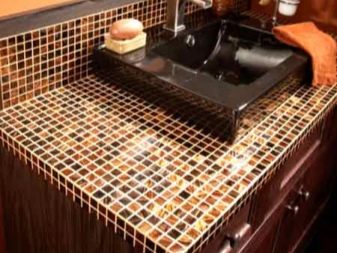
Laconic worktop in the Scandinavian style.
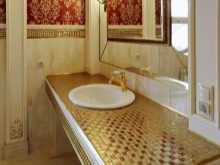
Italian sink with oval bowl.
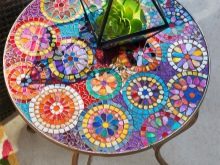
Round table top with oriental ornaments.
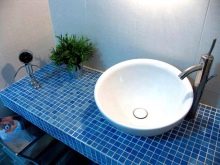
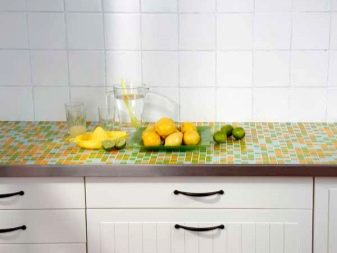
Classic mosaic in the kitchen.
How to make a tabletop from the mosaic with your own hands, see the next video.
