Apron for the kitchen with their own hands
The comfort of a dwelling depends largely on how well our life is arranged in it. The most important place among the auxiliary premises is occupied by the kitchen. We love her more than anyone, because it is there that we enjoy the pleasure of a deliciously prepared meal. An important role in the interior of the kitchen is an apron.
An apron is a section of wall between the lower and upper tier of kitchen modules. It protects the wall from pollution, just as the eponymous workwear protects the hostess's suit from stains. It depends on him how beautiful and neat our kitchen looks, and how harmoniously the individual modules coexist.
How to choose
Since the apron must be primarily functional, materials for its manufacture must be selected with such characteristics that they are well protected problem areas on the walls and are easy to maintain. So, when choosing materials, it is necessary to pay attention to their resistance to temperature and moisture resistance,as well as how easily the surface can be cleaned of dirt deposited on it.
Installing a protective coating, above all, is necessary near the sink and stove, as numerous water and grease sprays can seriously stain the wall. In the work area, there are also processes for the processing of products that have a damaging effect on the surrounding surfaces, so protection is better placed along the entire row of kitchen furniture.
In addition, the apron has an aesthetic purpose. It is needed in order to combine the top and bottom rows into a single whole and create a harmonious kitchen ensemble that will create comfort and delight the owners.
Features and benefits
When we think about how our kitchen will look like, we should definitely take into account its features. If the windows face north or are small, then there will be a lack of light in the room. This means that the color solution should neutralize the darkness and additional illumination will be required. On the contrary, if the kitchen is very light, then the shades of furniture and walls can be darker.
When selecting a material for the manufacture of a kitchen apron, you should consider the advantages and disadvantages of each of them.Essential criteria for evaluation are ease of maintenance, heat resistance, moisture resistance.
The advantages of traditional materials in their proven practicality and relatively low cost. Non-traditional materials allow you to implement various bold projects, and at the same time any innovations can be very convenient for use in everyday life.
Each material has its own characteristics during installation. Tile, natural mosaic and artificial stone require preliminary surface preparation. When installing such an apron furniture in the kitchen should not be. Protection of glass and panels installed after the installation of furniture. But the specific installation location of the apron in any case should be determined with maximum accuracy, taking into account all cabinets and equipment.
Materials
For the manufacture of protective coating can be used a variety of materials. The most common ceramic tiles, panels of PVC, MDF and chipboard, tempered glass, mosaic. When choosing a material is of great importance the fact of what material is made of kitchen furniture.The apron is made from the one that best suits its texture and color.
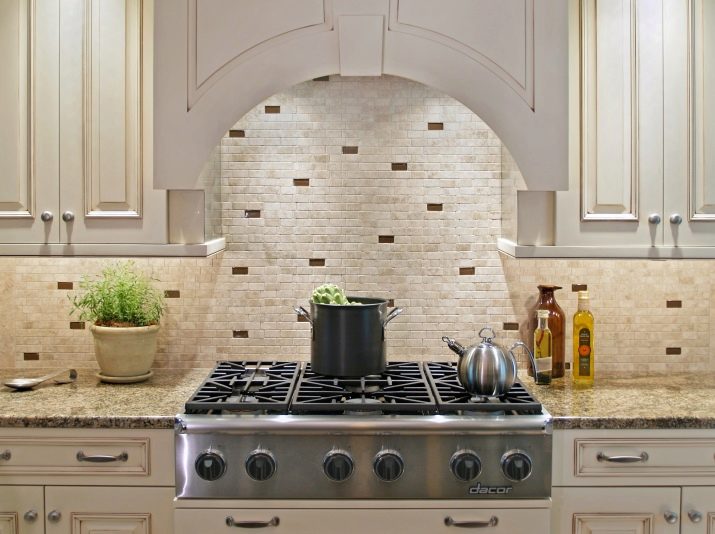
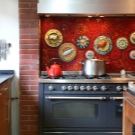
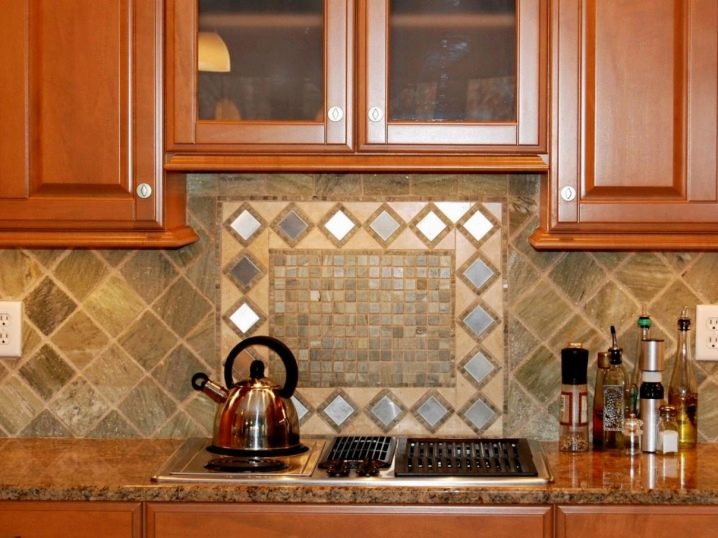
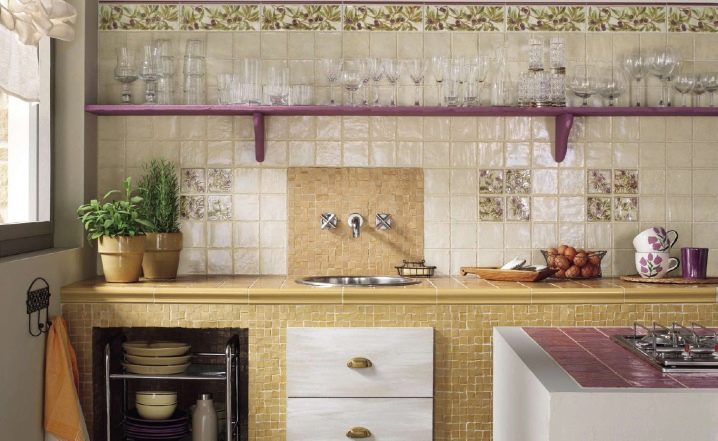
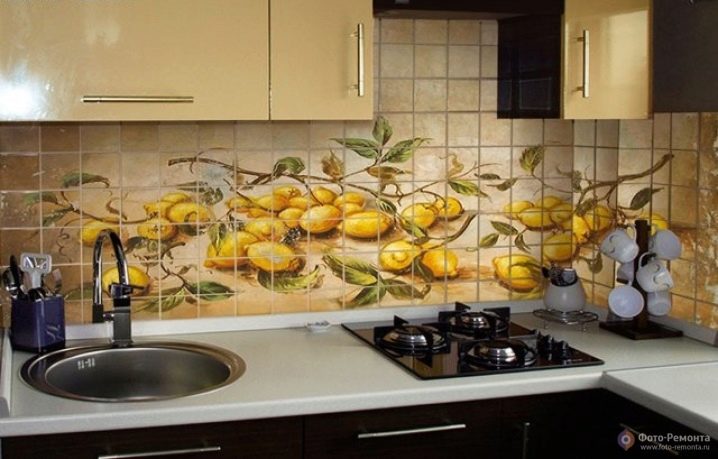
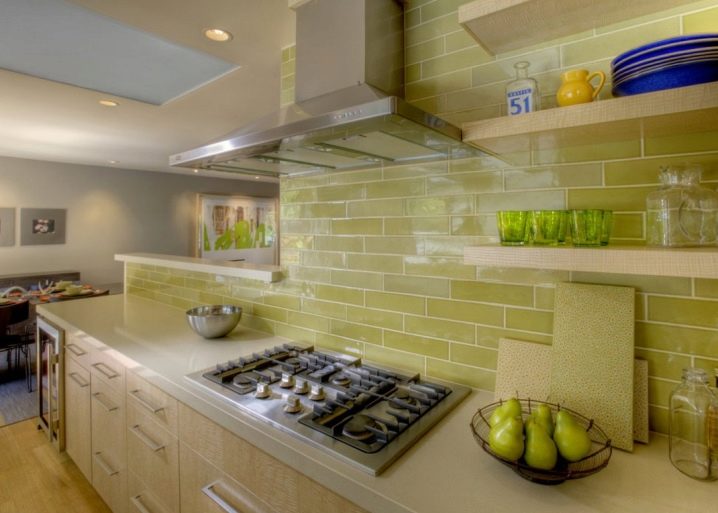
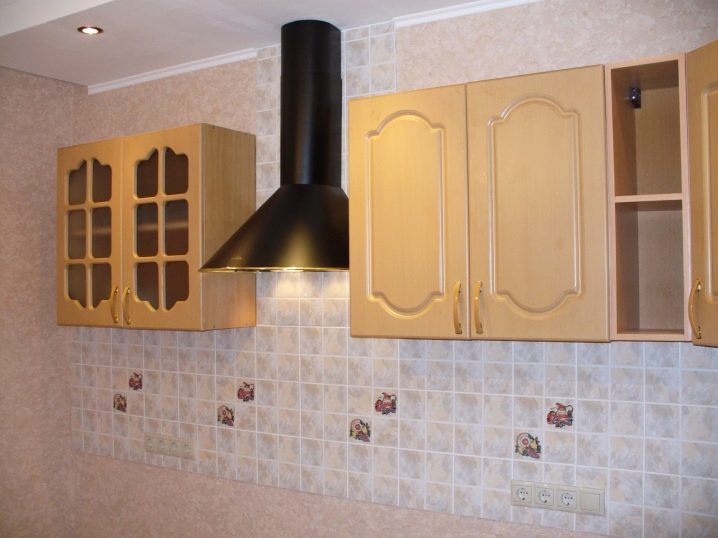
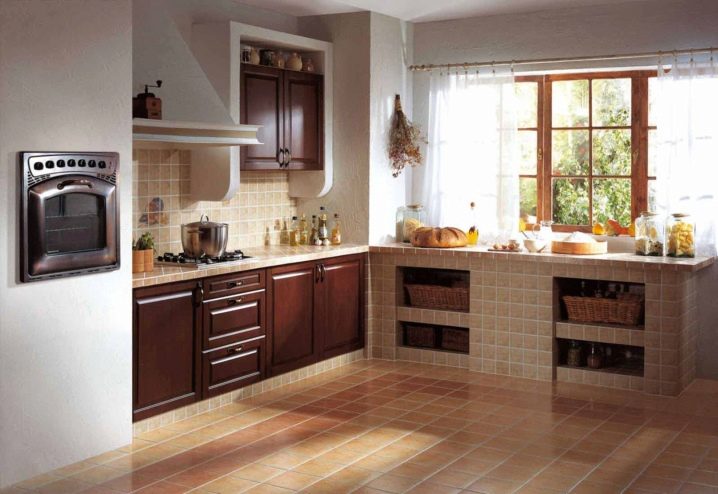
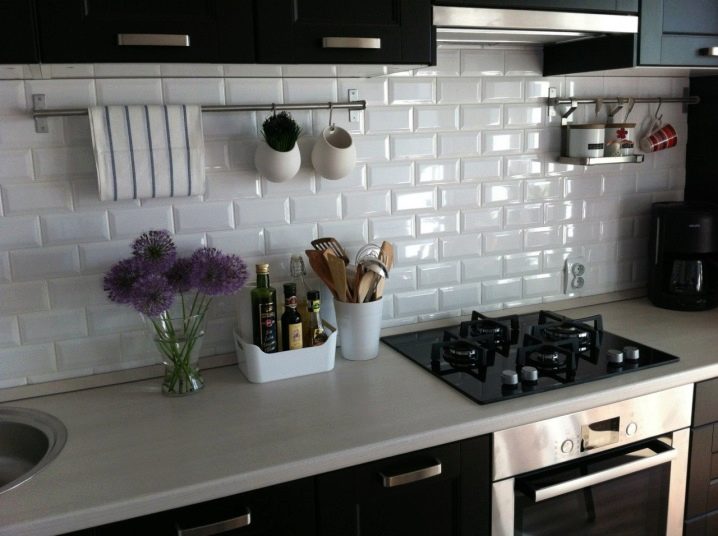
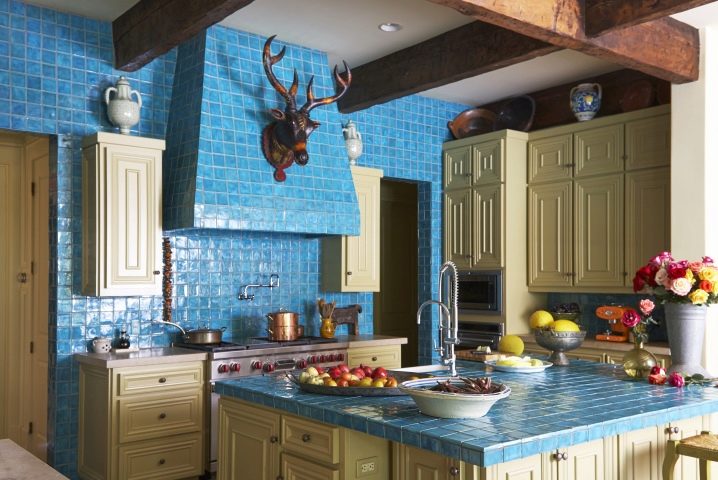
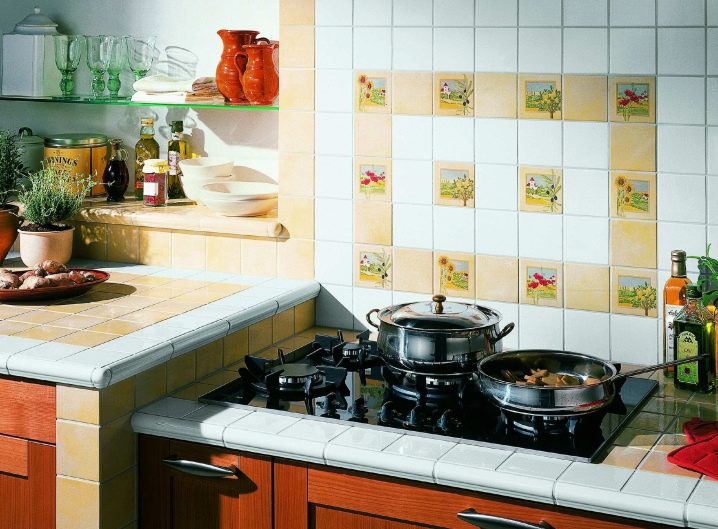
Ceramic tile is the most popular material. It fits easily into any kitchen, as there is a huge variety of tiles of different sizes, colors and textures. It is well tolerated by temperature drops, durable, not afraid of moisture, it is easy to clean from contamination. With high-quality installation is a long time.
Porcelain stoneware is stronger in strength than ceramic tiles and has a higher moisture resistance. Tiles are large in size, there will be less joints between them, so less dirt will accumulate in the joints. If a ceramic granite tabletop is mounted on the working surface, then it will be logical to make the apron of the same material.
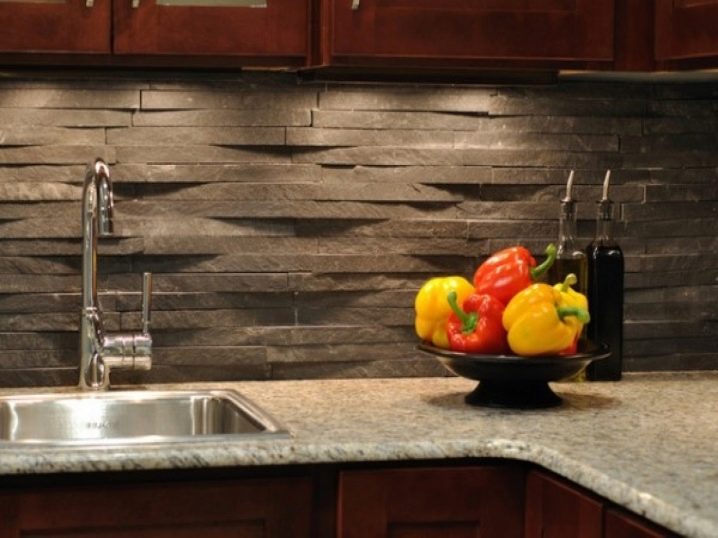
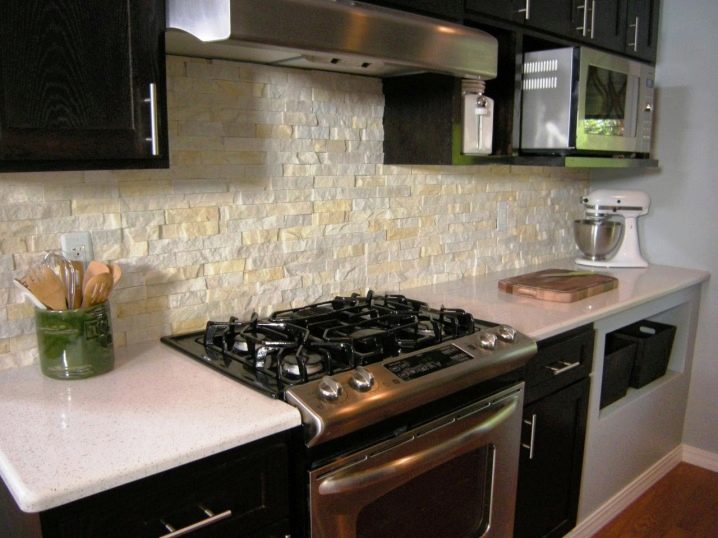
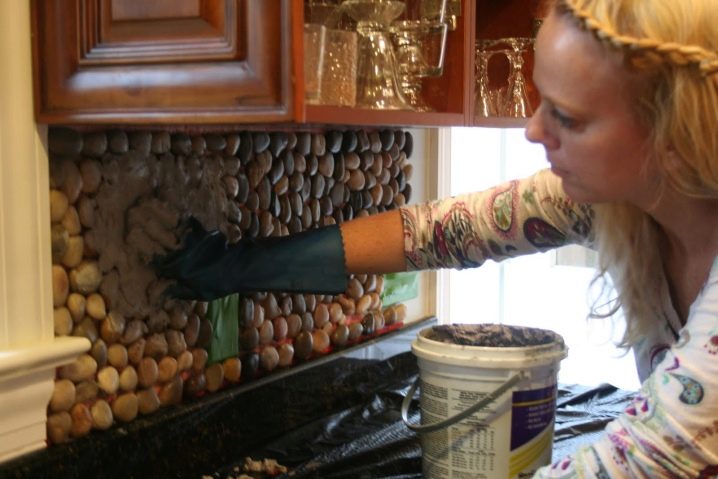
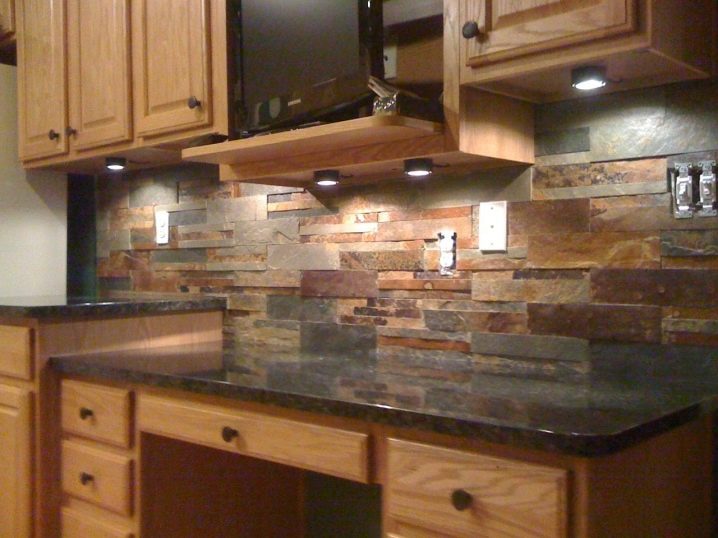
The apron from a natural stone will look well with a stone table-top. Since this material is quite expensive, it is rarely found in kitchens.
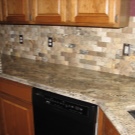
But artificial stone is quite popular. It is much cheaper than natural, but it looks no less noble. Since not only countertops are made of this material, but also sinks, it is possible to create magnificent kitchen sets.Serve these headsets for a long time, they are easy to care for, the plates are well connected with each other.
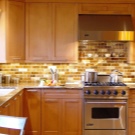
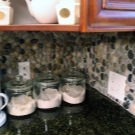
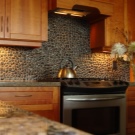
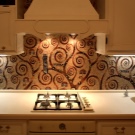
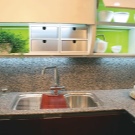
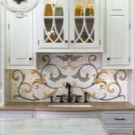
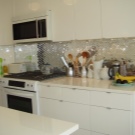
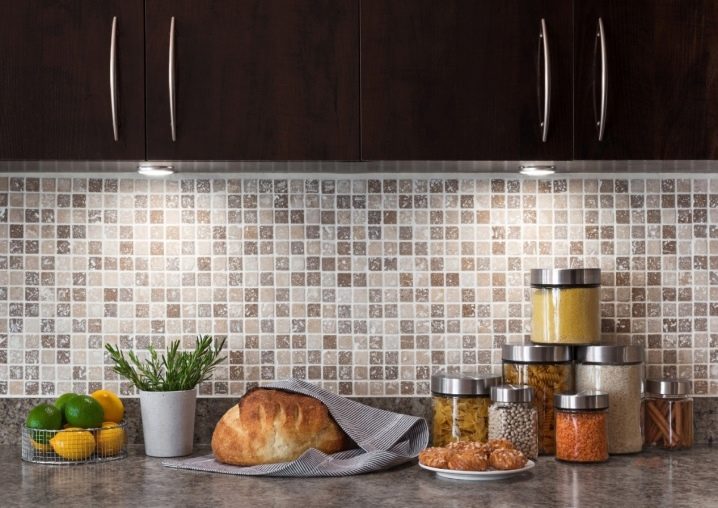
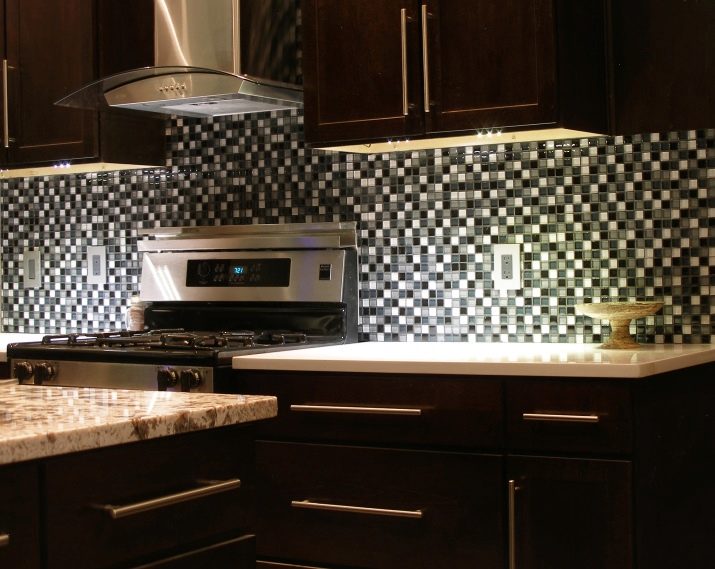
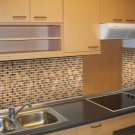
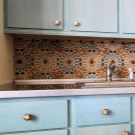
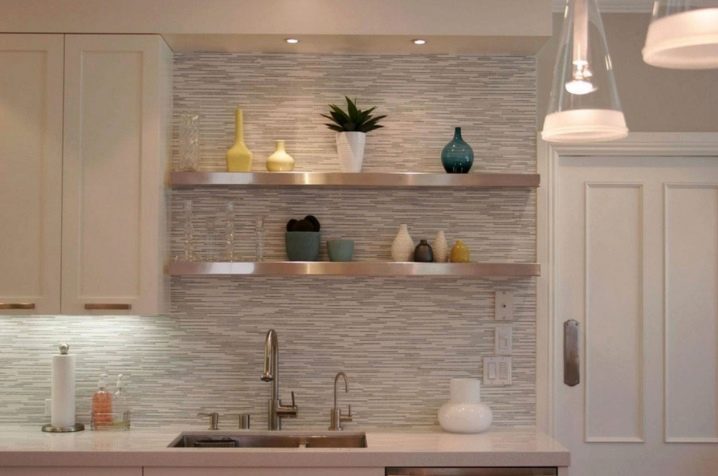
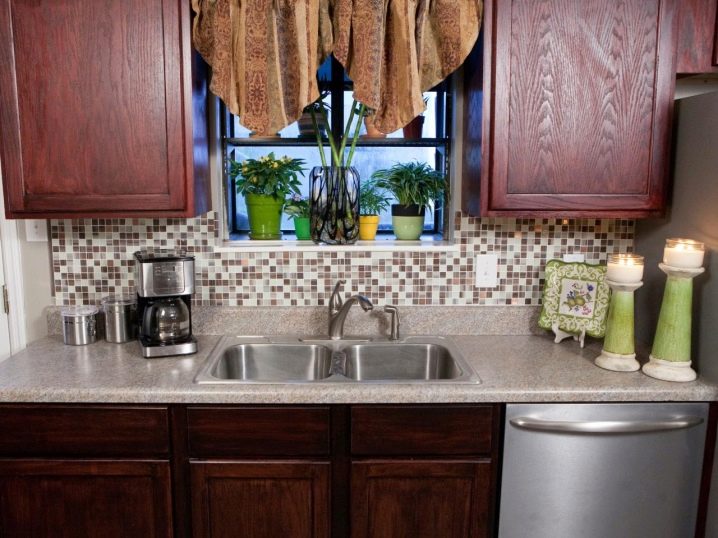
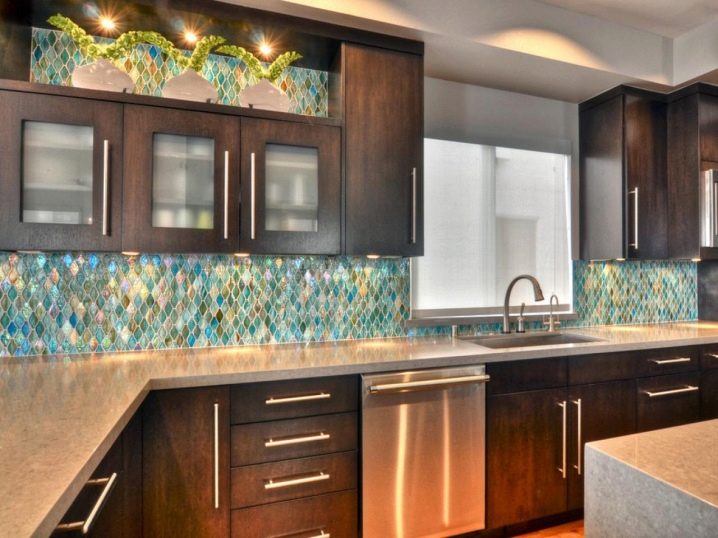
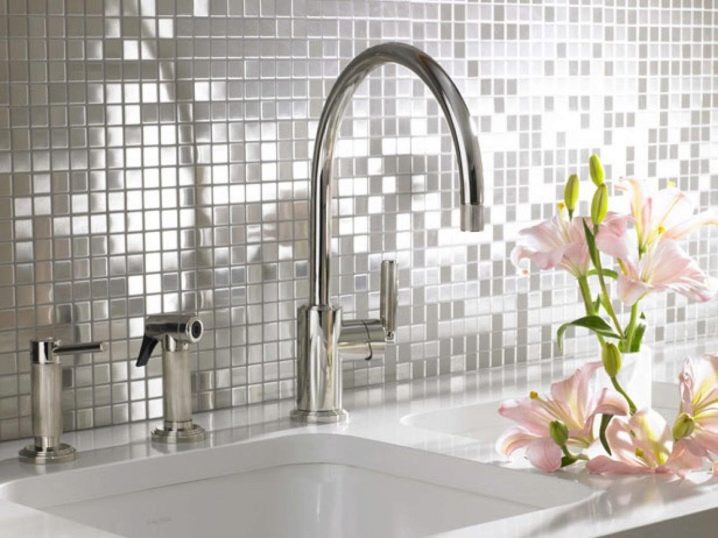
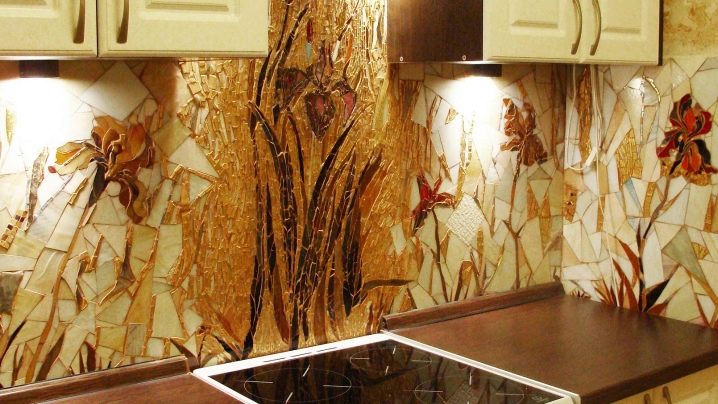
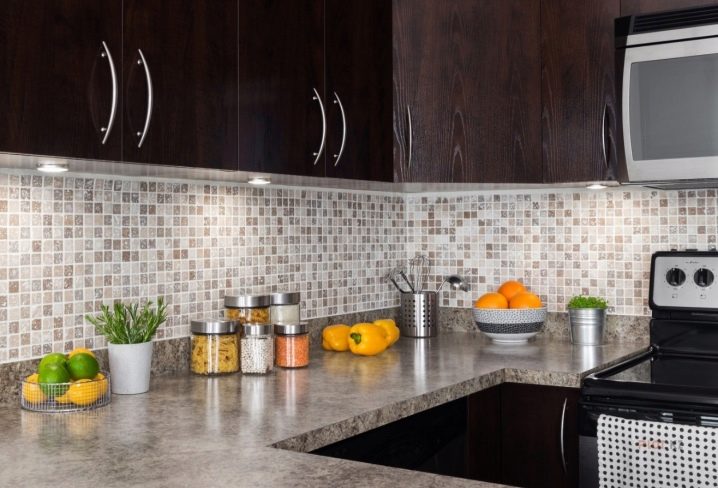
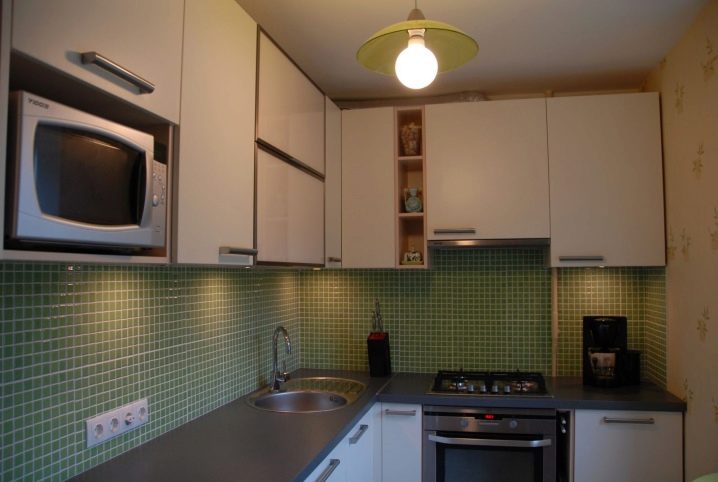
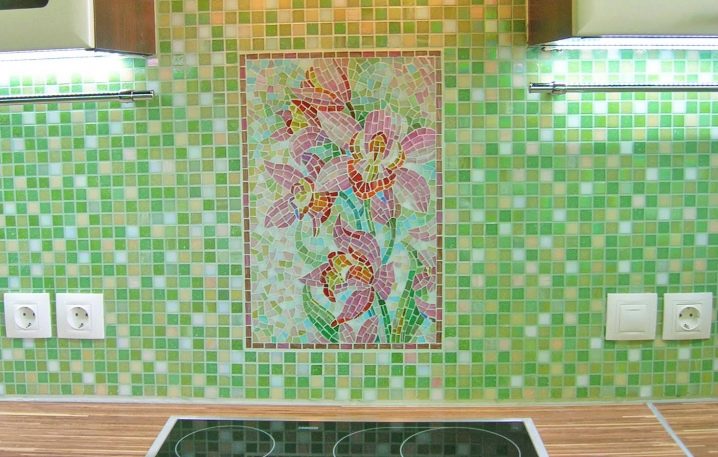
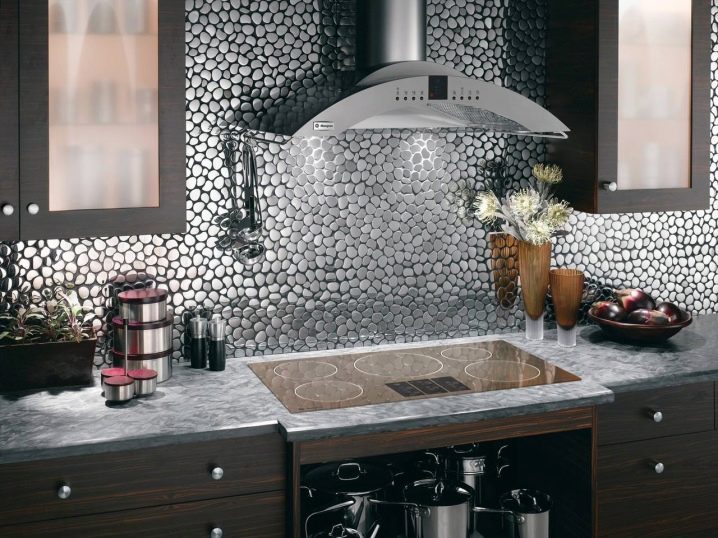
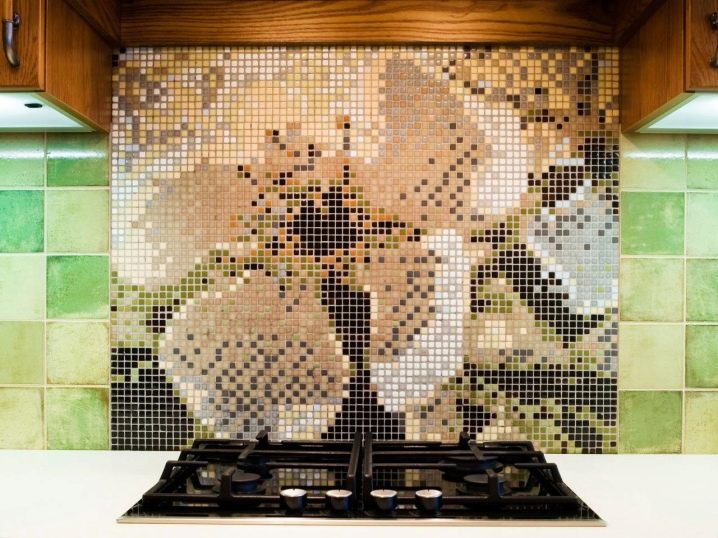
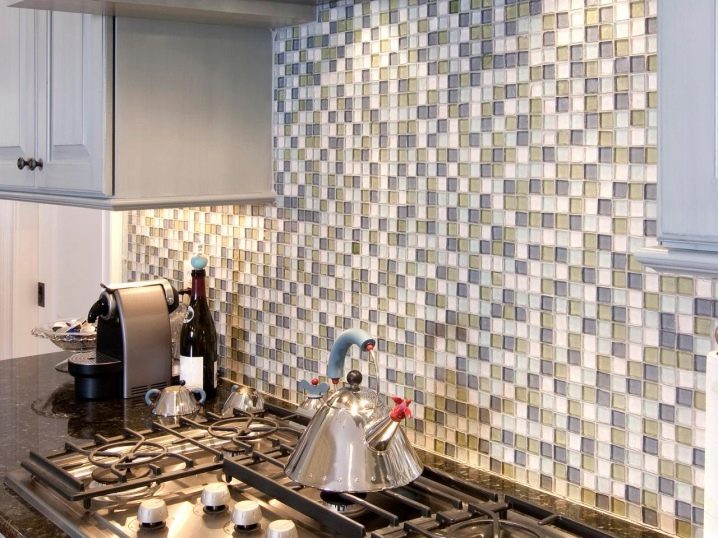
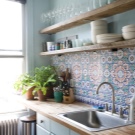
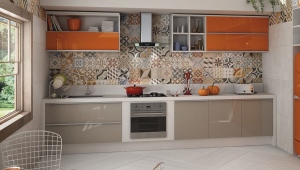
Mosaic aprons are both monochrome and multi-color. It can even be collected picture for every taste with a variety of patterns. It all depends on the intent of the owners. The mosaic can be composed of various materials in various combinations. Apply ceramics, glass, porcelain, natural stone, metal, mirrors and other materials. The life of the apron and its practicality directly depend on the quality of the laying and grouting.
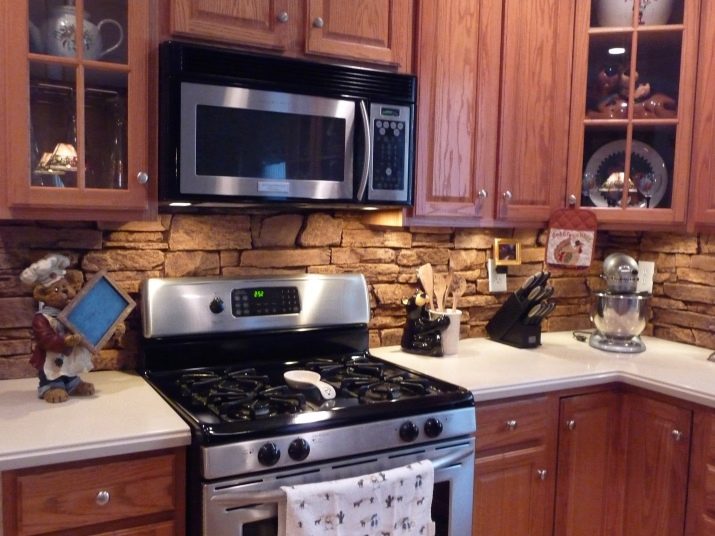
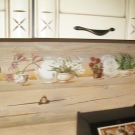
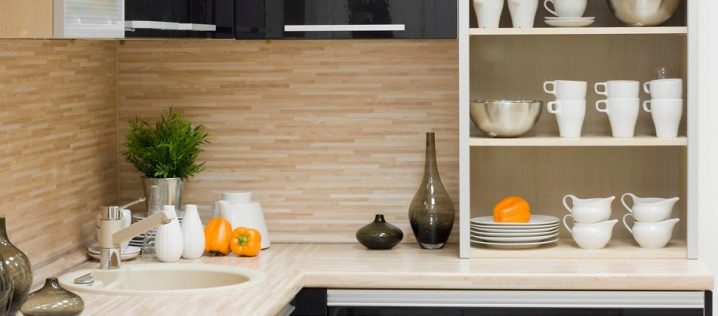
MDF and PVC panels are low cost and look good due to the variety of patterns that can be applied to them. Colors and images can imitate various materials: tile, mosaic, wood, brick and stone. However, such panels are not very practical, as they are easy to damage, but they are quickly mounted and easy to replace.
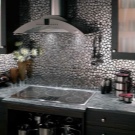
The metal surface of the wall will be interesting to look, in the event that the original design idea is realized. Such an apron looks peculiar and quite practical, as it is not afraid of high temperature and is well washed with the help of tools that do not scratch the surface.
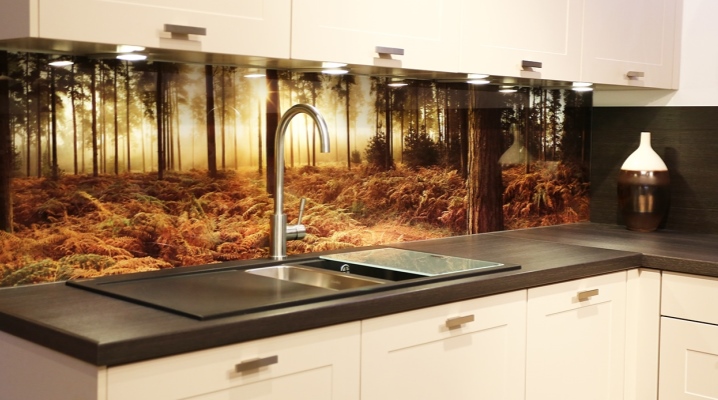
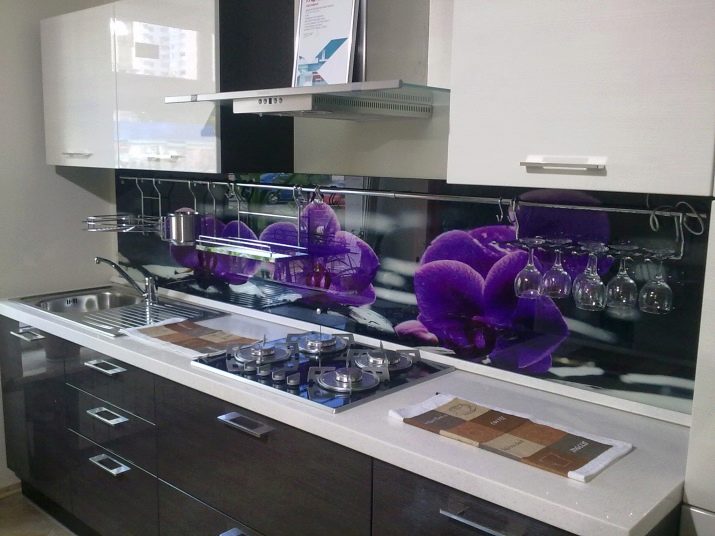
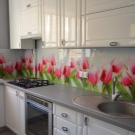
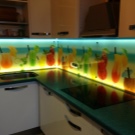
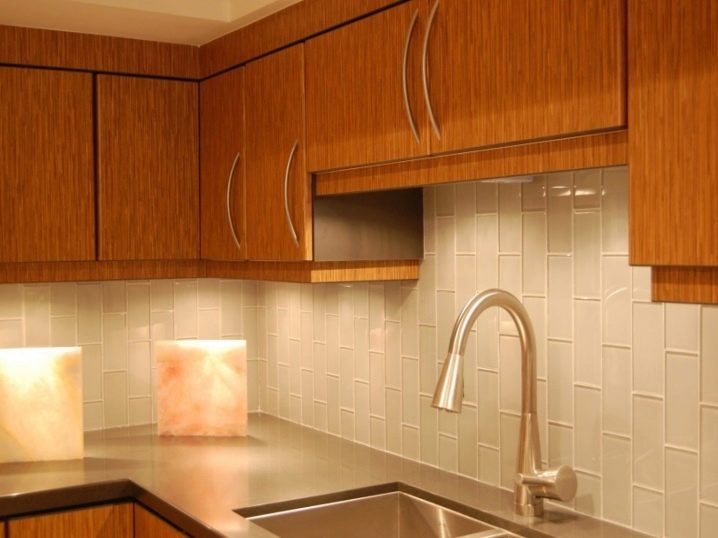
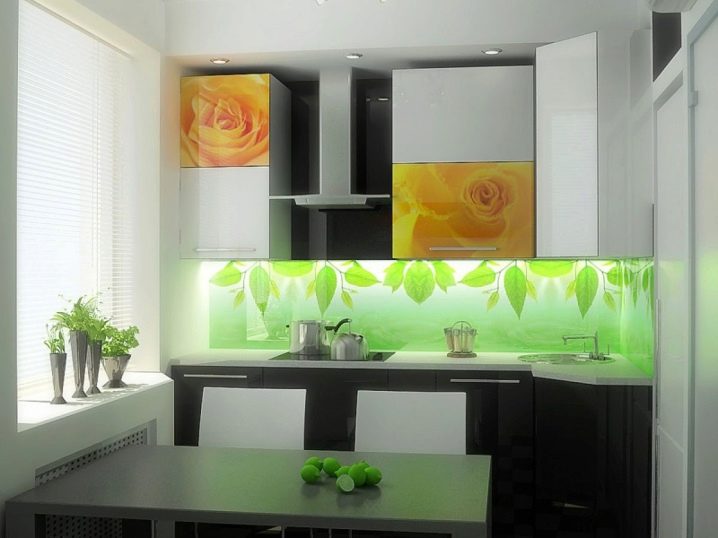
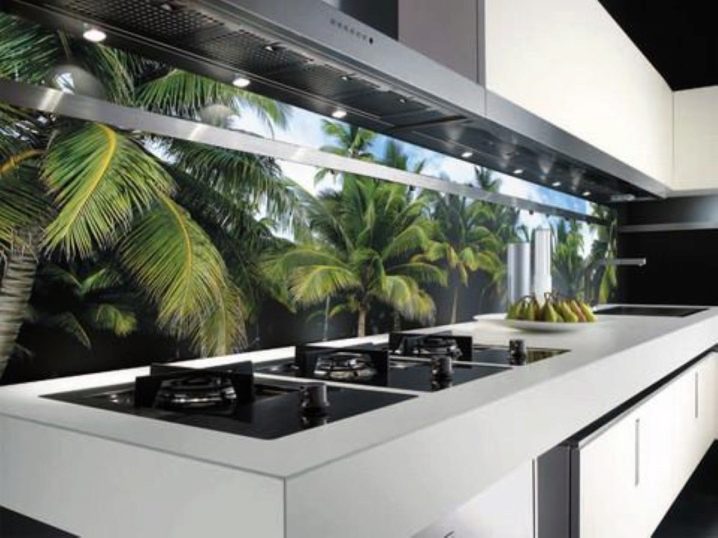
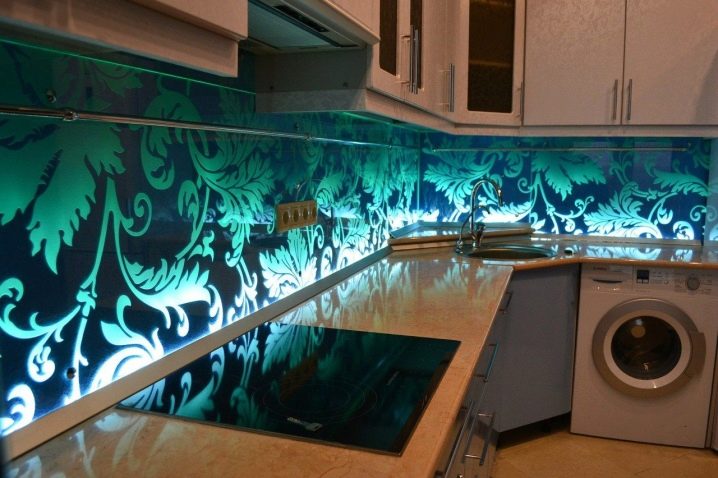
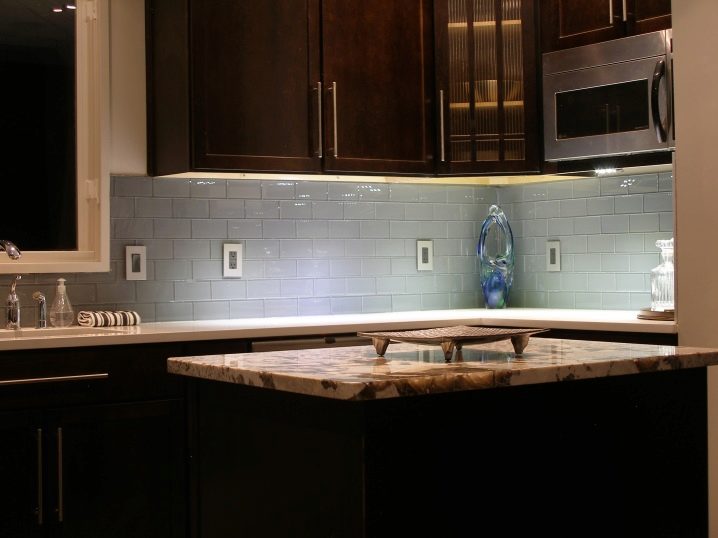
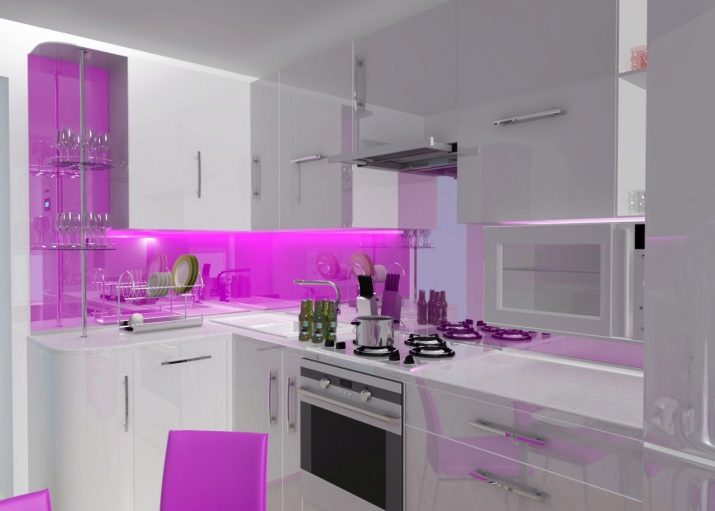
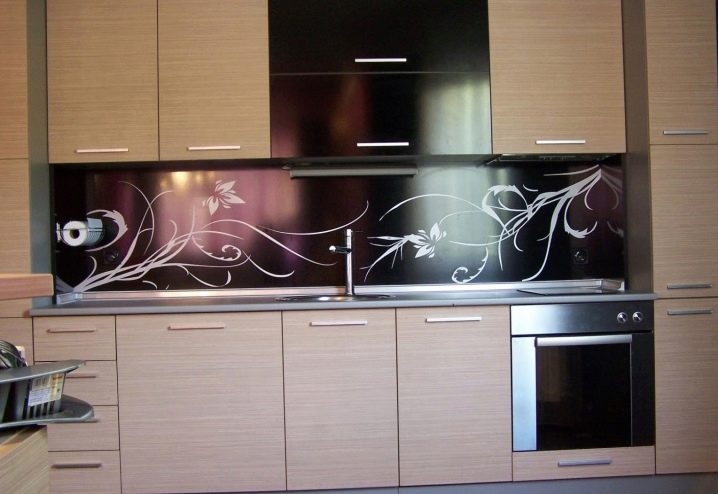
Glass aprons, contrary to the opinion of their fragility and fragility, are quite practical.Tempered glass withstands high temperatures. If it has a smooth surface, it is easy to clean. Glass can be opaque and transparent, with a picture and without it. Transparent protection on the wall can be fixed in such a way that it can be easily removed, and then the kitchen can be diversified by changing the patterns under it. There you can put photos and drawings that can look different due to the various LED lights. Such aprons are very beautiful, waterproof, but still can break.
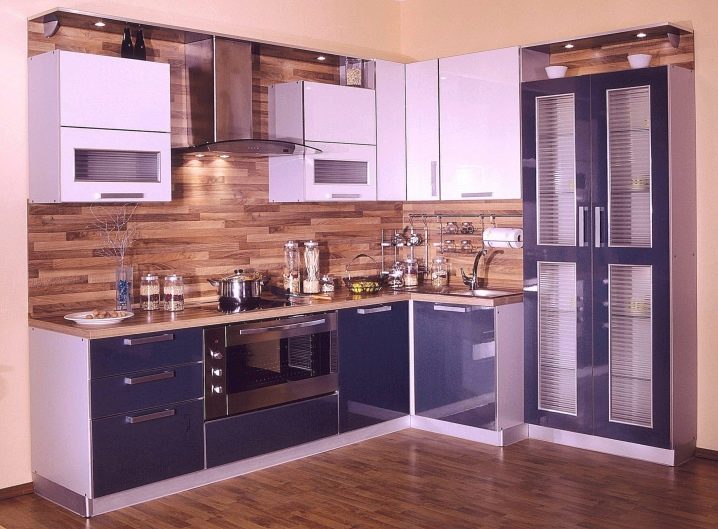
Protection on the kitchen wall can be made of laminate. It is important to choose it with such characteristics that it is not afraid of high temperature and water spray. Due to the fact that the panels are interconnected tightly, they form a comfortable one-piece surface. Laminate is mounted directly on the wall for liquid nails.
It is quite admissible to make an apron from parquet dies. Dies are fixed on a substrate of fiberboard or chipboard, and then placed on the wall. Drawing can turn out various and very beautiful.
Colors and design
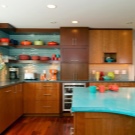
When choosing the appearance of the wall apron there are no restrictions and the surface can be decorated in any way.The most various color schemes are possible, one or several colors can be used. Beautiful models are obtained by applying different shades of the same color.
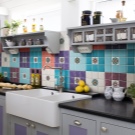
The design may contain unusual color patches. The surface may look dry and restrained, but it is also possible to depict a bright quilt with fragments of different images, colors and sizes.
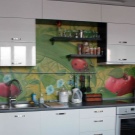
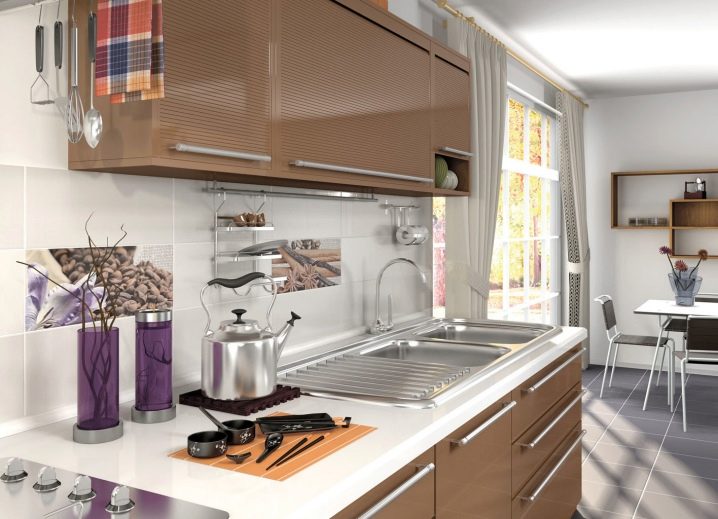
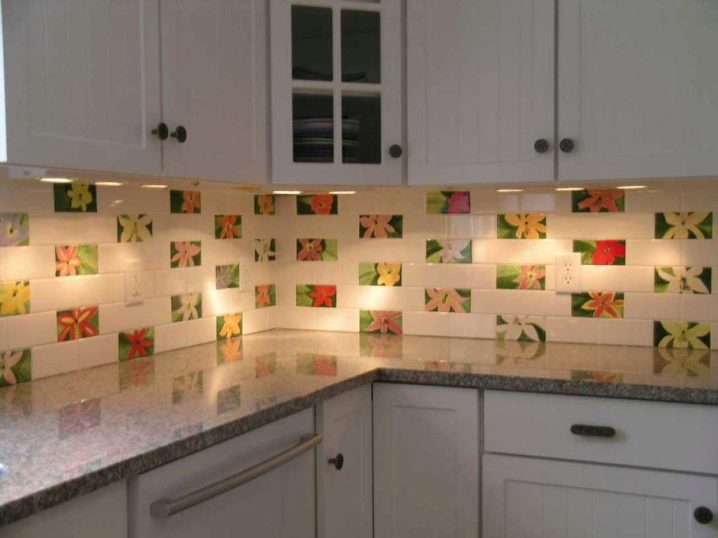
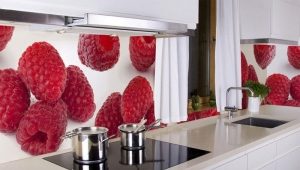
Of great importance are the colors in the kitchen in terms of psychology. Do not use dirty or acidic colors in the interior, which can spoil the mood of the cooking mistress and the appetite of family members. The most acceptable color food or ripe vegetables and fruits. Beautiful images of the products themselves will also be appropriate, especially they will look good on a white background.
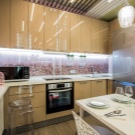
Color and light in the kitchen should be well thought out. Light in the working area is necessary, and if the table top is not sufficiently illuminated, additional lighting can be installed in the area of the apron. Light can also have various shades that will allow to change scenery and to diversify kitchen space.
In the kitchen, you can experiment, but you can not miss the main thing - all the design elements should look consistent.
How to make and install with your own hands
Such an interior element as a kitchen apron can be made with your own hands. First you need to determine what material it will be made of, and then decide whether we can do it or better trust the specialists. Installation of an apron made of glass is better to provide the manufacturer. Tile, porcelain and mosaic can be installed independently.
If you understand that in your case you can make the apron yourself, then let's get started. Inspect the surface of the wall, it should be dry and level. Determine where the apron will be located. If the stove or sink is located in the corner of the kitchen, then it is advisable to make a call on the side wall. If you plan to install the hood, the protective surface should go beyond it, and it is better if the protection is mounted flush with the top plane of the wall cabinets.
The marking of the future apron must be done in such a way that it goes over the table top and cabinets 2 cm. The marking is done on a level, strictly horizontally. Conducted upper and lower lines on the main wall and side, if necessary. Further installation technology depends on the material used.
Install the panels
The simplest solution is MDF or chipboard panels. Such an apron can be from a single cloth or several components. The panels are cut to the size of the free part of the wall and fixed on it after installing the furniture. The surface under them may not be very smooth and does not require special training. Fasteners perform any convenient way. It can be screws with decorative heads, liquid nails, special or all-purpose glue. After mounting on the wall, the panel is attached to the furniture set with the help of specially selected elements. MDF and PVC panels can be easily installed by yourself.
We lay out a mosaic
Mosaic can consist of different materials. Separate mosaic pieces are called chips. The sizes and the form can be the most different - both strict geometry, and any. The more complex the shape, the more time consuming the process of laying the mosaic.
The chips are combined into matrices. Between themselves, they can be fastened using paper glued to the front side, but it is more convenient to use a polymer mesh on the back side. A gap is made between the chips, which is subsequently sealed with an epoxy grout.
It is easier to install a mosaic with a smooth surface, and if the surface is corrugated, then more careful work is required when grouting, so as not to spoil the pattern. Caring for such fragments during operation will be more difficult, so it is better to shape the pattern so that the chips with irregularities are located in places less prone to contamination.
Check how flat the wall is. We remove from the surface small tubercles putty. We clean the wall of dust and primed.
The material is sorted and reviewed. Mosaic elements are best purchased with a margin, should not be taken abutly, as a defect may be detected or accidental damage will occur during the installation process. Lay out a mosaic on a smooth surface, trimming the gaps. Measure the length and width of the fragment, and then mark this size on the wall. At the bottom border, it is better to fix a guide to the wall in order to prevent the mosaic from sliding downwards.
The adhesive composition should be selected specifically for the material used. There are adhesive mixtures based on cement, polyurethane, epoxy. We study the packaging and pay attention to the manufacturer's recommendations.Cooking according to the instructions and evenly put glue on the wall, making grooves. We put a mosaic sheet on the wall, check how correct its position is, and then press it with a trowel to the surface or roll it with a roller. After installing all the sheets clean the seams of glue and wipe the surface of the mosaic.
Two days after laying, close up joints with grout. The grout is very important, as it must protect the numerous joints from the penetration of moisture and microorganisms. It is better to use epoxy, as compared to cement-based grouting, they better protect against moisture, better tolerate temperature fluctuations, less crumble. The variety of colors available allows for the best selection.
With the help of a rubber spatula, fill the joints with perpendicular to each other movements on the diagonal of the tiles and collect excess grout. After all the seams are finished, immediately clean the surface until the composition has hardened. Movement is performed in a circle or diagonally, so as not to wash the filler. After cleaning, wipe the surface dry.
Tile installation
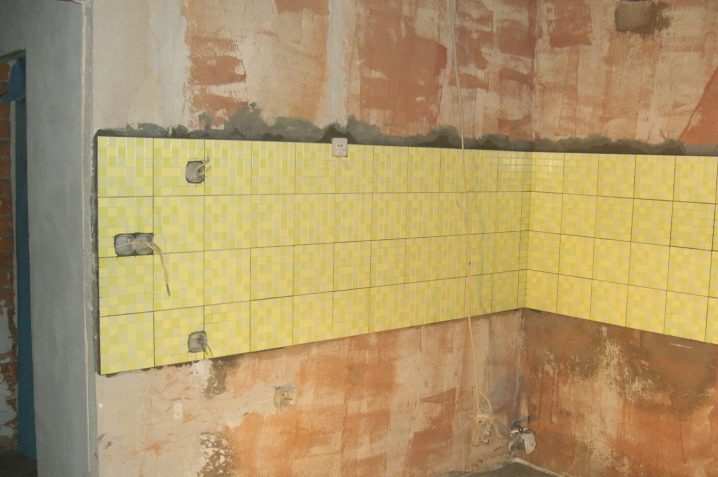
An apron of ceramic or porcelain tiles, as well as mosaic, lay out before installing kitchen cabinets.Some of the working moments when installing tiles are similar to those typical for installing mosaics.
First, align the wall. The surface should be plastered with polymer-cement mixture, gypsum should not be used.
Determine how the tiles will be placed on the wall. They can be set at the discretion of the owners: directly or diagonally. It is better to first lay the pattern on the floor, selecting the tiles according to the pattern, if it exists, and try on the curb, if it is provided.
On the wall we mark the upper and lower bounds. On the bottom line we put the guide of the metal profile to avoid the displacement of the tiles. Subsequently, when the mount is well fixed, remove the rail.
Laying tiles start from the center to the edges. Between the tiles you need to leave a small gap and install cross-shaped elements so that the inter-tile distance is the same. Two days later we grout the joints.
The ceramic granite tile is heavier than ceramic tile, therefore it is somewhat more difficult to attach it and the appropriate adhesive mixture is selected for installation.
Interesting ideas in interior design
Despite the fact that in its main purpose the kitchen belongs to utility rooms, the most unexpected fantasies of designers can be used in its design.For their implementation, a kitchen apron is the most suitable element.
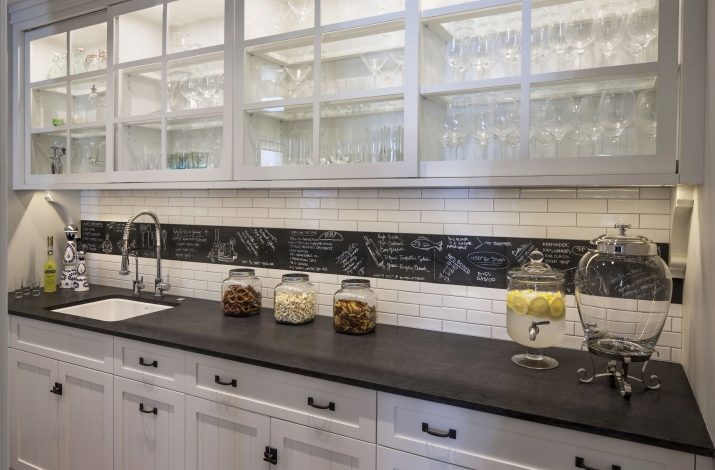
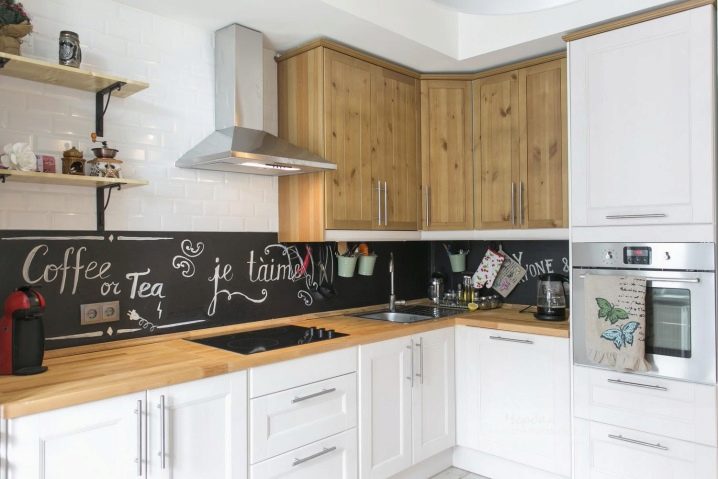
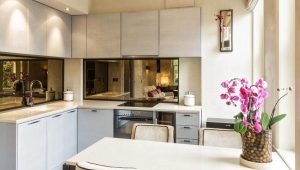
Fragments can be decorated in the form of a blackboard on which it is convenient to write down recipes of dishes, or leave messages for family members. On the wall under the glass can be pasted wallpaper, drawings, photos, fabric and even lace. Volumetric images look very interesting. The mirror surface of the apron will visually increase the kitchen area.
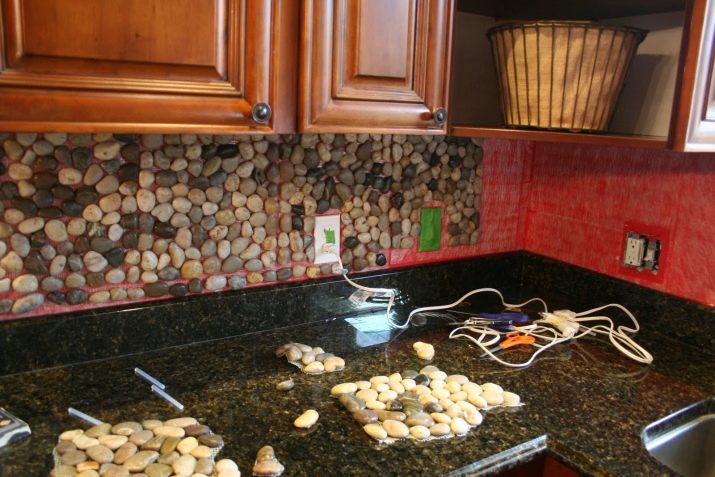
Nothing prevents you from creating under the transparent glass a panel of pieces of wallpaper, of old CDs, plastic fragments, pebbles, and practically any scrap materials.
Sheeting for the wall can look very nice and original, if all the kitchen modules will be in harmony. Making it your own hands, you will create your home masterpiece and surprise everyone with a unique design of the kitchen.

