How to lay tiles on the kitchen apron
In order to repair did not cause negative emotions, it is better to entrust it to yourself. This is especially true of the kitchen, where accuracy and reliability is especially important. Laying tiles on the kitchen apron with your own hands is not as difficult as it may seem at first glance. For maximum quality results, it is necessary to take into account the nuances of each stage of work. It does not have to be a professional. Adhering to certain rules, you can later be proud of the finished result.
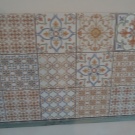
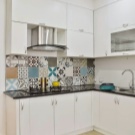
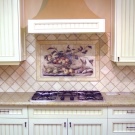
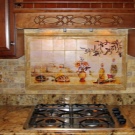
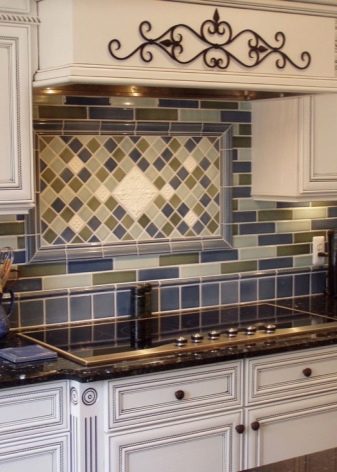
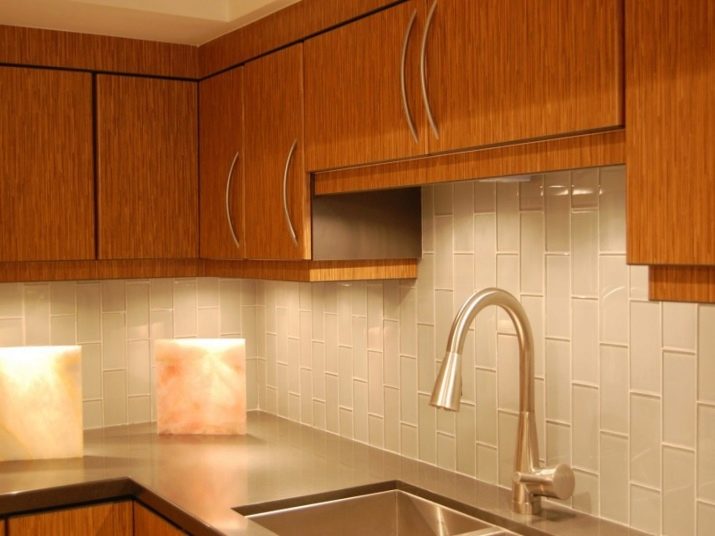
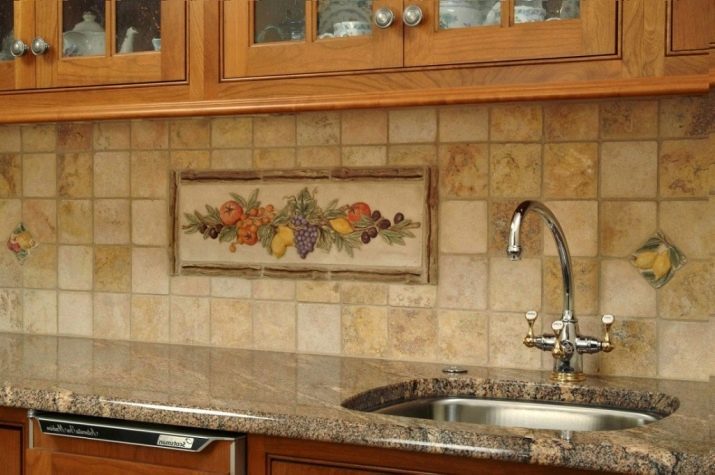
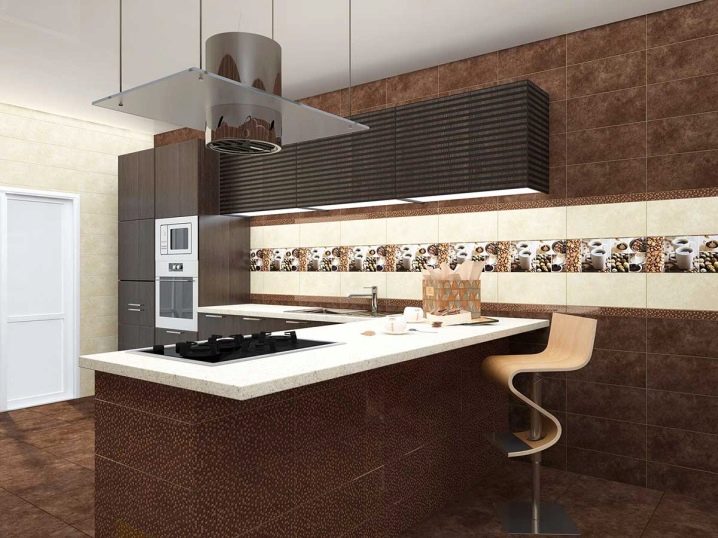
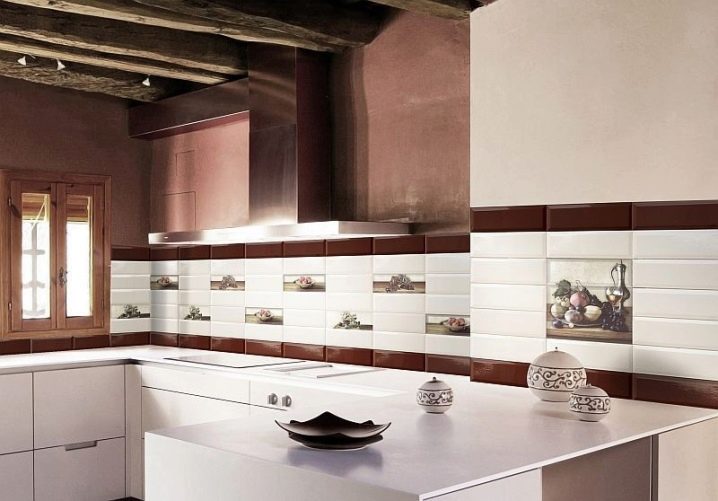
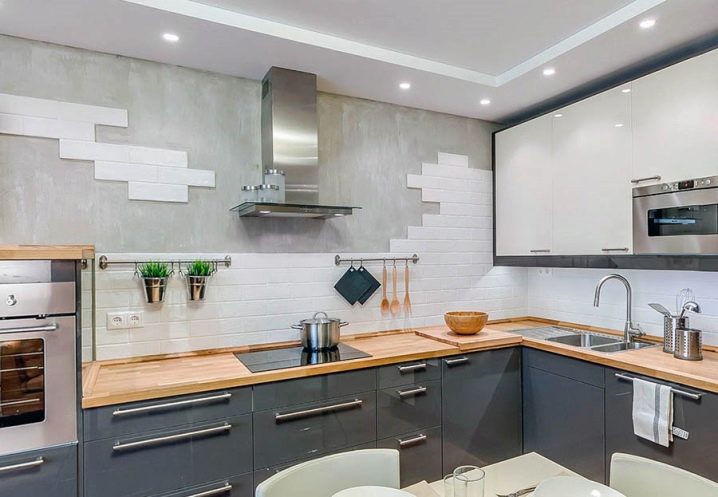
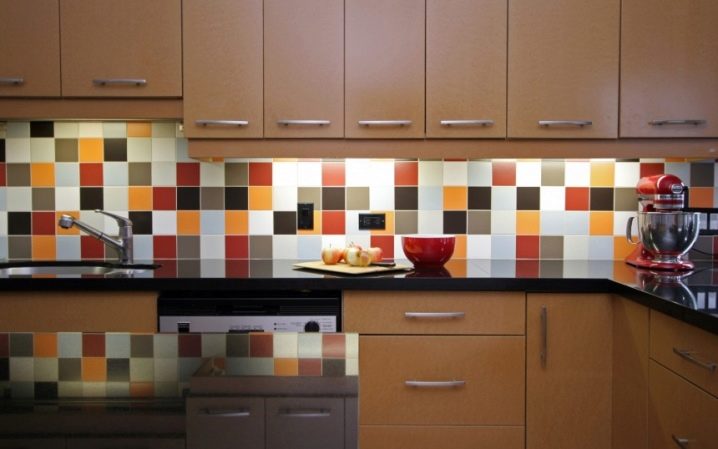
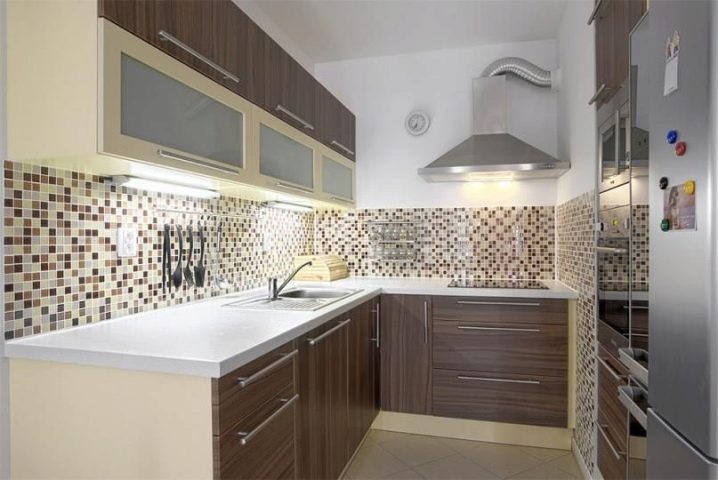
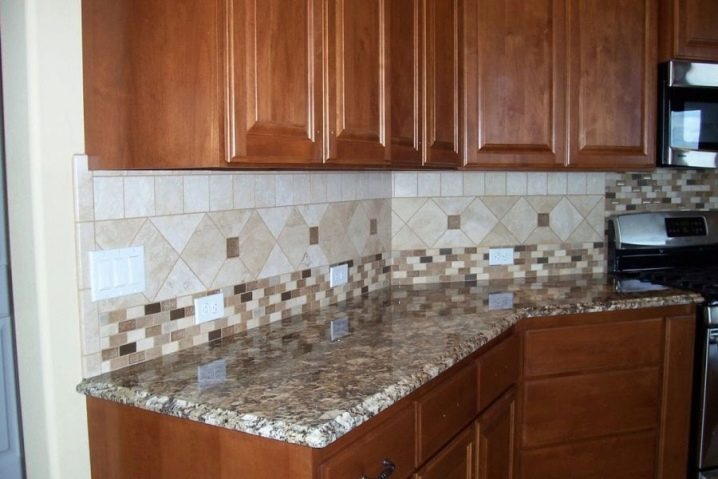
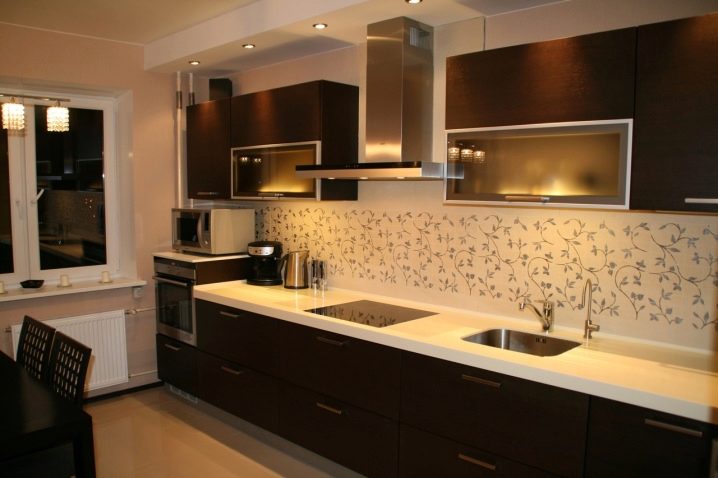
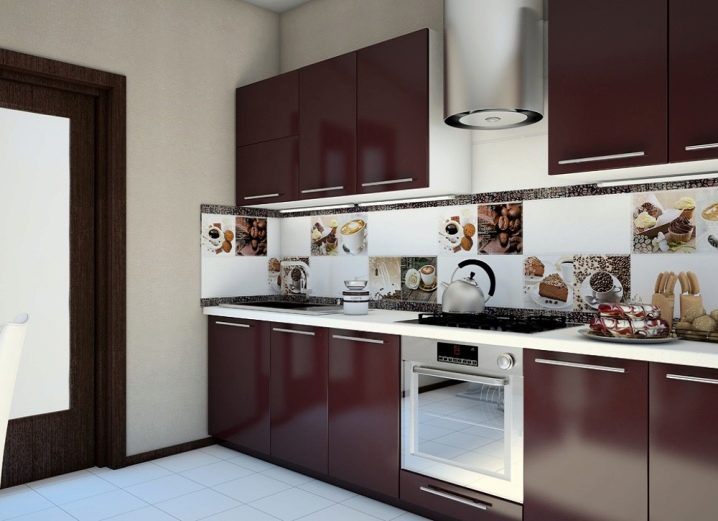
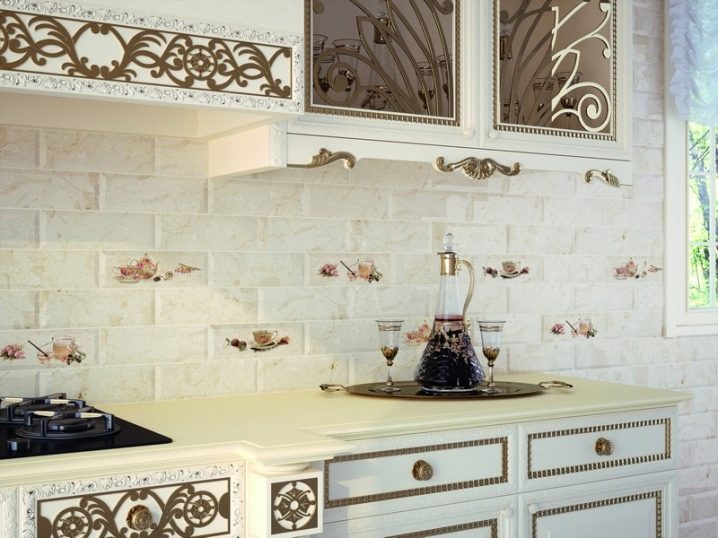
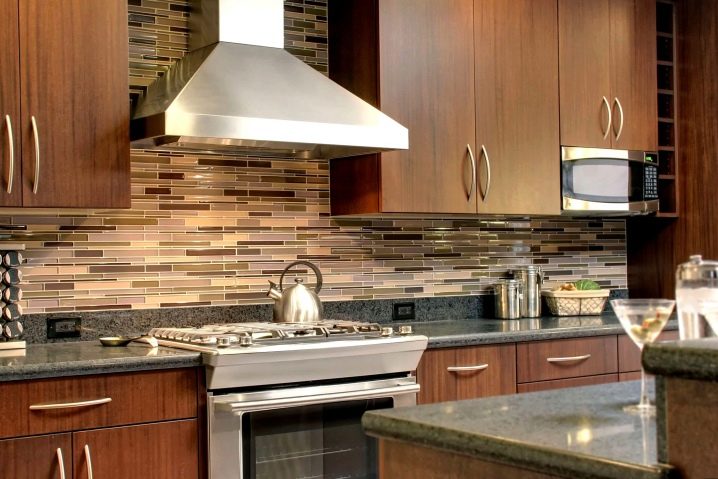
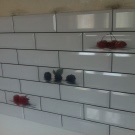
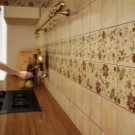
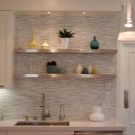
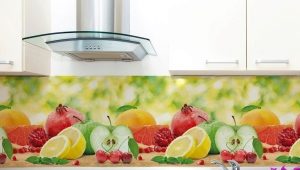
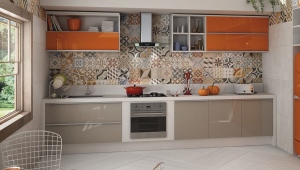
To properly put the kitchen apron, it is important to determine its size and design. This will make the interior unique and visually increase the space of the room. When choosing a material, you need to take into account the height of the total masonry. To do this, you can make a preliminary sketch on which to bring all the subtleties of the design, the location of the tile, taking into account its size and pattern.
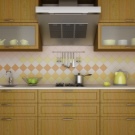
The height of the apron depends on the design.The work area often reaches the floor, and it comes to the worktop at least 20 cm.
If you have the opportunity and knowledge of software, to create a unique design, you can use computer programs (Corel, Draw). Having decided on the amount of material, based on the area of the apron, you can get to work.
Tile selection
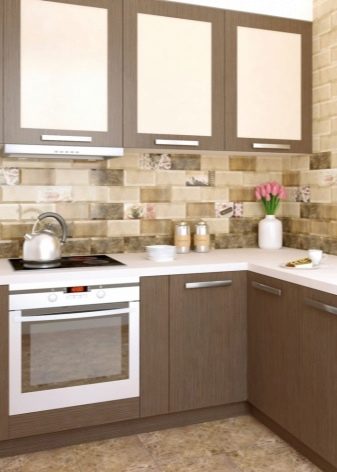
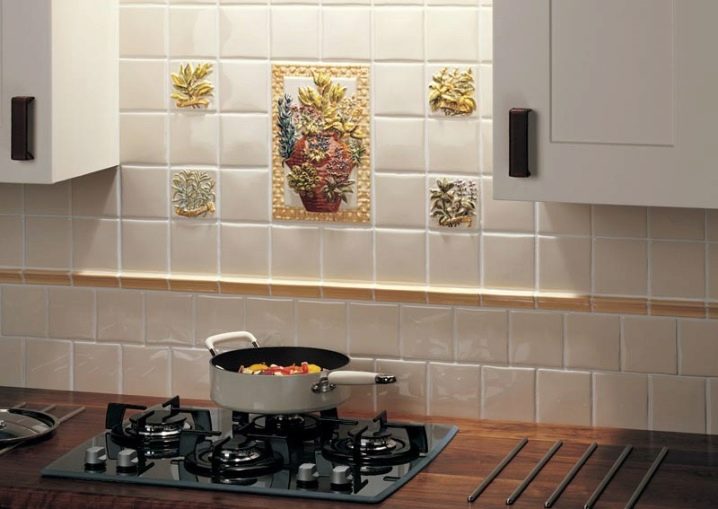
The tile from which the tile is made, today is the most popular material for the apron. It is universal and is resistant to pollution, moisture, high temperature. It is quite simple to maintain. And thanks to the variety of color palettes and colors, it fits perfectly into any kitchen interior.
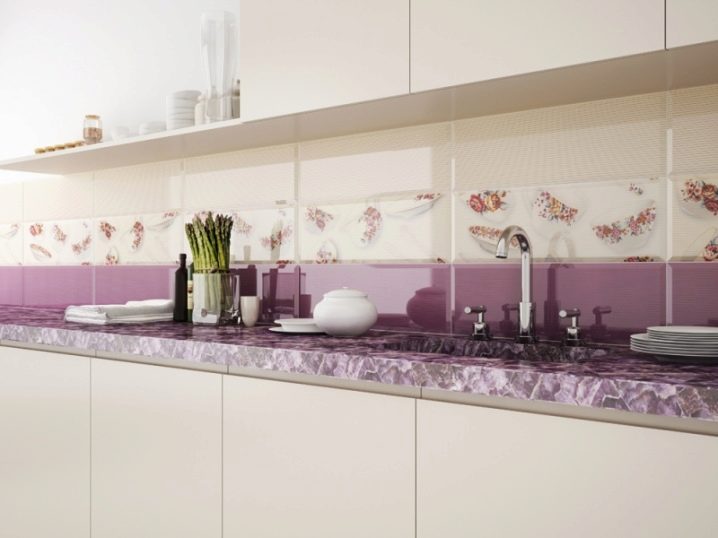
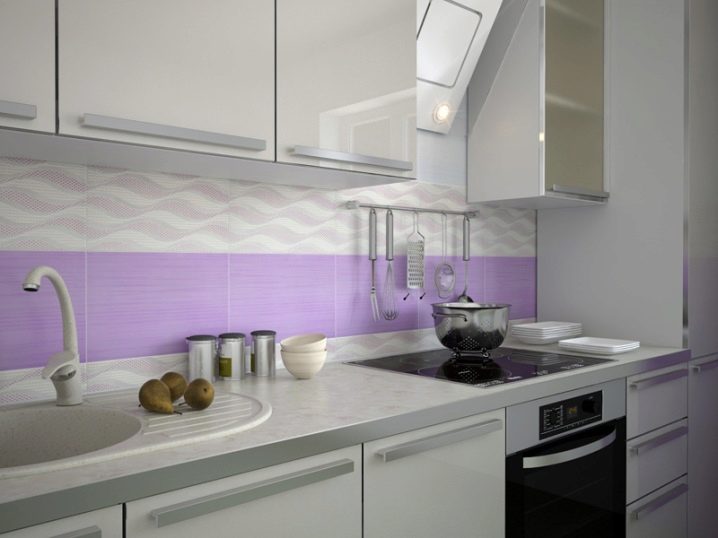
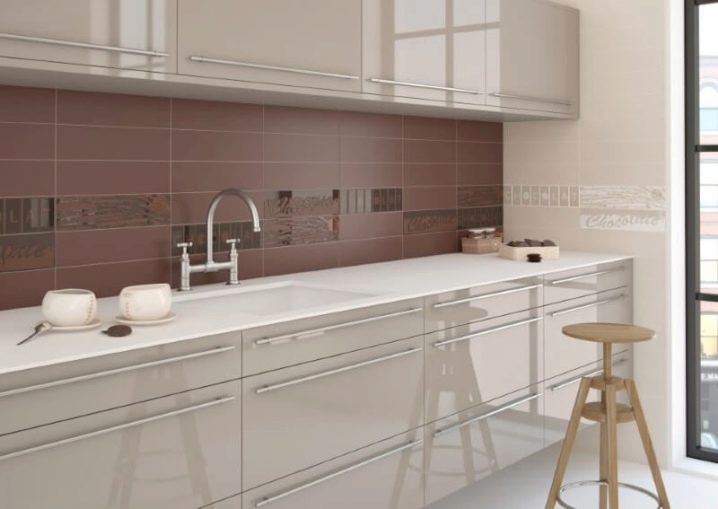
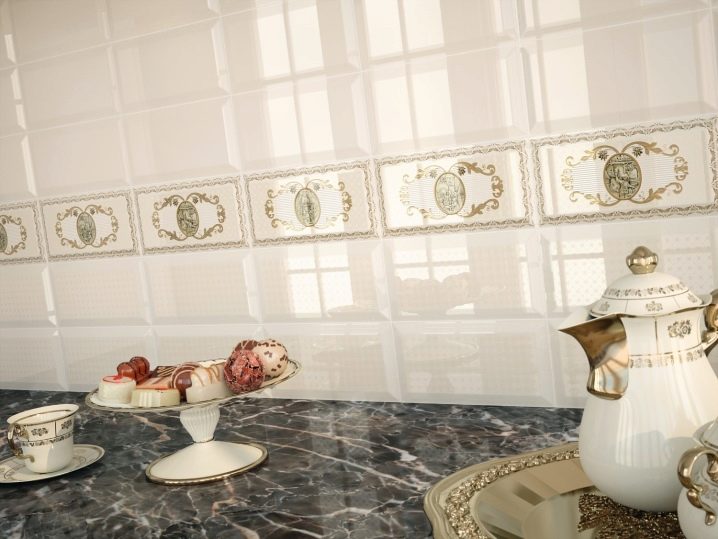
Tiles come in different shapes. In order to create an atmosphere of comfort and harmony, in choosing colors it is better to prefer shades of pastel group.
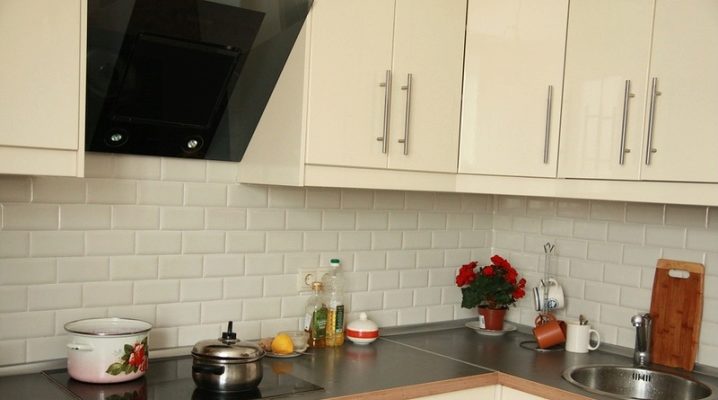
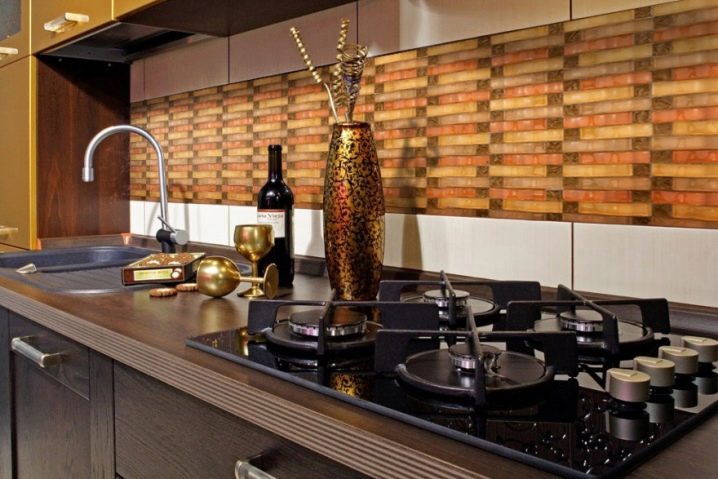
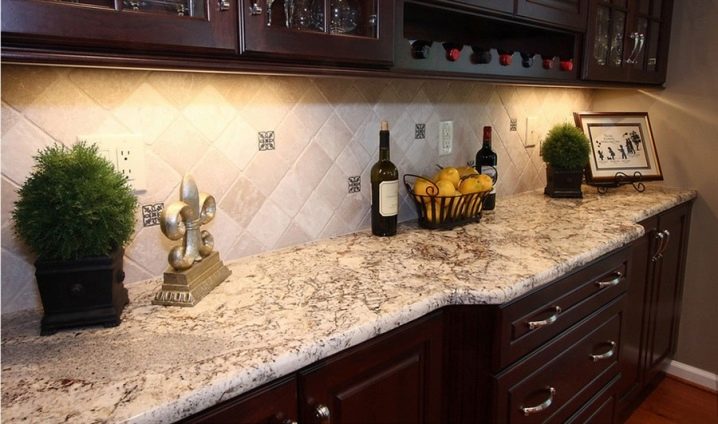
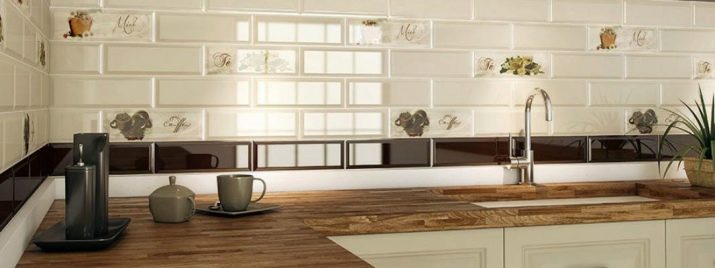
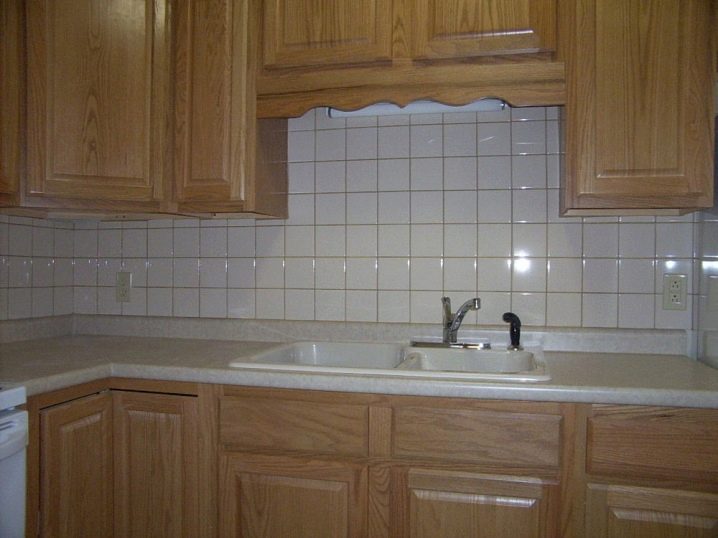
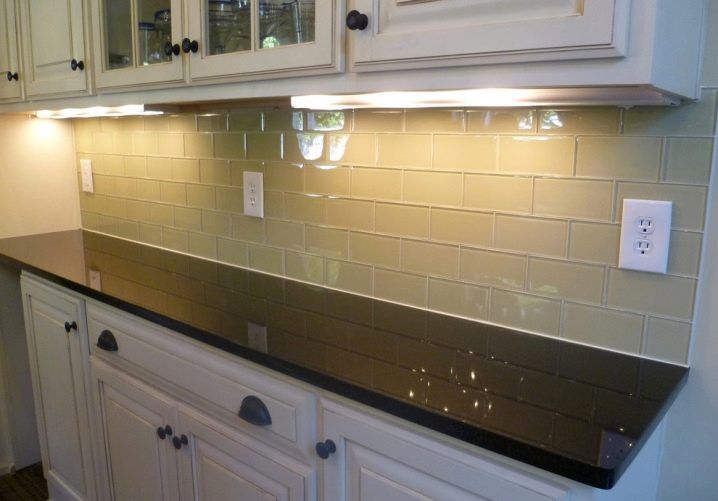
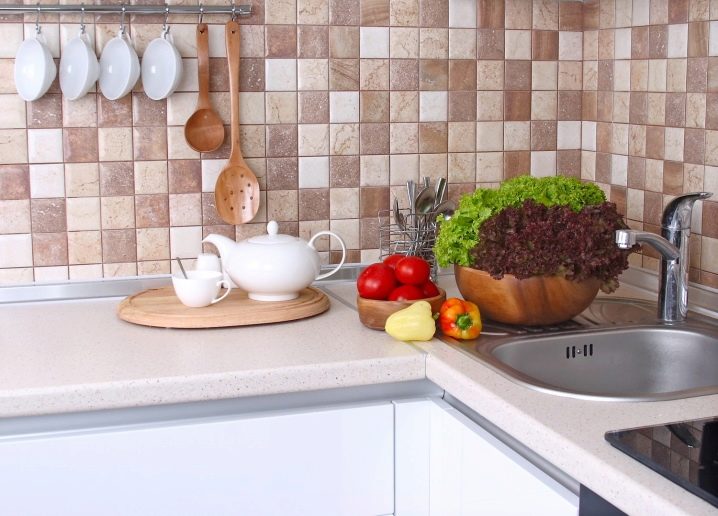
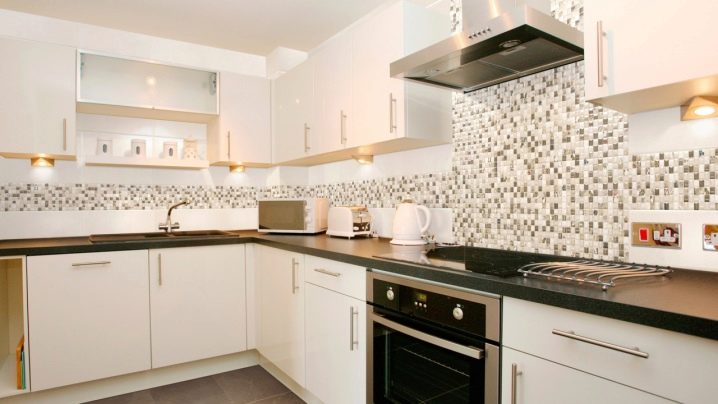
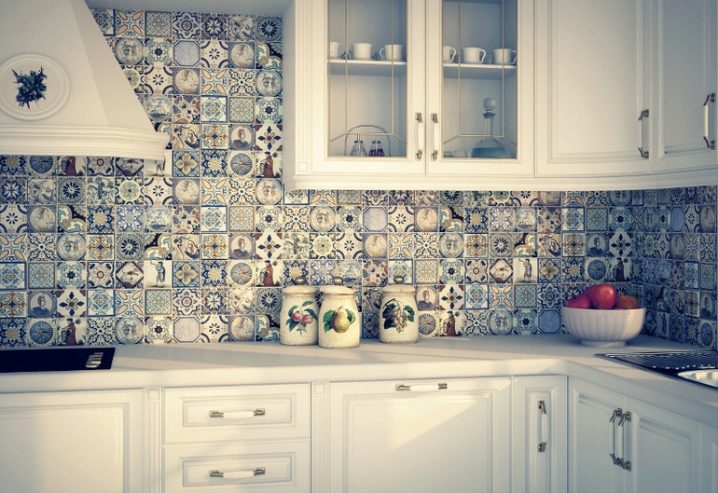
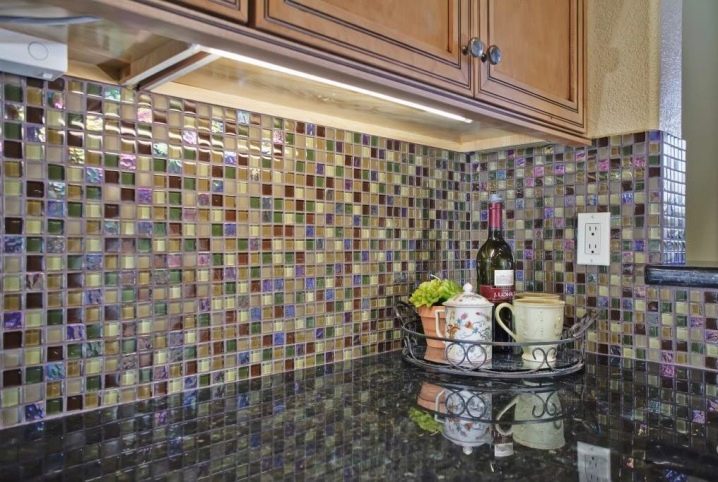
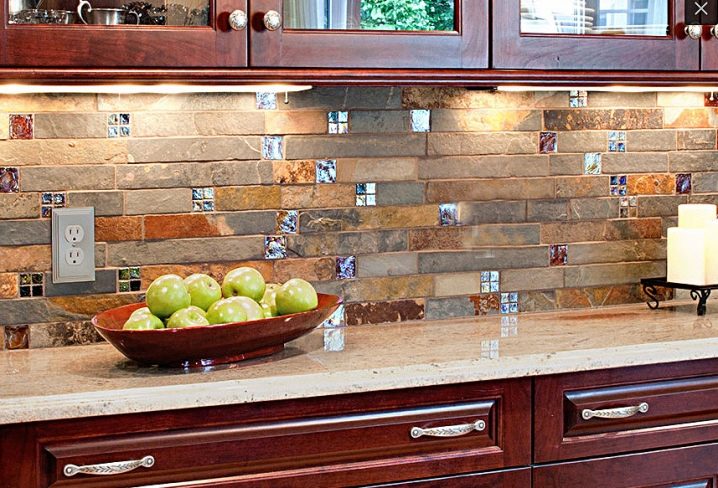
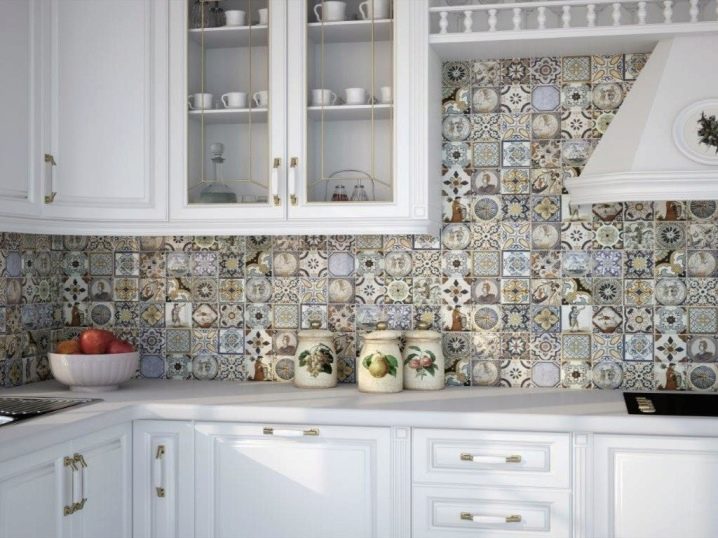
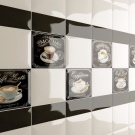
When choosing a tile, it is important to consider its size. Despite the fact that with the details of the larger size of the work is less, the most beautiful appearance has an apron of a tile of small size. In addition, these dimensions allow you to decorate the apron with different patterns, mosaics and combinations.The best option today is a square-shaped tile with an edge size of 10 - 15 cm.
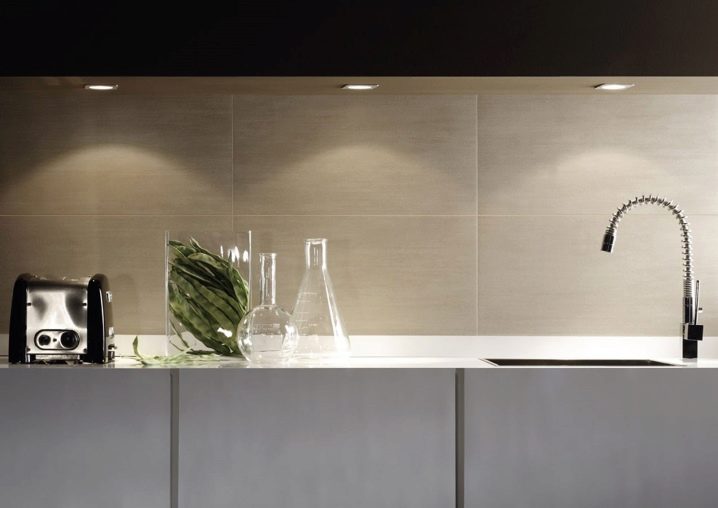
In order to care for the apron was as simple as possible, it is better to choose a material with a smooth surface structure. This will allow effortlessly to remove pollution, returning to the apron a presentable appearance.
When working it is important to consider the stock of material. Often tile can have a marriage. Chipping is not excluded in the process of pruning, so the material is usually taken with a margin of 10% of the required quantity.
Materials and tools for work
Before starting work, it is necessary to prepare the necessary materials and accessories. The primary components include:
- Primer. With its help, a reliable grip of the tile with the surface to be glued is ensured. The best choice recommended by experts is considered a deep penetration primer.
- Tile adhesive It must be of high quality with a shelf life expiration. So that the work does not have to be redone, you need to buy glue from proven companies (Ceresit, Younis, Bolars). For greater strength, you can add PVA glue to it.
- The trowel should be water resistant and necessary to give the seams a beautiful, uniform appearance in thickness and volume.Due to the presence of color grout, you can pick up the mixture in the same color as the tile.
- Notched trowel (for spreading glue).
- Narrow trowel (for glue set).
- Roulette.
- Roller glass cutter (for cutting the desired size) or tile cutter.
The secondary devices include:
- Crosses for maximum adherence to the pattern and the distance between the tiles.
- Electric drill (for mixing the solution).
- Building level.
- Foam sponges (for removing excess tile glue).
- Foam roller.
Surface preparation
The primary stage of the work is surface preparation. First you need to completely remove the old coating. Usually, a perforator is used for this, then the wall is cleaned to the plaster layer.
After that, shallow notches are applied to the wall for maximum adhesion of the tile adhesive to the surface. The number of notches is about 200 pcs. on 1 square meter.
The next step in the preparation of the wall is the treatment of the required area with a special primer. For a uniform application of primer on the wall, you can use a foam roller. After treatment, the wall should dry.
Before the direct installation of the kitchen apron, a marking should be made on which the upper and lower boundaries are marked, fixing the slats on them. At the same time, the upper plank is fixed 0.5-1 cm above the intended boundary. This stock is needed for the top seam.
It is especially necessary to fix the lower bar. This is due to the fact that during laying the tile does not move down and has clear and precise boundaries. From that, how correctly to lay out the first row, all work will depend. If it is as beautiful and smooth as possible, the apron will look like it was made by a high-level professional. Any shift or shift can lead to a violation of the entire species.
Glue preparation
- Since the life cycle of the glue is limited, it must be prepared immediately before laying out the apron.
- In order for the mass to be homogeneous, the container must be clean. The finished dry mix is mixed with water in the proportions indicated on the glue package.
- To glue turned out homogeneous and without lumps, you can use a drill with a special nozzle.
- After stirring, the solution must be left to stand for about 10 minutes, after which it is re-stirred. Now you can lay tiles.
Styling process
This process is particularly important and is carried out taking into account certain nuances. It starts from the most convenient angle below. First, it is necessary to apply tiled glue to the wall with a narrow spatula and level the thickness of the layer with a notched tool. At the same time furrows are formed.
Do not apply glue immediately around the perimeter of the apron. If the area to be glued is large, the glue may dry and the tile will not stick to it.
Beginners better to mount the apron in an orderly manner. The bottom edge of the tile should be directed to the bottom bar (profile). The laid row needs to be leveled by hand, and then checked using the building level. When checking correct errors. Lay the workpiece, evenly pressing on the tile. This will allow the glue to settle and bond it firmly to the tile.
If the tile is laid crookedly, until the glue has dried, it can be removed, remove the adhesive layer and lay again.
After the end of the first row you need to give him the opportunity to dry. If this is not done, there is a high risk of inclination in subsequent rows.
For maximum accuracy of the distance between the tiles they install distance crosses.They can be of different sizes and are selected depending on the dimensions of the tile itself. The optimal size of crosses, giving the seams identity, is 2 mm.
Having laid several tiles, it is necessary to remove the remains of glue from their surface. If done after the glue dries, they can remain. Glue must be removed carefully and not move while laying row.
Periodically it is important to check the work with the help of the construction level. In addition, the glue also needs to be mixed and not allowed to dry. Crosses are inserted between the tiles, fixing the crossing of the seams. This approach will make the work as accurate as possible. The thickness of the seams will be the same along and across.
After completion of the work, the tile must be completely dry. Usually this process takes less than a day. Then there is the final stage - mashing the seams.
How to grout?
Stitches are considered a vulnerable part of the apron. Therefore, for maximum durability and pleasant appearance of the kitchen apron, you need to choose a product from a trusted manufacturer. It is not recommended to rub them with a white grout. On a white background, pollution from cooking is most clearly seen.
The mixture is diluted with water in the consistency specified in the instructions. Before processing the seams, you need to wipe the tiles from the dust remaining after laying.
To perform this operation, it is better to use a rubber spatula. The mixture is rubbed in a direction along and across to uniform filling of the seams. This stage is quite thorough and requires no less care and accuracy. Otherwise, the seams will be different, and the type of apron will lose its appeal.
Usually the seams dry out within one hour. Then you can trim them with a spatula, and wipe with a dry or damp cloth.
For greater gloss and reliability, you can cover the seams with a special varnish. This will greatly simplify the care of the working area, and the seams themselves will retain their original appearance longer. The special properties of varnish will prevent the penetration of moisture and grease on the seams.
Recommendations of specialists
Removing the old coating, you must inspect the surface. If a mold or a fungus is found on it, before laying a new tile it is necessary to process the wall with a fungicide. It has anti-corrosion properties and will not allow the fungus to creep away.
If the apron goes to another wall, it is important to level the corner.Then you can mark the notches, which help to connect the seams as accurately as possible.
The simplest and most convenient in work will be a square-shaped material with a facet of not more than 15 cm.
If it is necessary to cut the tile, it should be done on the back side of the blank. If you carry out this process on the front side, the tile can split in any place. The required holes are also drilled from the back side.
Installation of each apron depends on its design. If the tile is positioned off center, the trimmed parts will be located at the edges. However, they must be the same size. In the case of a variant with an angle, it is necessary to lay it on the edge. In this case, the trimmed parts will be located in the corner, where they are less noticeable.
It is impossible to use dried glue in the work, since it cannot be diluted with water, and its adhesive properties are lost.
