Kitchen Wall Stickers
If you want to add a very modern highlight to the interior, stickers on the wall for the kitchen are what you need! This is a great opportunity to create a unique decor of the room without special skills and high costs.
Stickers in the interior
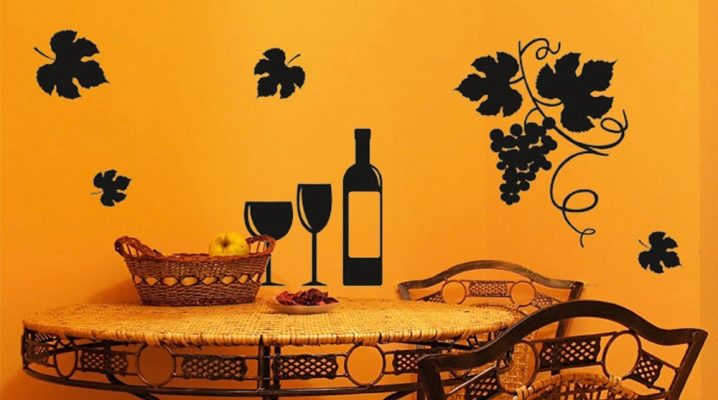
Stickers are perfect if the interior of the kitchen is simple but bright. They fit perfectly in the style of pop art: this is why they are so often used for decoration of youth cafes, small hotels, etc. However, today manufacturers produce such a huge assortment of stickers that they can be used in the kitchen by any style.
Stickers help:
- Visually highlight some part of the room, make a bright accent.
- Disguise flaws on walls or furniture
- Refresh the interior without major investment
Modern vinyl stickers are very convenient to use. A quality sticker does not have a background (that is, a transparent film at the base). They are cut along the contour with special equipment: this means that there will be nothing superfluous on the wall, and the image will look like a drawing.You can also order images with a background, but in this case it is better to purchase posters for the kitchen - they look no less original.
Attach such a decoration can be almost any surface. In the kitchen, usually decorate the apron, the facades of the headset, walls, refrigerator, doors, windows. As a rule, stickers from a bona fide manufacturer are quite easily removed without damaging the surface. In this case, you can change the annoying picture to a new one and again transform the kitchen.
The selection of pictures is huge. You can pick up the image from the ready, and you can make to order. Typically, companies that are engaged in the manufacture of interior stickers, go to meet customers and easily change the size of the picture, its colors, add or remove some parts. You can make a sticker on your own sketch - then it will be a truly unique and exclusive piece in the room.
How to stick
Manufacturers of labels declare that their goods are attached to any surface and removed without damaging it. The only exceptions are the cheapest paper wallpaper. Nevertheless, in practice there are the most and least suitable for sticking a sticker surface.
Best suited for this purpose:
- smooth plastered walls;
- the surfaces varnished or painted;
- smooth plain wallpaper;
- wood, metal, plastic, glass.
Worse sticker will hold onto:
- textured, "rough" walls;
- corrugated materials;
- textile or bulk wallpaper.
If the surface has a fine texture or embossing, you can try to warm up the sticker with a hairdryer so that being hot, it will more accurately fall into all the grooves on the surface.
Interior stickers are best glue together - so you can accurately position the image exactly. The surface must first be cleaned and degreased. Depending on the type of surface, it can be wiped with a cloth with soapy water, wall cleaner, cologne or alcohol. Then the sticker along with the back (which is peeled off) is applied to the right place on the wall and secured with tape or pins on top. After that, the substrate must begin to peel off, pulling it down. Thus, the image is attached to the surface from top to bottom.
After the substrate is completely peeled off, you can walk on the surface of the sticker with a soft cloth and smooth the sticker from the center to the edges, expelling air bubbles from under it.Then scotch tape or pins are removed, which are attached to the label on top. After that, you can remove the protective film, which is applied to the image. Done!
If you want to cover damage with a sticker (on a wall, table, etc.) - the most important thing is to pre-level the surface. Vinyl film is very thin, and it will definitely accentuate chipped paint, cut off pieces of wallpaper, etc. Therefore, the wall, where there is not enough of the wallpaper, should be sanded to smooth the difference in height. If the surface is wooden, the grooves can be leveled with a putty.
Usually, vinyl stickers are easy to clean by any means of household chemicals and can well withstand changes in temperature and humidity.
If you need to re-stick the sticker or remove it, a hair dryer is also useful. The sticker warms up and easily moves away from the surface.
Ideas and decor examples
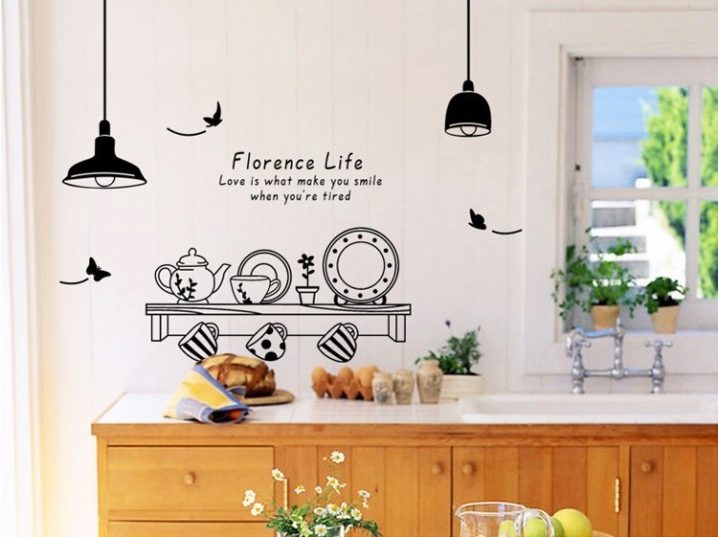
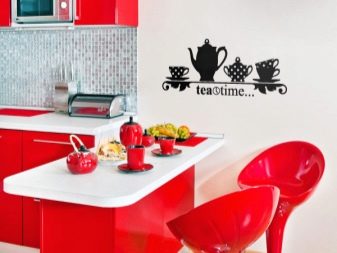
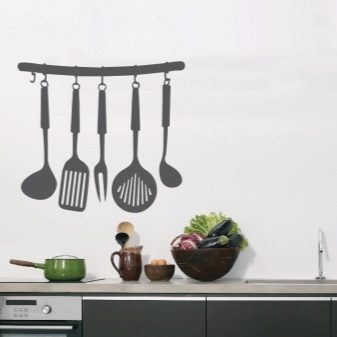
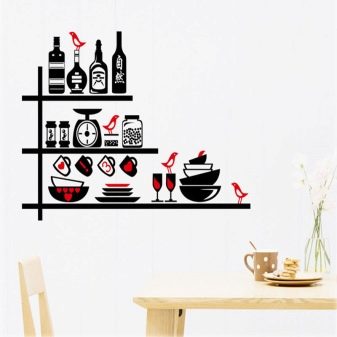
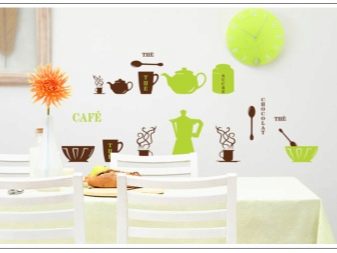
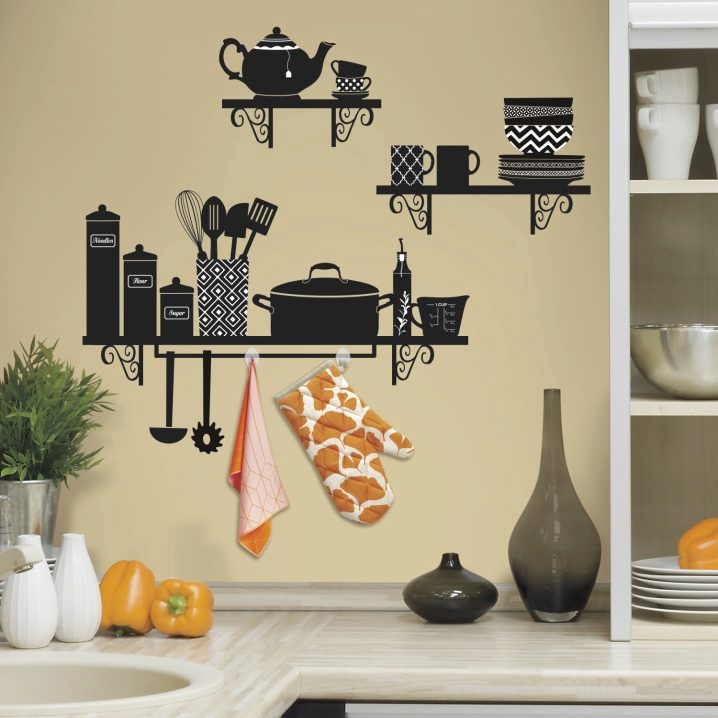
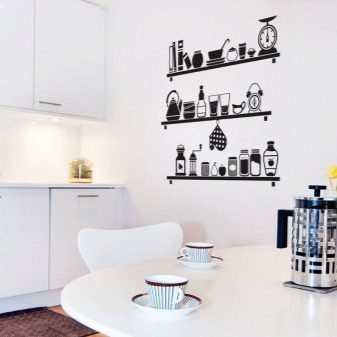
It looks very funny sticker in the form of an object, which in fact is not in the kitchen. For example, a clock or shelf with spices and dishes on an empty wall:
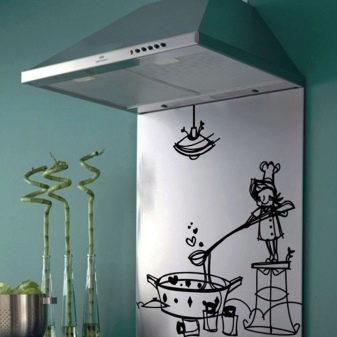
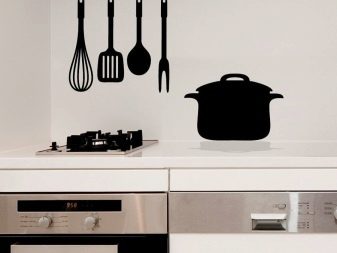
The decoration of the kitchen apron in the stove zone is very popular. Since, putting things in order, we strive to remove the dishes in the cabinets, the stove can look “empty”.A pot or a kettle with smoke, pasted on the wall, will fill this void with itself:
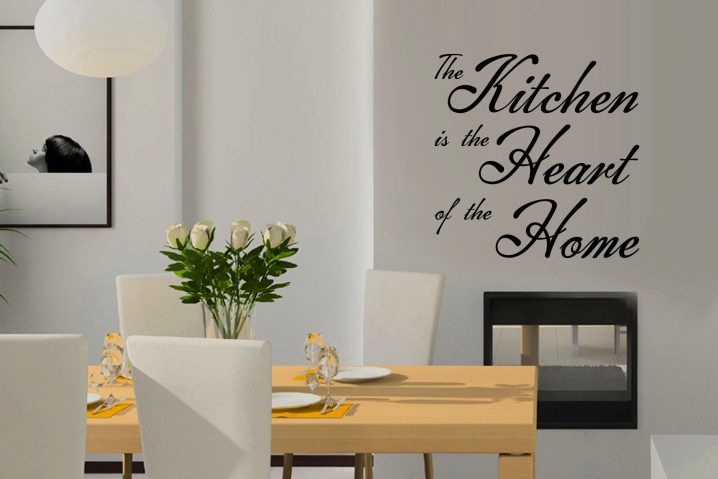
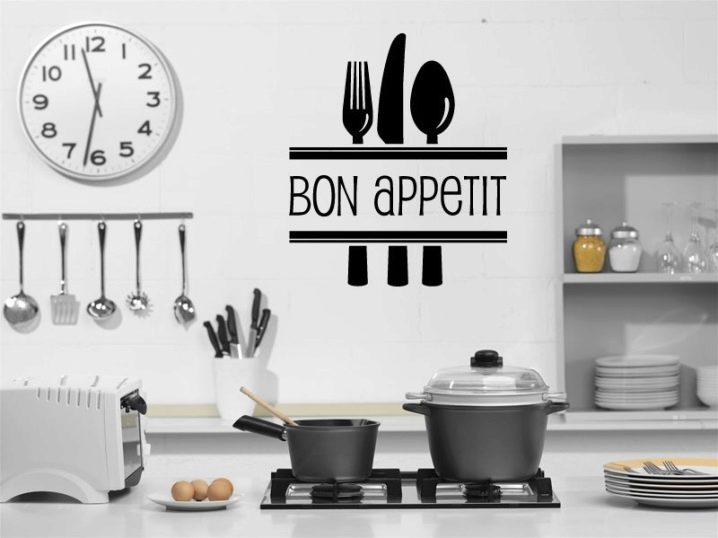
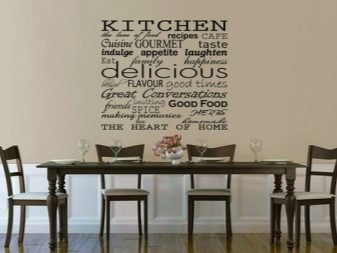
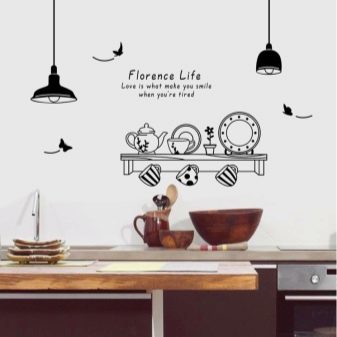
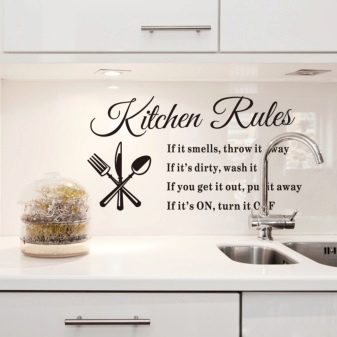
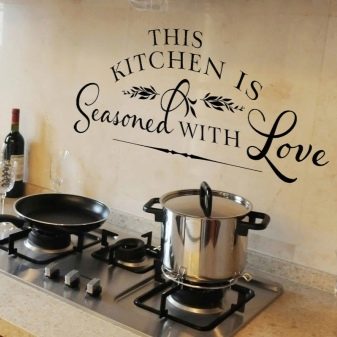
Favorite theme for many kitchen labels - the inscriptions. They can be both in Russian and in other languages. Wishes of a good appetite, a declaration of love to your home and your kitchen, or even comic rules of conduct at the refrigerator - all this can be put on a sticker, and then on the walls:
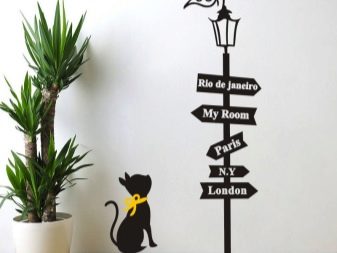
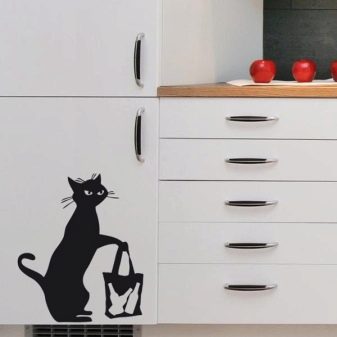
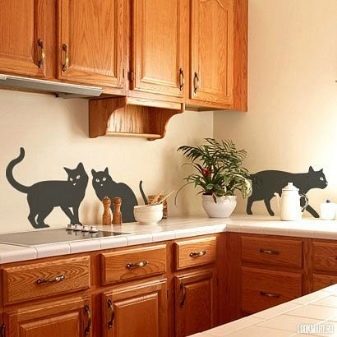
Cats. Another "eternal" theme. First of all, cats are the most beloved pets and they often do not leave the kitchen. Secondly, the curved and graceful cat silhouettes look elegant and with humor. On kitchen stickers, cats can hunt mice, catch fish, “steal” food from the refrigerator, or simply “sit” beside it while waiting for dinner:
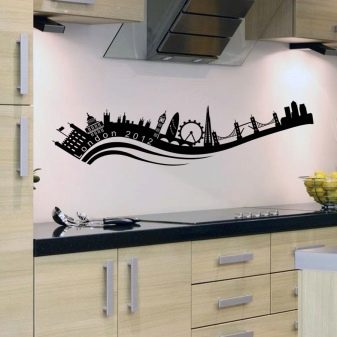
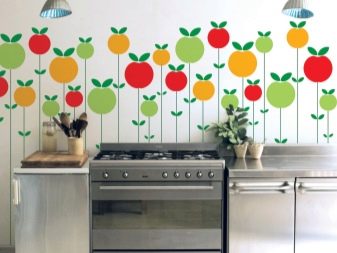
Refresh the interior and add a highlight to it can and long horizontal stickers on the kitchen apron. It can be floral patterns or, for example, images on urban themes:
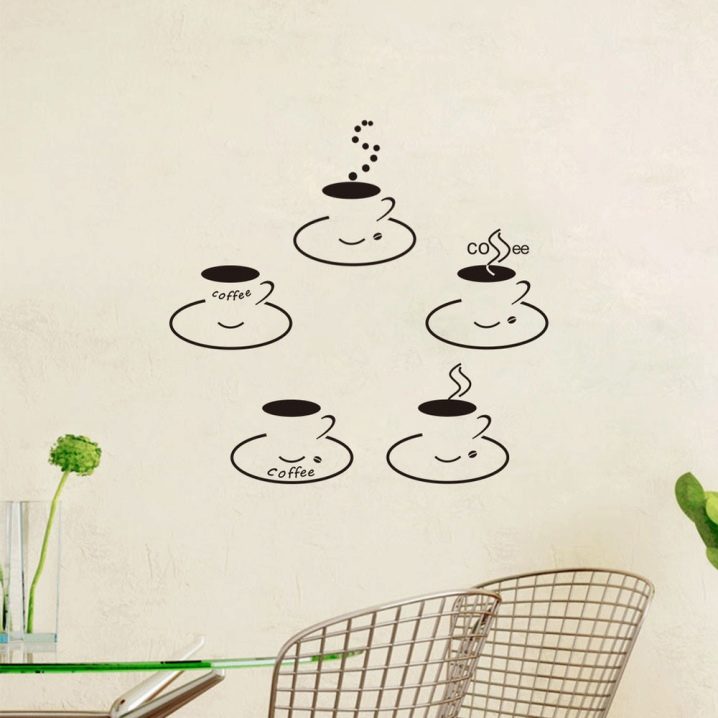
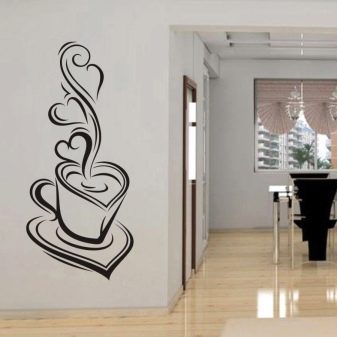
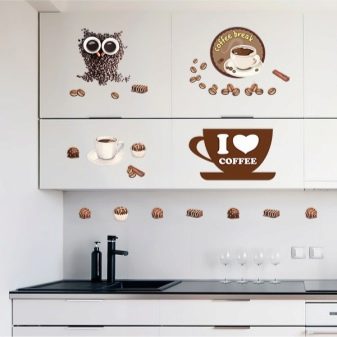
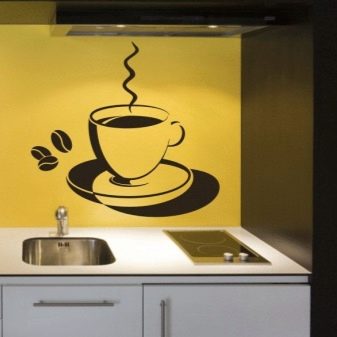
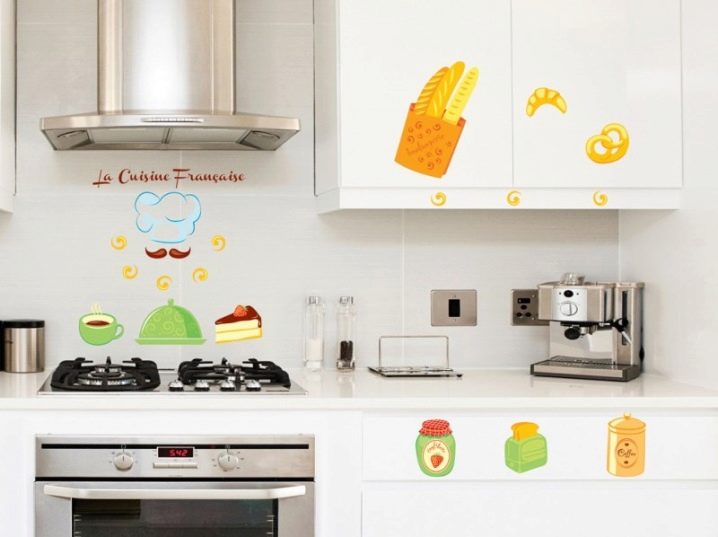
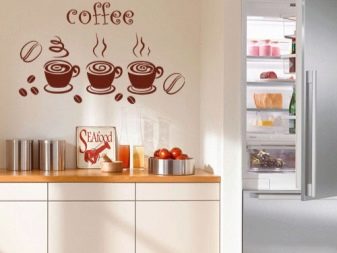
By the way, kitchen stickers are not necessarily a black silhouette. Stickers can be full color. Brown stickers on coffee look very warm:
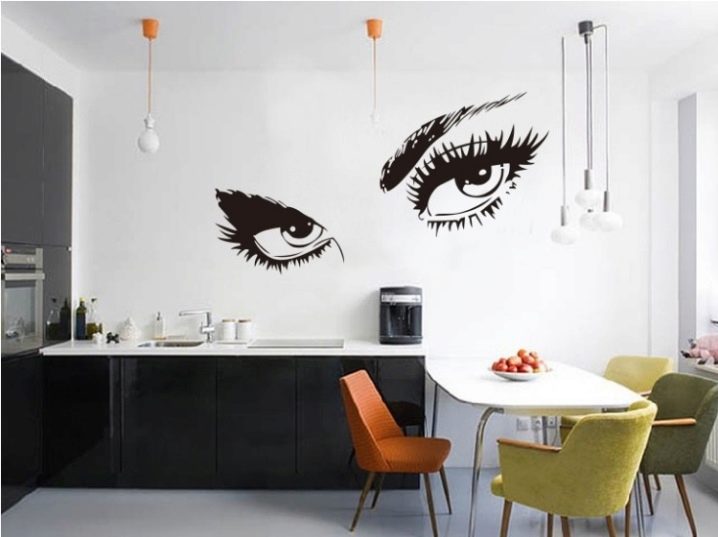
Stickers in the interior can convey any mood shade - from hooligan notes to romantic ones.Tastefully chosen sticker will decorate not only modern, but also a classic interior and will appeal to people of all ages.
