How to make a primer with your own hands?
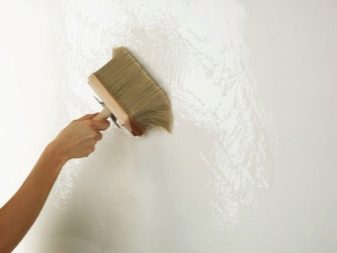
The primer is necessary in order to increase the adhesion ability of the decorative finish to wooden, concrete, cement, metal and other surfaces. The primer provides a strong and good fixation of various decorative materials. The polymers in its composition increase the level of waterproofing, therefore, the consumption of paint and varnish products for the finishing coating is reduced.
Priming mixtures contain antisepticstherefore, the risk of mold or fungi is significantly reduced. Also, the primer layer acts as a surface protection from the adverse effects of the environment.
Special features
Making a primer with your own hands is not particularly difficult, and the necessary materials and tools are easy to find in hardware stores. The composition of the solution is determined by the scope of the primer (walls, floor), its main purpose (protection, strength of finish or the need for enhanced adhesion) and the type of surface to be treated.The primer for wood is a little more difficult, because the material is prone to mold. If the primer work was initially carried out using the purchased solution, but it ended unexpectedly, it is not necessary to buy a new one.
In this case, you can just make your own primer, which will not be inferior to the store
Advantages and disadvantages
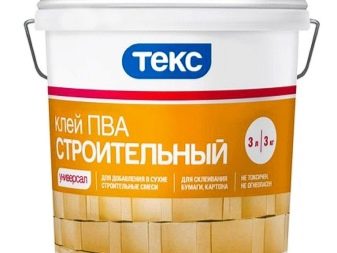
In the building stores there is a huge selection of high-quality primer compositions, but they have a considerable price. Much cheaper will cost primer preparation on their own. Homemade primer based on the use of building glue PVA.
PVA glue provides the following basic commercially available primer features such as:
- increased adhesion;
- sufficient water resistance;
- If antiseptics are added to the solution, then antibacterial properties will also be present.
But, despite these advantages, such a primer solution can eventually peel off from the surface due to improper mixing of the glue with water. Also, the glue turns yellow after some time, and these spots appear on the front side of the decorative coating.This can be avoided by applying a thick layer of topcoat (for example, paint).
Thus, if the external beauty is not very important, or if expensive wallpaper or paint will not be used, then a self-made primer based on PVA glue will be very useful.
Recipes of different types and compositions
In self-preparation of the primer it is important to observe the correct proportions, as well as to consider the main purpose and type of surface. A special mortar is made for wooden surfaces; mixtures for concrete or drywall are not suitable for them.
To destination distinguish primers with such properties:
- for deep penetration;
- firming;
- with an increased level of adhesion.
For the manufacture of primer will need the following tools:
- enameled container;
- scapula;
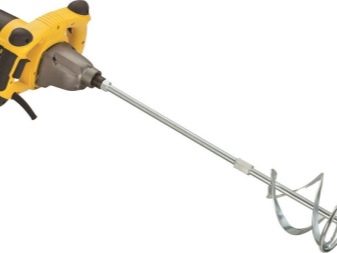
- mixer with a whisk.
The simplest recipe for a primer solution includes the following ingredients: PVA construction glue and water.
Primer manufacturing consists of the following:
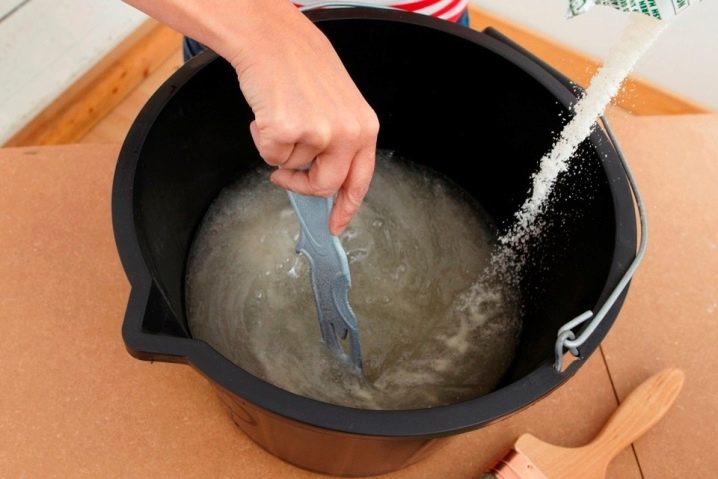
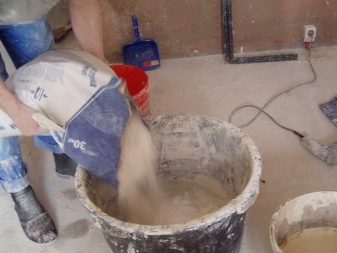
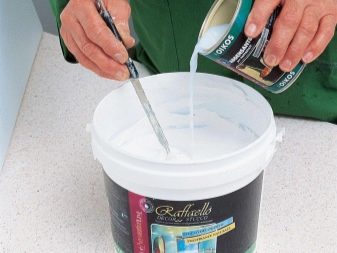
- It is necessary to pour liquid PVA glue into the prepared container and add water in a 1: 2 ratio.
- Mix the materials thoroughly with a spatula or mixer until the mixture is homogeneous. Do not allow a watery film to form on the surface.
This recipe is best suited for processing non-residential premises (basements, storerooms), because it provides excellent moisture resistance, but it does not guarantee long-term external beauty.
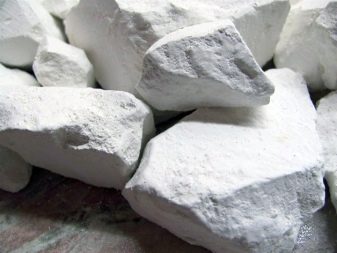
If you dilute cement or chalk in a simple glue-based composition, you can get a primer with deep penetration. The sequence of actions is almost identical, but now the ratio of glue and water is 1: 8. In the mixed materials you need to add a small amount of cement (or chalk) and also thoroughly stir until a state of homogeneity.
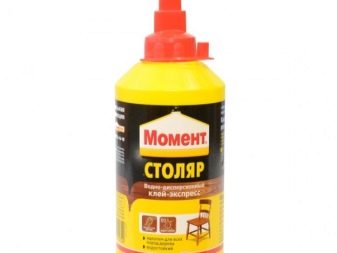
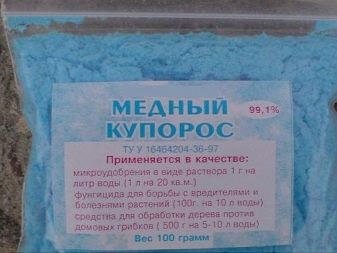
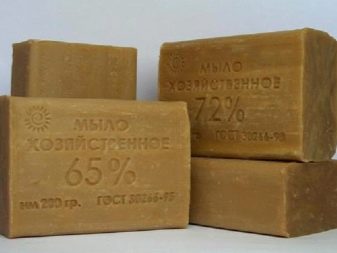
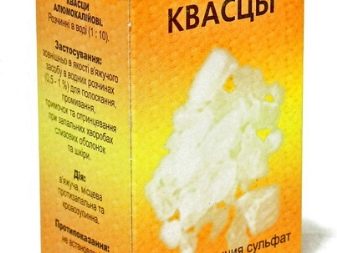
Firming primer solution also consists of glue (you can take carpentry), but now it also adds 65% laundry soap and blue vitriol. The proportions of glue, copper sulfate and soap are 5: 1: 2.
The manufacture of reinforcing primer consists of the following actions:
- It is necessary to grind the soap (you can use a regular grater).
- In an enamel container you need to pour water and boil it.
- Then soap is added to the water, and the mixture should be cooked to a state of homogeneous mass, stirring occasionally with a wooden spatula.
- Added bluestone and glue.Continue cooking on low heat for about 30 minutes, stirring with a spatula, and make sure that no lumps appear.
After 30 minutes, you can remove the solution from the heat, and after it has cooled down, strain it. After these works, the finished primer can begin to use.
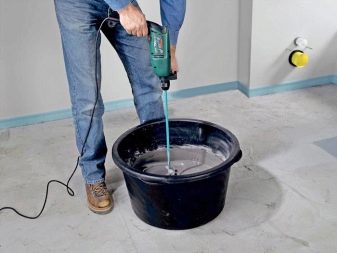
If the lumps are not removed, then you can use the construction mixer.
To ensure the best adhesion (adhesion of materials), a suitable solution can be made at home.
To do this, you need the following components:
- ground laundry soap;
- dry glue (preferably painting);
- aluminum alum;
- a piece of chalk;
- linseed oil.
Preparation Procedure:
- First boil 1 liter of water, cool.
- Then alum (250 g) is poured with hot, cooled water. In an enamel container, it is necessary to dissolve dry glue (200 g) and put it to boil over low heat.
- Gradually, aluminum alum, grated laundry soap (200 g) and drying oil (30 g) are added to the glue.
- It is necessary to boil the mixture and mix it thoroughly, add crushed chalk (2 kg) later. If there is not enough water, then it can be added.
- Boil the primer for another 30 minutes and allow to cool before use.
It is not easy to choose a primer for wooden surfaces, since wood is a soft material that is exposed to moisture. Primer for wood should include linseed oil, acrylic, glue or shellac. A solution with an increased level of adhesion can also be used for wood due to the presence of linseed oil in the composition. Also in the case of a wooden surface, it is important not only to choose the right type of primer, but also to observe the correct technology of applying the solution. Total applied from 2 layers, but preferably 3. Each of them should dry for an hour before applying the next.
After applying the first layer, you need to clean the wood to smooth out its fibers.
Tips and tricks
Self-prepared primer retains its technical characteristics and provides high-quality coating only within 24 hours from the moment of preparation. Therefore, you should not produce a large amount of primer at once. In general, it is advisable not to tighten the surface with a homemade mixture.
If there is no PVA building glue, then you can purchase carpentry or clerical.Still, it is recommended not to experiment and use a suitable construction adhesive for this purpose.
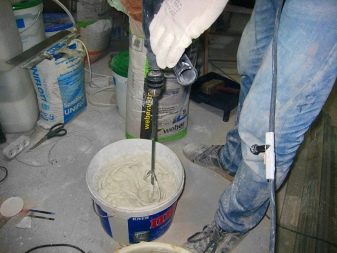
For mixing the primer in the manufacturing process, it is better to use a special construction mixer. If you have to work with a conventional mixer, then after stirring it is necessary to immediately wash it, as it may become unusable. In addition, the construction mixer will help to achieve the desired uniformity of the composition, without applying much effort.
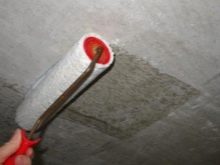
Before processing the entire surface, it is advisable to ensure that the solution is made correctly and will not flake off. To do this, apply a primer on a small and inconspicuous area. If the applied solution acquires a bright white color, then you need to add more water to the primer. High-quality primer should leave a not very noticeable mark.
After the solution has acquired the desired shade, you must wait until it is completely dry and check for peelability.
If wallpaper will be used as a decorative coating, then instead of PVA glue it is advisable to use a special wallpaper glue. It does not leave yellow spots and is better absorbed into the surface.
If the surface is painted with acrylic paint, then it is not necessary to prime the surface, because this type of paint itself acts as a primer. You can immediately make pigmented painting.
It is advisable to strain ready primer solutions through a sieve to completely eliminate lumps.
You will learn more about how to do a primer with your own hands in the following video.
